


The Mexican War of Independence was a pivotal event in the history of Mexico, marking the end of three centuries of Spanish colonial rule and the birth of a new nation.
Beginning in 1810, the struggle for freedom was fueled by social, political, and economic unrest, and it was shaped by a series of key battles, shifting alliances, and the leadership of both local insurgents and revolutionary figures.
This timeline provides an overview of the significant milestones, from the initial cry for independence to the eventual triumph in 1821, offering insight into the complexities and enduring legacy of Mexico's fight for self-determination.
Mexican War of Independence Timeline
The Mexican Independence War was an armed conflict that resulted in Mexico's independence from Spanish rule. Rather than one big event, this war was a series of local and regional revolts that grew out of the political chaos in Mexico and Spain..
This Mexican independence timeline explains the events in the simplest manner, so you don’t have to spend hours reading books and articles to understand this topic.
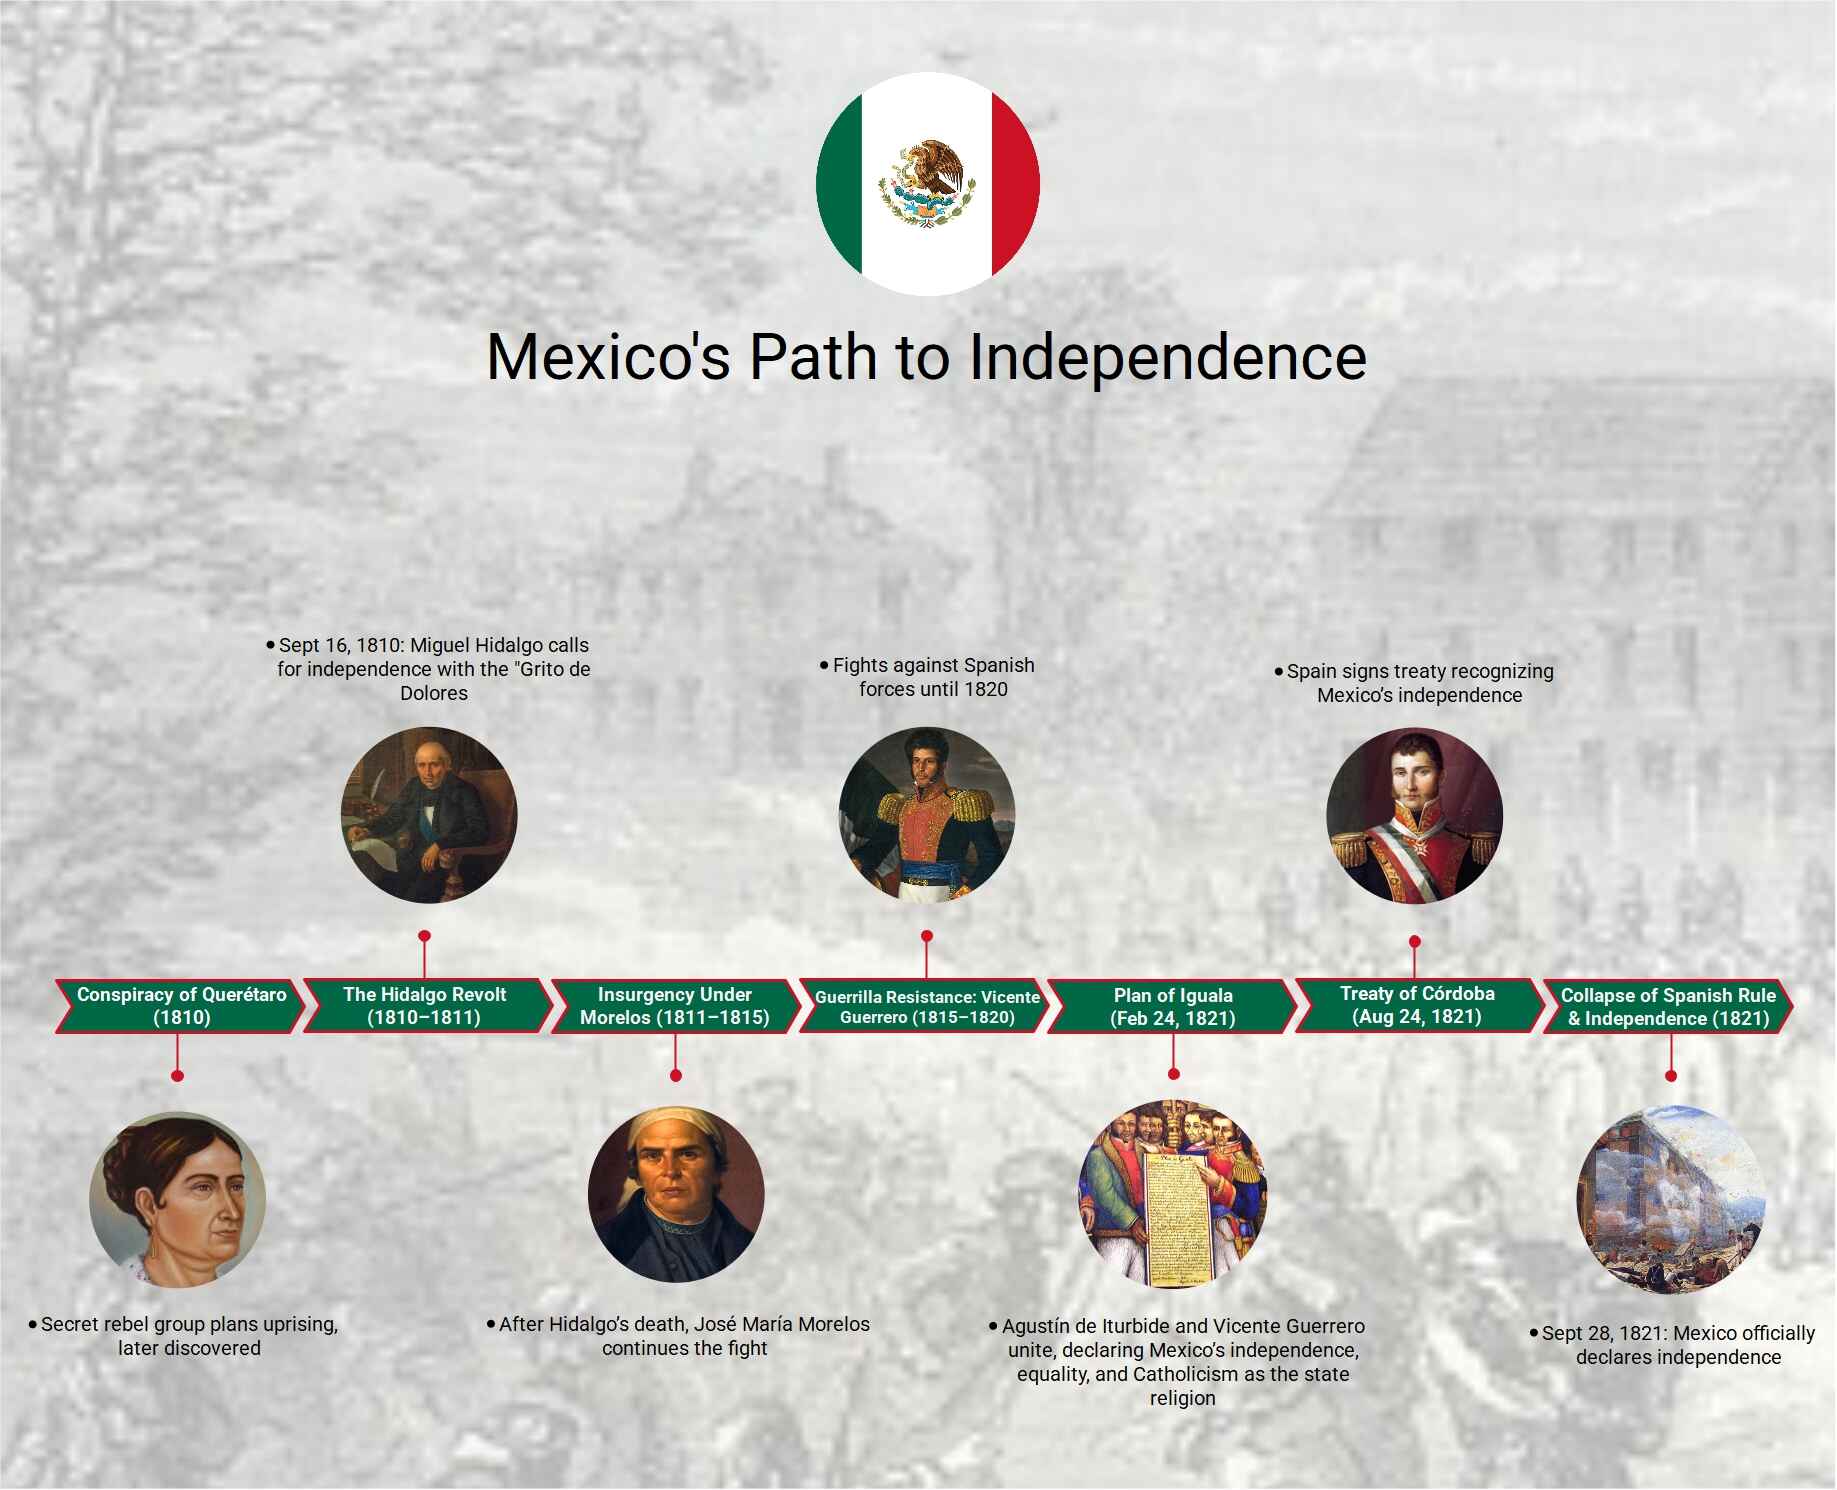
Conspiracy of Querétaro, 1810
In 1810, a secret rebel group met in Querétaro to plan the revolt to gain independence from Spanish rule. This group included Miguel Hidalgo, Josefa Ortiz de Domínguez, Ignacio Allende, and Juan Aldama. Before they could launch the rebellion, their plan was discovered leading to the famous “Cry of Dolores”.
The Hidalgo Revolt, 1810-1811
It all started when Napoleon occupied Spain, and revolts broke out throughout Spanish America. Miguel Hidalgo launched a rebellion and came so close to conquering the Mexican capital, but failed. After his defeat in January 1811, Hidalgo ran off to the north but was later caught and executed.
Insurgency in the South under Morelos, 1811–1815
After Miguel Hidalgo’s execution, José María Morelos took over the leadership of the army. This time, Morelos had a clearer vision and better political and organizational skills. Under Morelos’ authority, a clear announcement of independence was made, and a constitution was also drafted.
Despite that, he was unable to get support from criollos and had to depend upon mestizos. He lost his leadership to his opponents and was captured and executed in November of 1815.
Insurgency under Vicente Guerrero, 1815–1820
The purple arrow in this timeline template marks the beginning of Vicente Guerrero’s era after the killing of Morelos. The guerrilla warfare continued in Southern Mexico. In 1817, a Spanish rebel, Francisco Javier, joined the fight but was caught seven months later. Guerrero and Guadalupe Victoria gained strong support. From 1816 to 1820, the war was at a halt but not over. Despite the strong Spanish resistance, the rebels kept on attacking.
The Plan of Iguala, February 24, 1821
Now, this is when Agustín de Iturbide created the plan of Iguala to gain support for Mexican independence. It stated that the independent Mexico would be ruled by a European or a Mexican if no European could be found.
The plan protected the military and put an end to property confiscation. It also called for equal rights for Spaniards and Creoles. Though it ignored the rights of the poor, the Iguala plan gained the support of Mexico’s influential groups.
Treaty of Córdoba, August, 1821
The Mexican War of Independence concluded with the signing of the Treaty of Córdoba on 24 August 1821. This peace treaty put an end to New Spain’s dependence on Old Spain and renamed the state the Mexican Empire. It was signed by Augustín de Iturbide and Spanish representative Juan O’Donojú. The treaty consisted of 17 articles that were based on the Plan of Iguala.
Collapse of Spanish rule and independence
After O’Donojú resigned as viceroy, the Spanish government declared that he didn’t have the authority to sign the treaty. However, it was too late. On 27 September 1821, Iturbide along with the Army of Three Guarantees marched into Mexico City in victory. On September 28, Mexican Independence was announced.
How to Create a Timeline Using EdrawMax?
EdrawMax is a versatile diagramming tool that lets you create timelines, flowcharts, and more with minimal effort. Its huge template library, advanced customization tools, and AI feature make diagramming hassle-free. Here’s how you can create a timeline using EdrawMax.
Step 1Access the tool
- Launch the EdrawMax app and create an account if you don’t have one already.
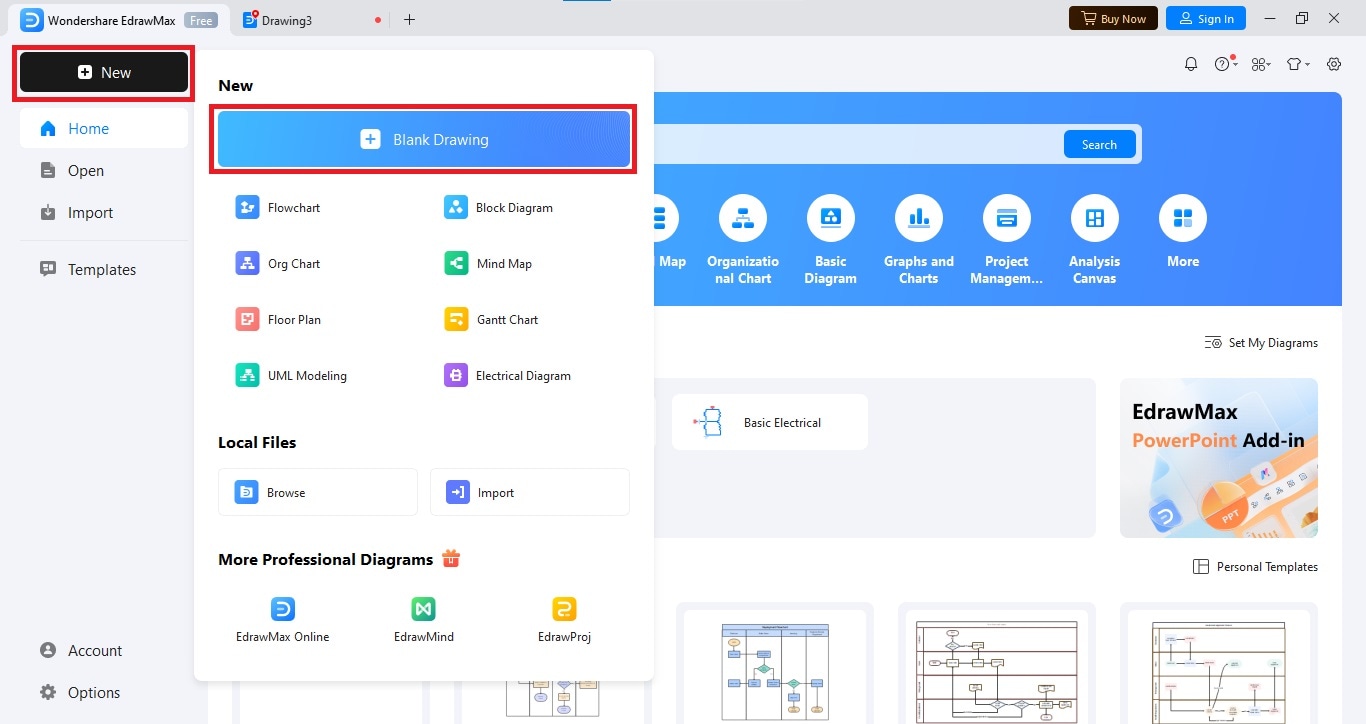
- Click the New button > Blank Drawing.
Step 2Build Your Timeline
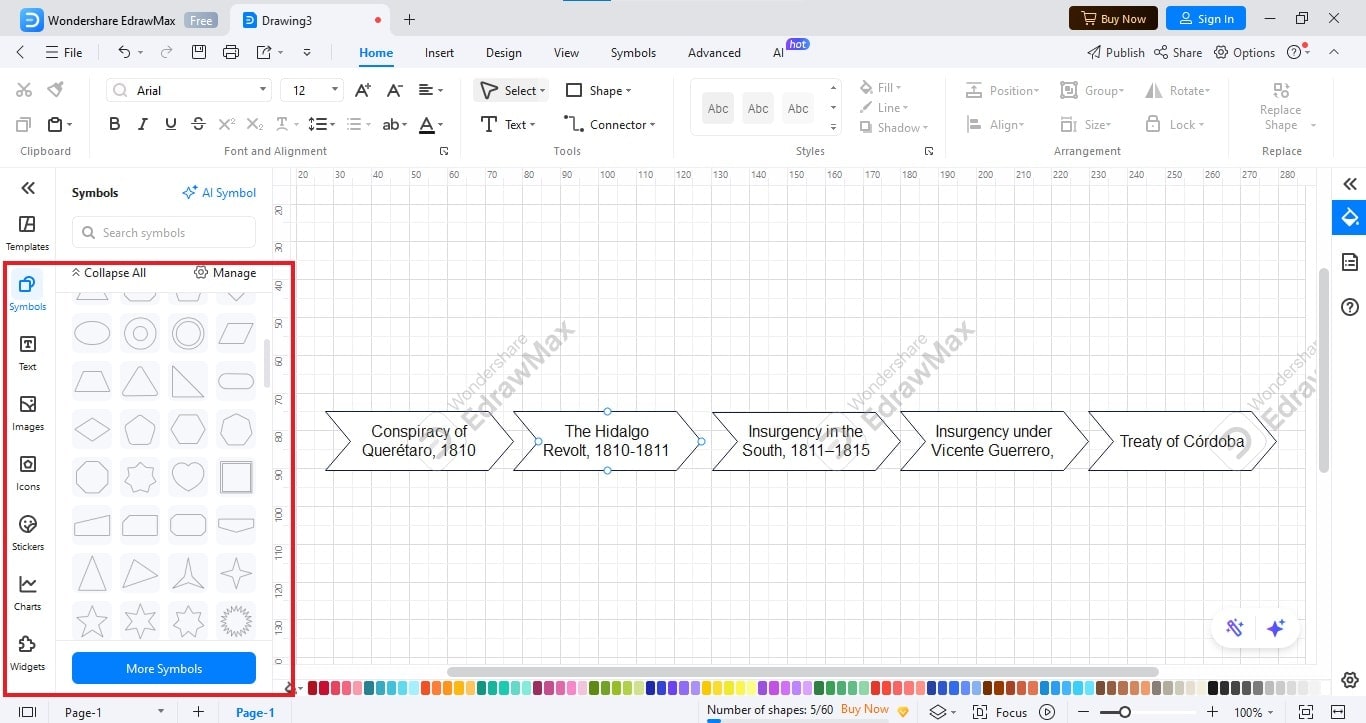
- Insert shapes of your choice from the Symbols library.
- Now, double-click on the shape to add relevant text.
Step 3Add a Background Image
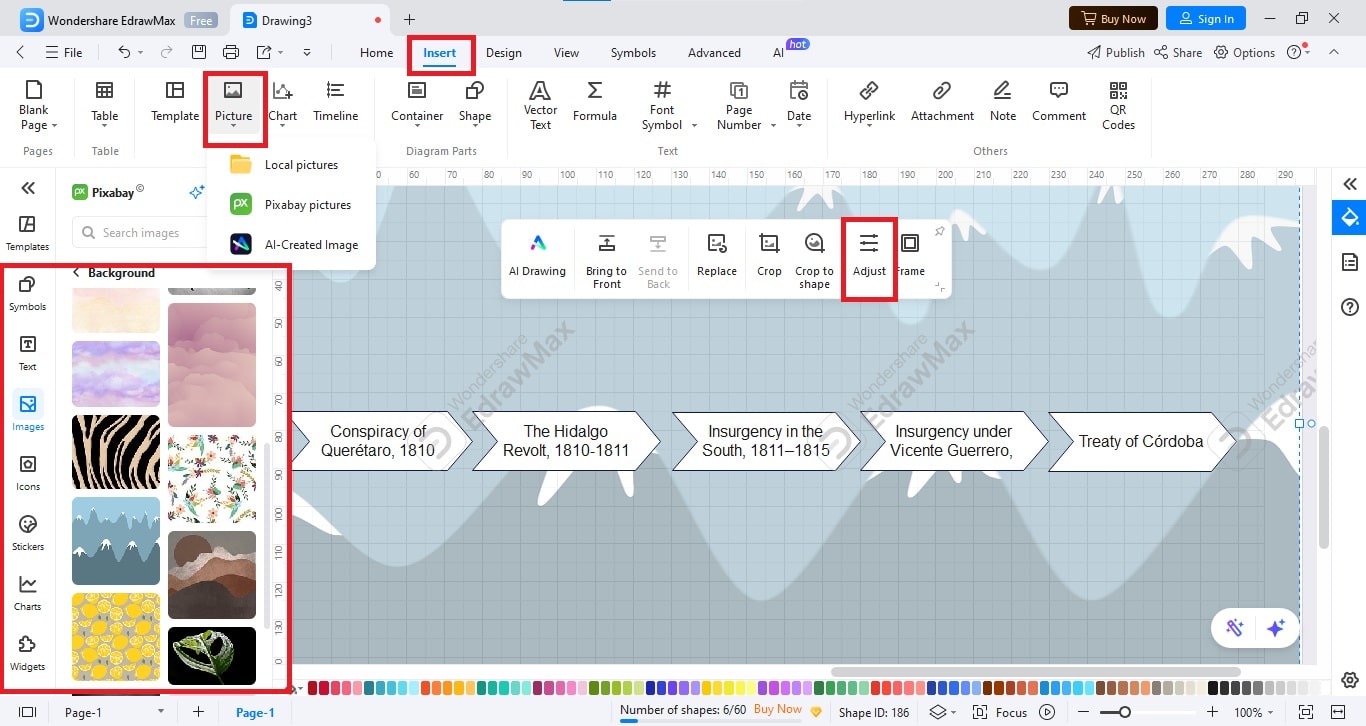
- You can add a background picture by selecting one from the Images library or uploading your own. To upload a picture, go to the Insert tab and click the Picture dropdown menu.
- To make it a background, left-click the image and select Send to Back from the hovering menu.
- Now, adjust the transparency of the image by left-clicking it and going to the Adjust menu. Use the slider to achieve your desired transparency.
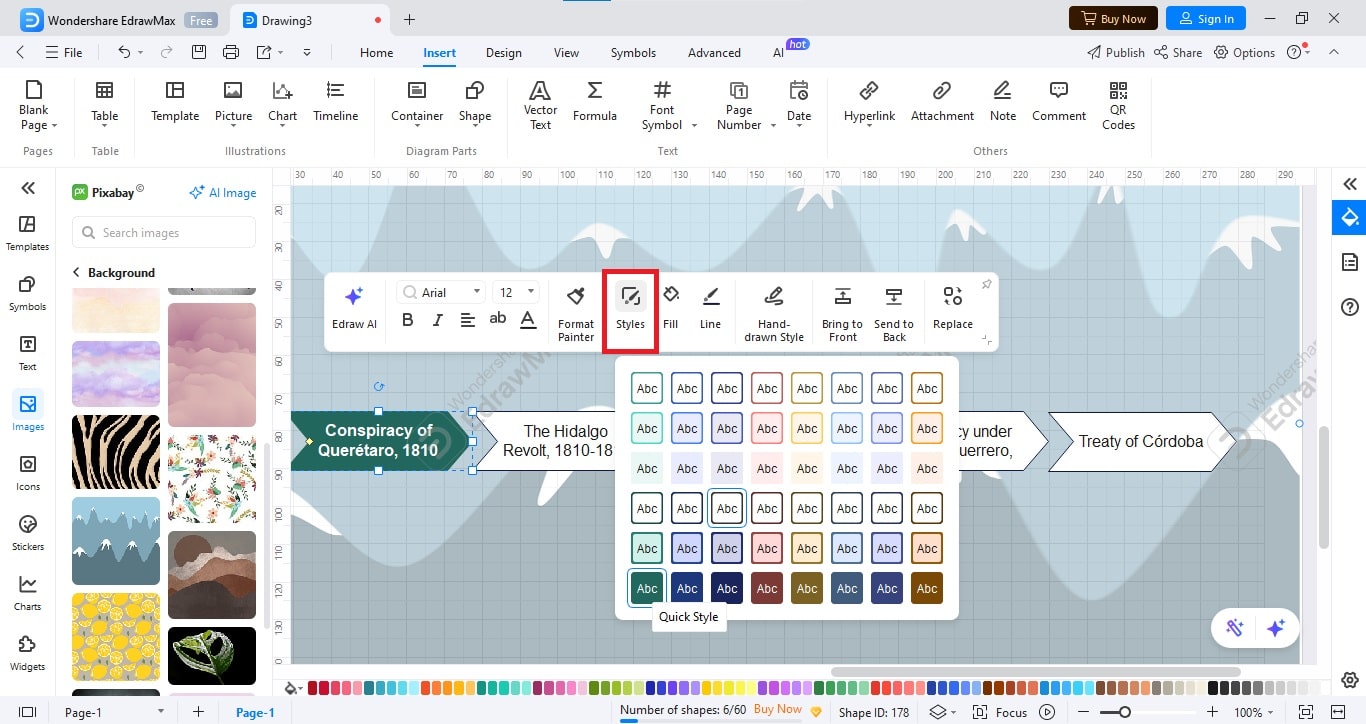
Step 4Customize the Nodes
- To customize your nodes, you can left-click on them and choose your desired style from the Styles menu.
- From the hovering menu, you can also change your font style, size, and alignment.
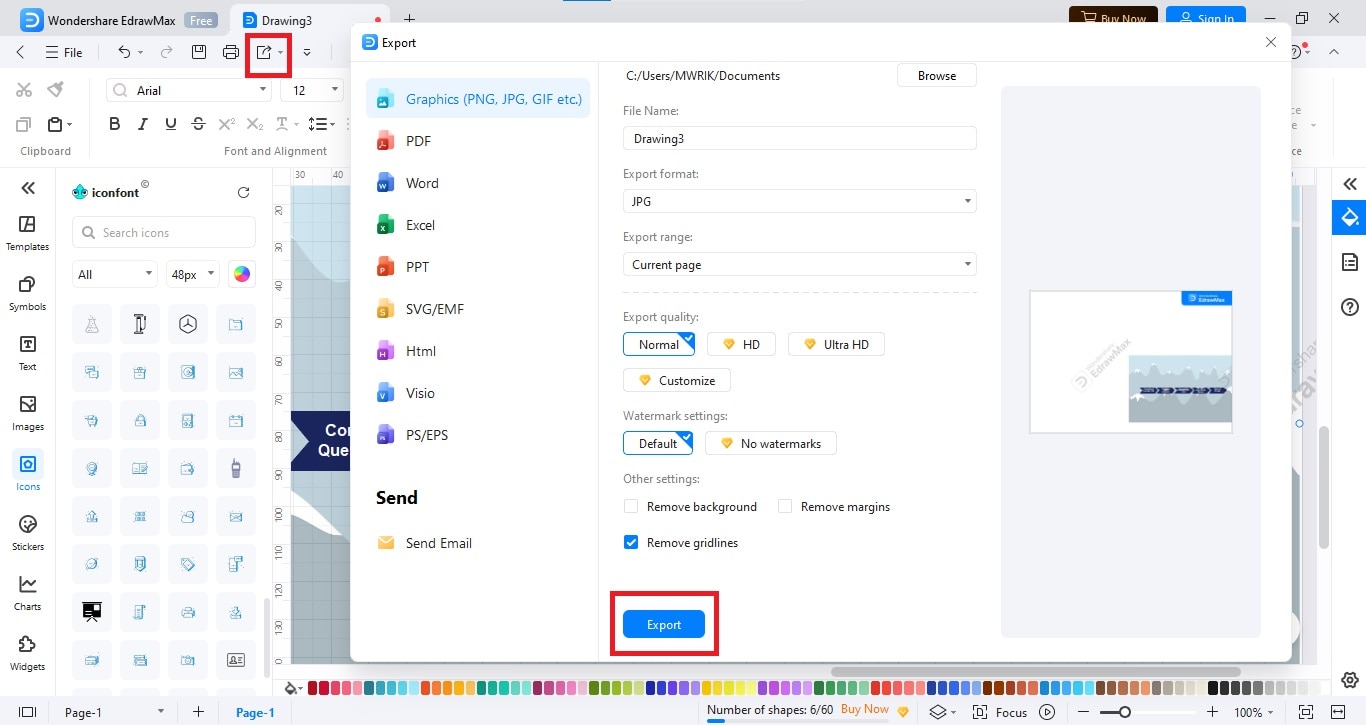
Step 5Export your Timeline
To download your design, click the Export button from the top menu. Choose your desired format and click Export. You can select:
- PNG, JPG, GIF, etc., if you want to export your diagram as an image file.
- PPT for displaying your design as a presentation.
- PDF for preserving the layout and design exactly as intended.
AI Diagram Generator
Enter your prompt. Upload files if needed. Generate diagrams, charts, or slides instantly.


