


Stephenie Meyer’s Twilight saga is more than a love story—it’s a vast, interconnected world with a history stretching back to 2500 BC. It explores vampire clans, werewolf packs, and their ties to humans, creating a rich but complex lore that can be hard to follow.
The timeline in this article simplifies this intricate world. It uses a clear, color-coded format to break down key events, making the saga’s history easier to grasp. This guide is perfect for both fans and newcomers.
It covers more than romance, delving into vampire politics, werewolf origins, and how these elements shape the story. Every detail connects to the larger narrative, enriching the Twilight universe.
This timeline is an essential tool for understanding the saga. It ties together the threads of the story, helping readers see how every piece fits into Meyer’s immersive world.
Twilight Timeline
The author of Twilight, Stephanie Meyer, didn’t just create a love story. She wrote an epic saga with a deep lore going way back to 2500 BC. Each puzzle in her story is interconnected to form a bigger picture. If you ever wondered how werewolves, vampires, and high school drama all somehow make sense in Twilight, you’ve come to the right place.
Instead of flipping through five books or piecing together scenes from its movies, this Twilight timeline template is your best guide to understand the Twilight universe. It visually breaks down the entire Twilight universe into clean, color-coded moments.
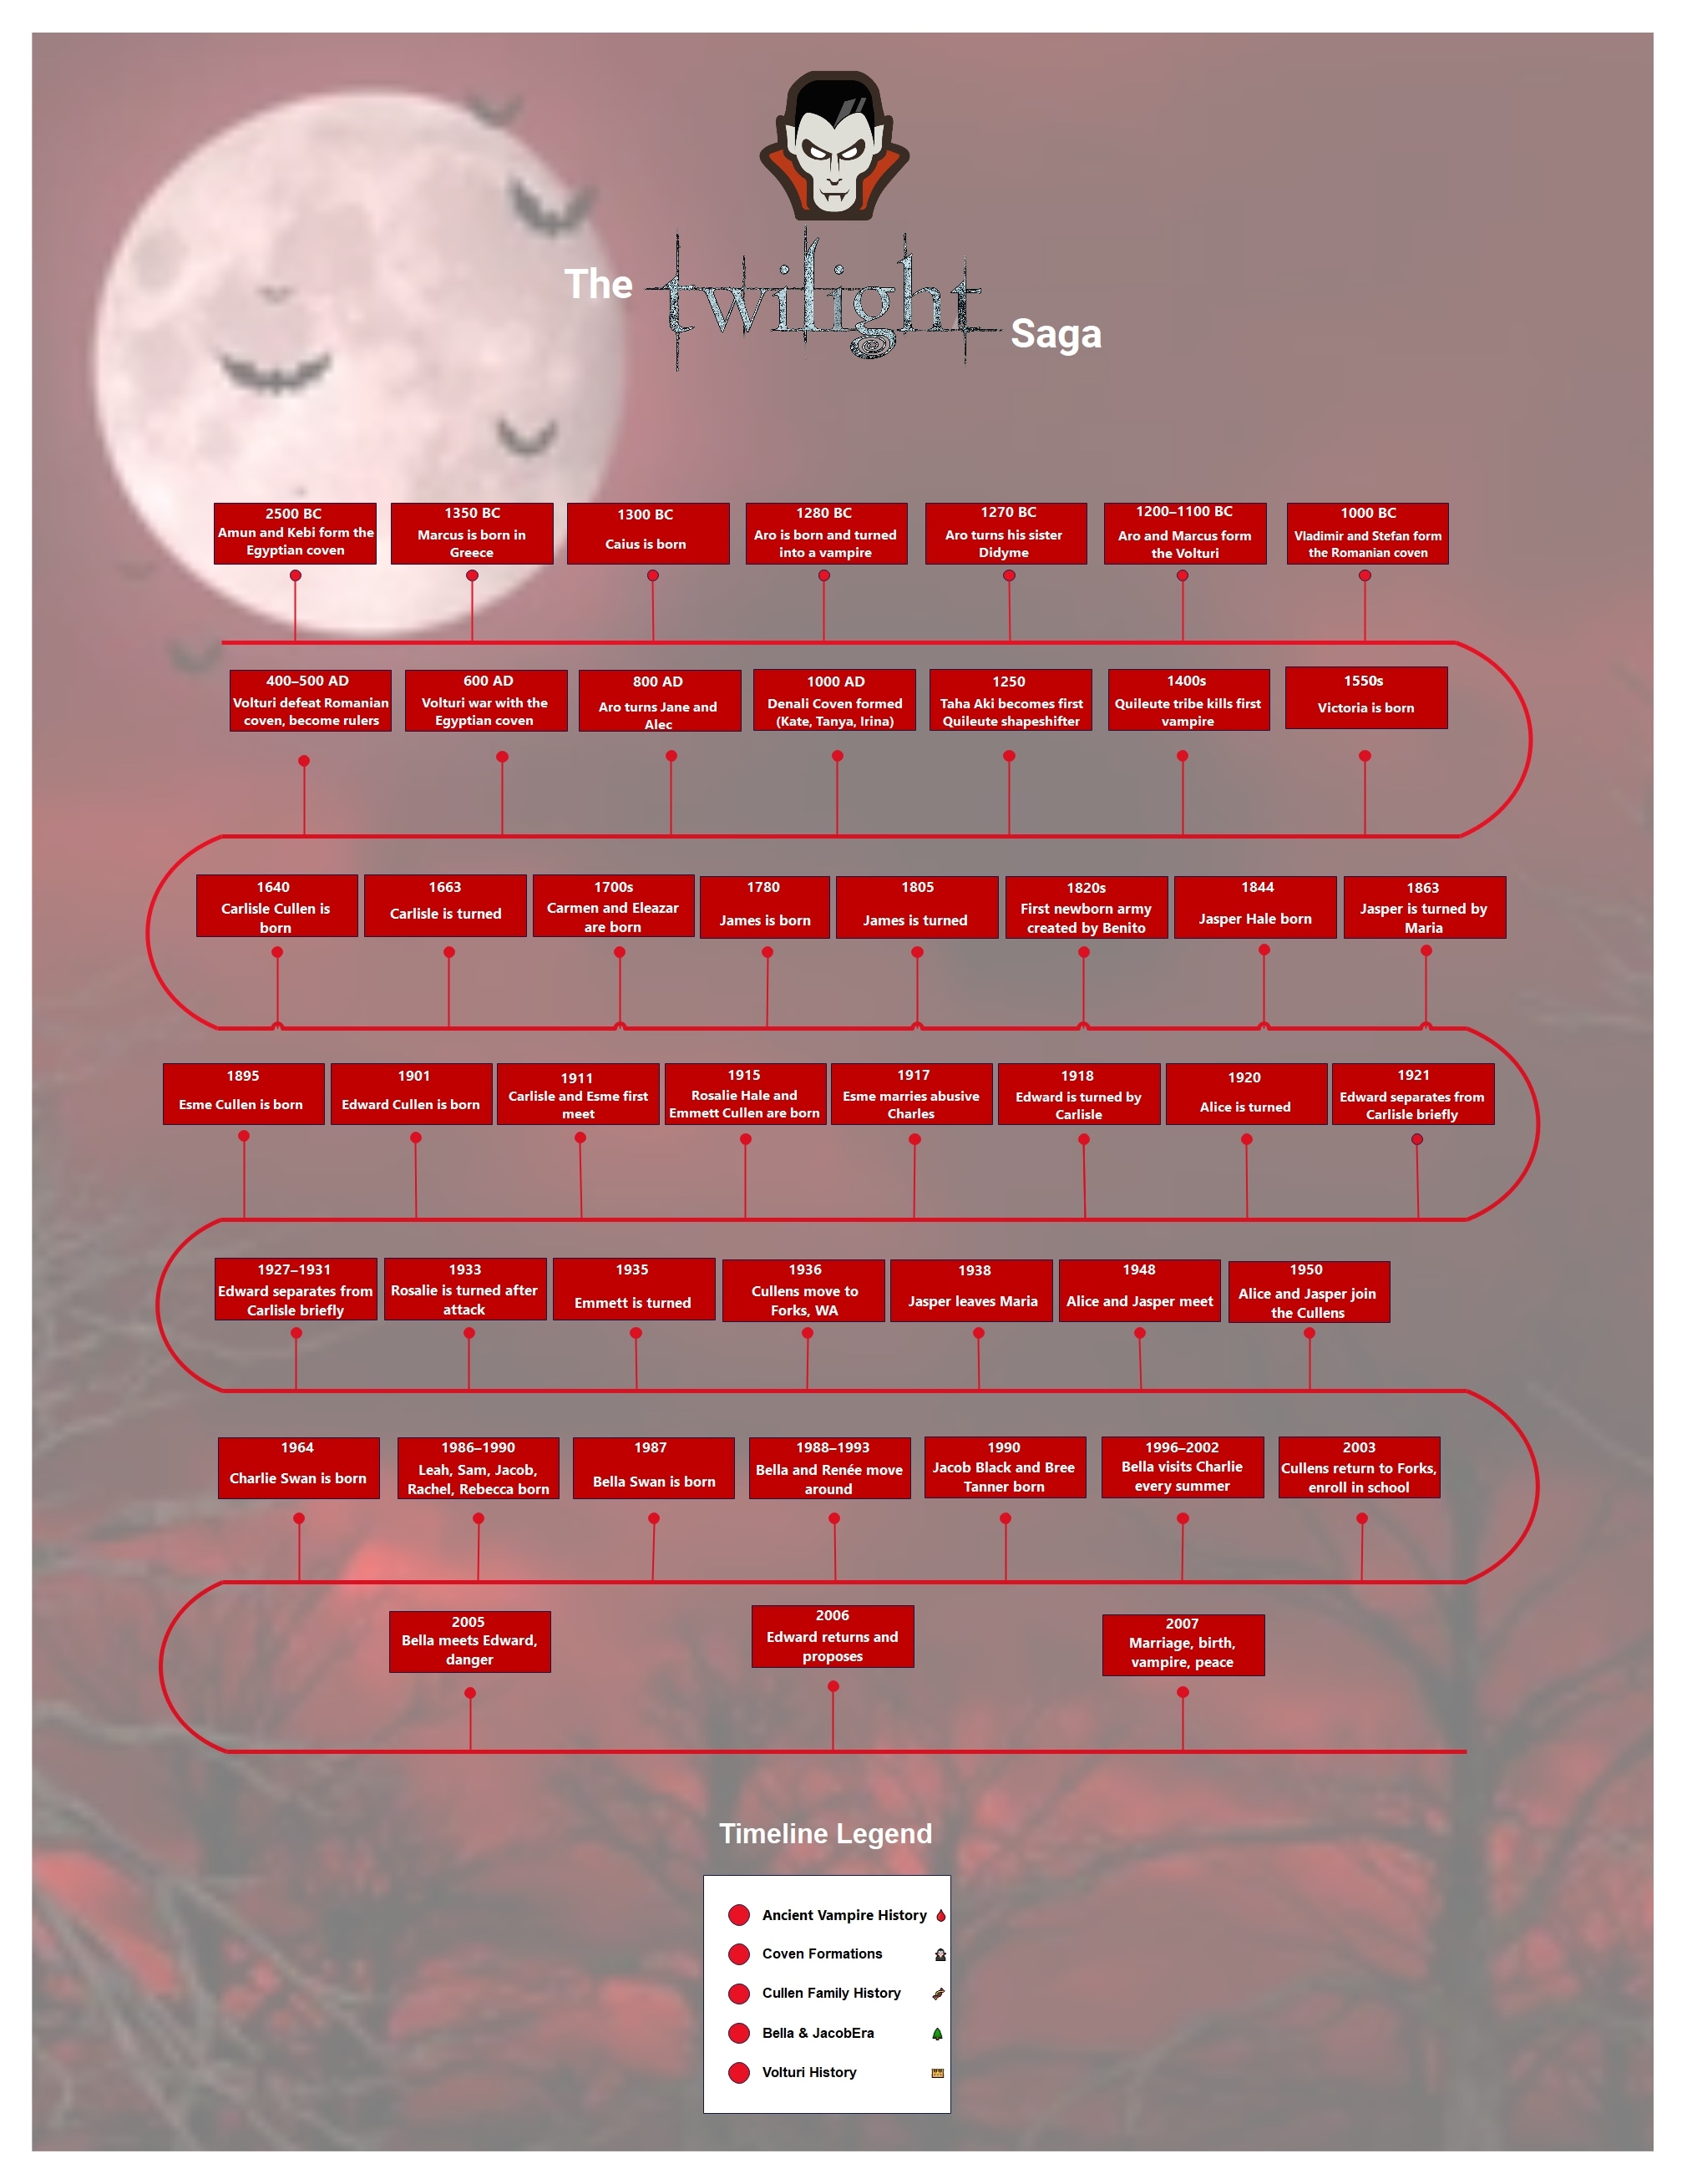
Ancient Vampire History (2500 BC – 1000 BC)
Slide into the red section at the top to start with the events of the BC era. This is where it all begins when the ancient vampires like Amun and Kebi form the Egyptian covens. Aro and Marcus form the Volturi, and then comes the birth of the Romanian coven in 1000 BC, setting the stage for everything that follows.
Coven Formations (400 AD – 1550s)
In the brown section, you’ll see how the Volturi defeat the Romanian coven to gain control of the immortal world. This gives birth to some significant storylines, from the Romainan and Denali covens to the Quileute tribe’s first shapeshifter. These are the roots of every major vampire clan and werewolf pack.
Cullen Family History (1640 – 1950)
Here’s where the heart of the saga takes shape. You can trace Carlisle’s birth and transformation to the century-long assembly of his family. The emotional turning points, like the birth of Edward, Esme, Rosalie, Emmett, Alice, and Jasper, and their tragic backstories, are all in this part.
Bella and Jacob Era (1964 – 2003)
The green section captures the Bella and Jacob era, starting in the late 1980s. Charlie Swan’s birth, Bella’s childhood, and the tense love triangle between Bella, Edward, and Jacob unfold. All against the backdrop of the Cullens’ return to the Forks.
Volturi History and Finale (2005 – 2007)
Finally, the climax of the saga and its long history begins. Bella’s transformation, Renesmee’s birth, and Volturi's showdown with the Cullens. The finale’s events bring everything full circle, tying ancient vampire politics to modern-day high school drama.
How To Make A Timeline For Books or More
Timelines are powerful diagrams that display events and milestones in chronological order. However, some timelines contain extensive information, making them tricky to create.
That’s where EdrawMax can help you. EdrawMax is a versatile diagram maker known for its intuitive UI and rich templates. It helps users generate over 210 types of diagrams, including timelines.
Here’s how you can create a timeline with EdrawMax. Follow the steps below to make a timeline in 6 easy steps.
Step 1Access EdrawMax
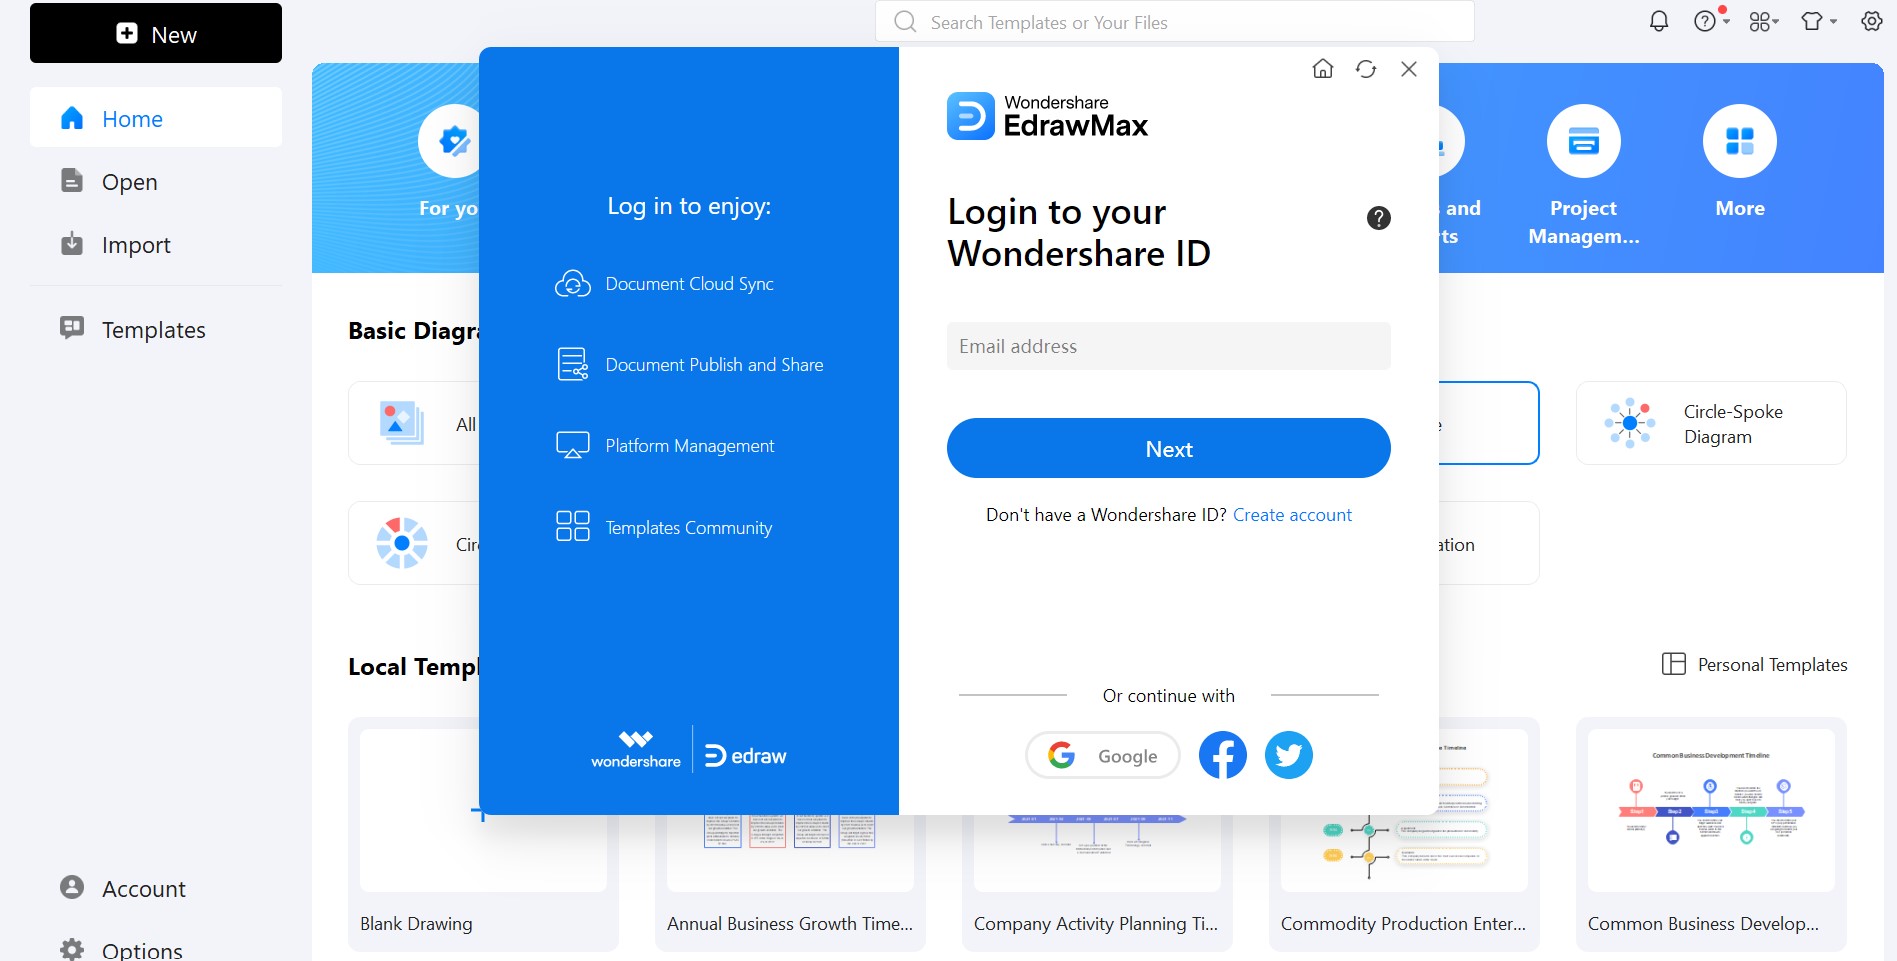
- Install and start the app
- Once the software is set up, log in or sign up for your Wondershare account.
Step 2Create a New Timeline Document
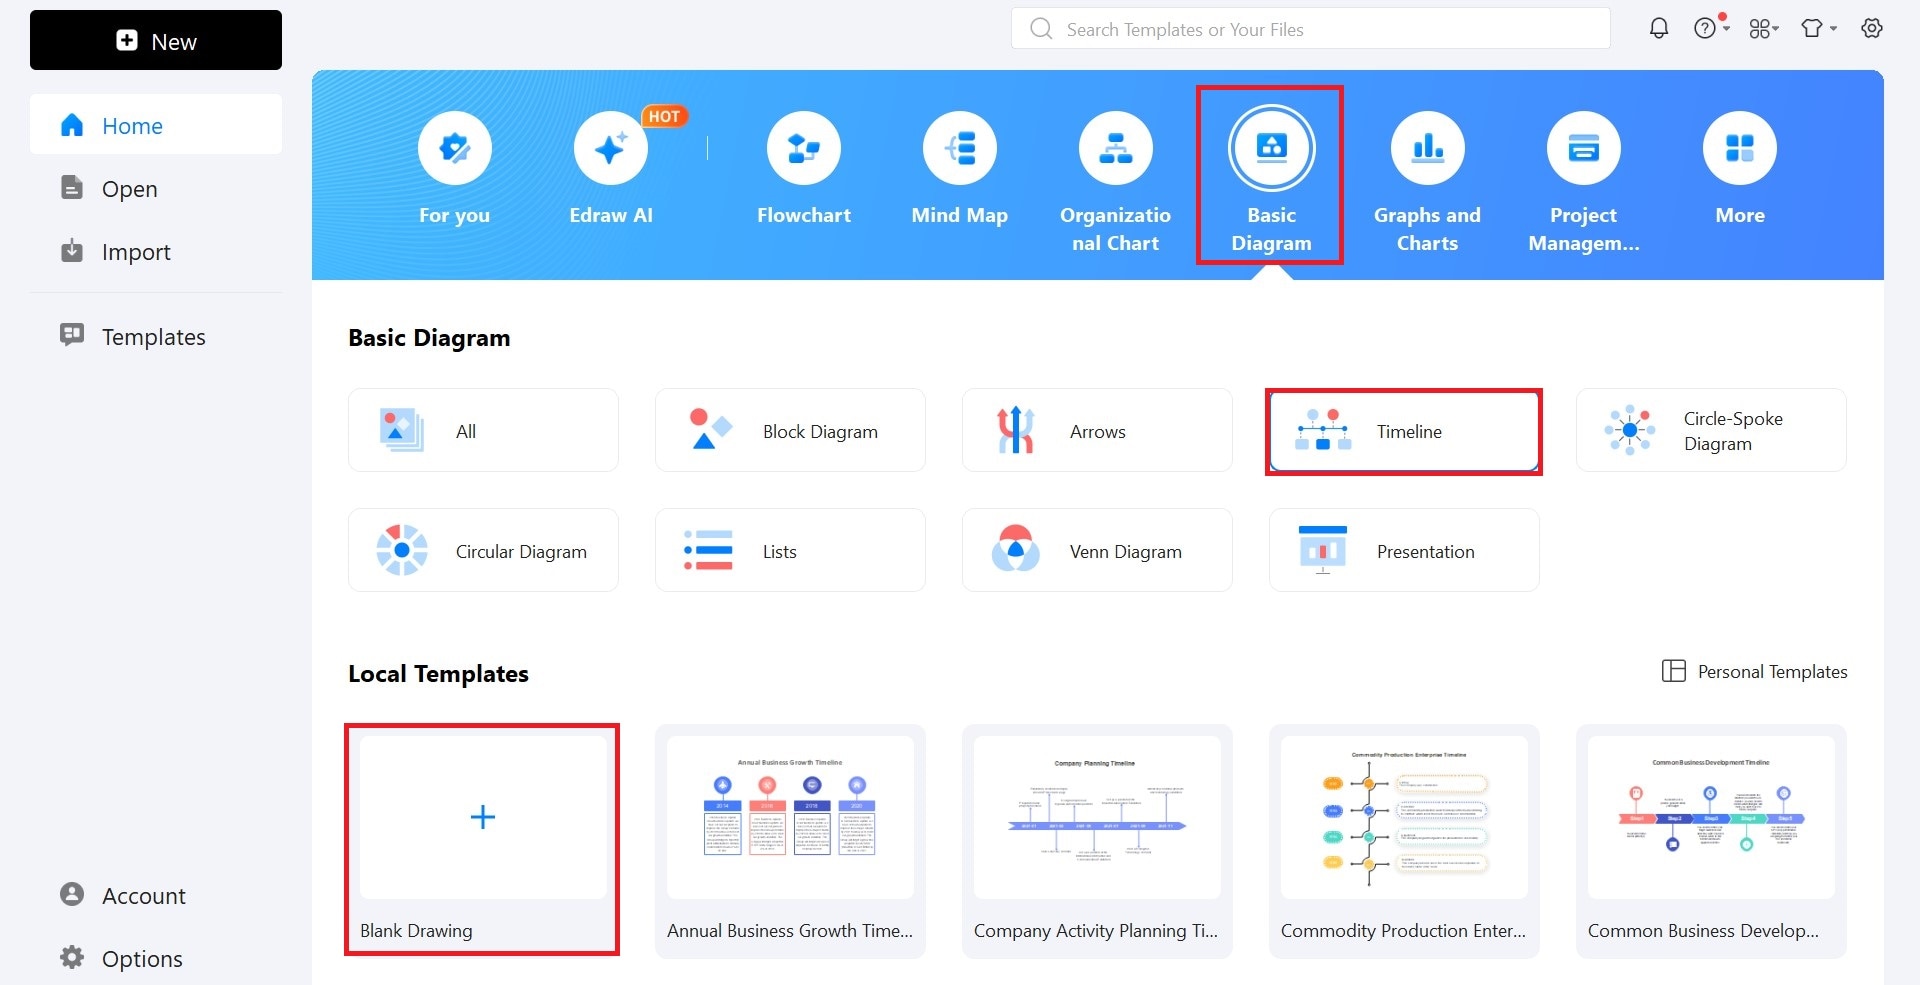
- Navigate to the Basic Diagram on the homepage.
- From the Basic Diagram section, select Timeline.
- Select Blank Drawing from Local Templates to create a timeline from scratch.
- Alternatively, you can choose from the ready-made templates available.
Step 3Choose a Timeline
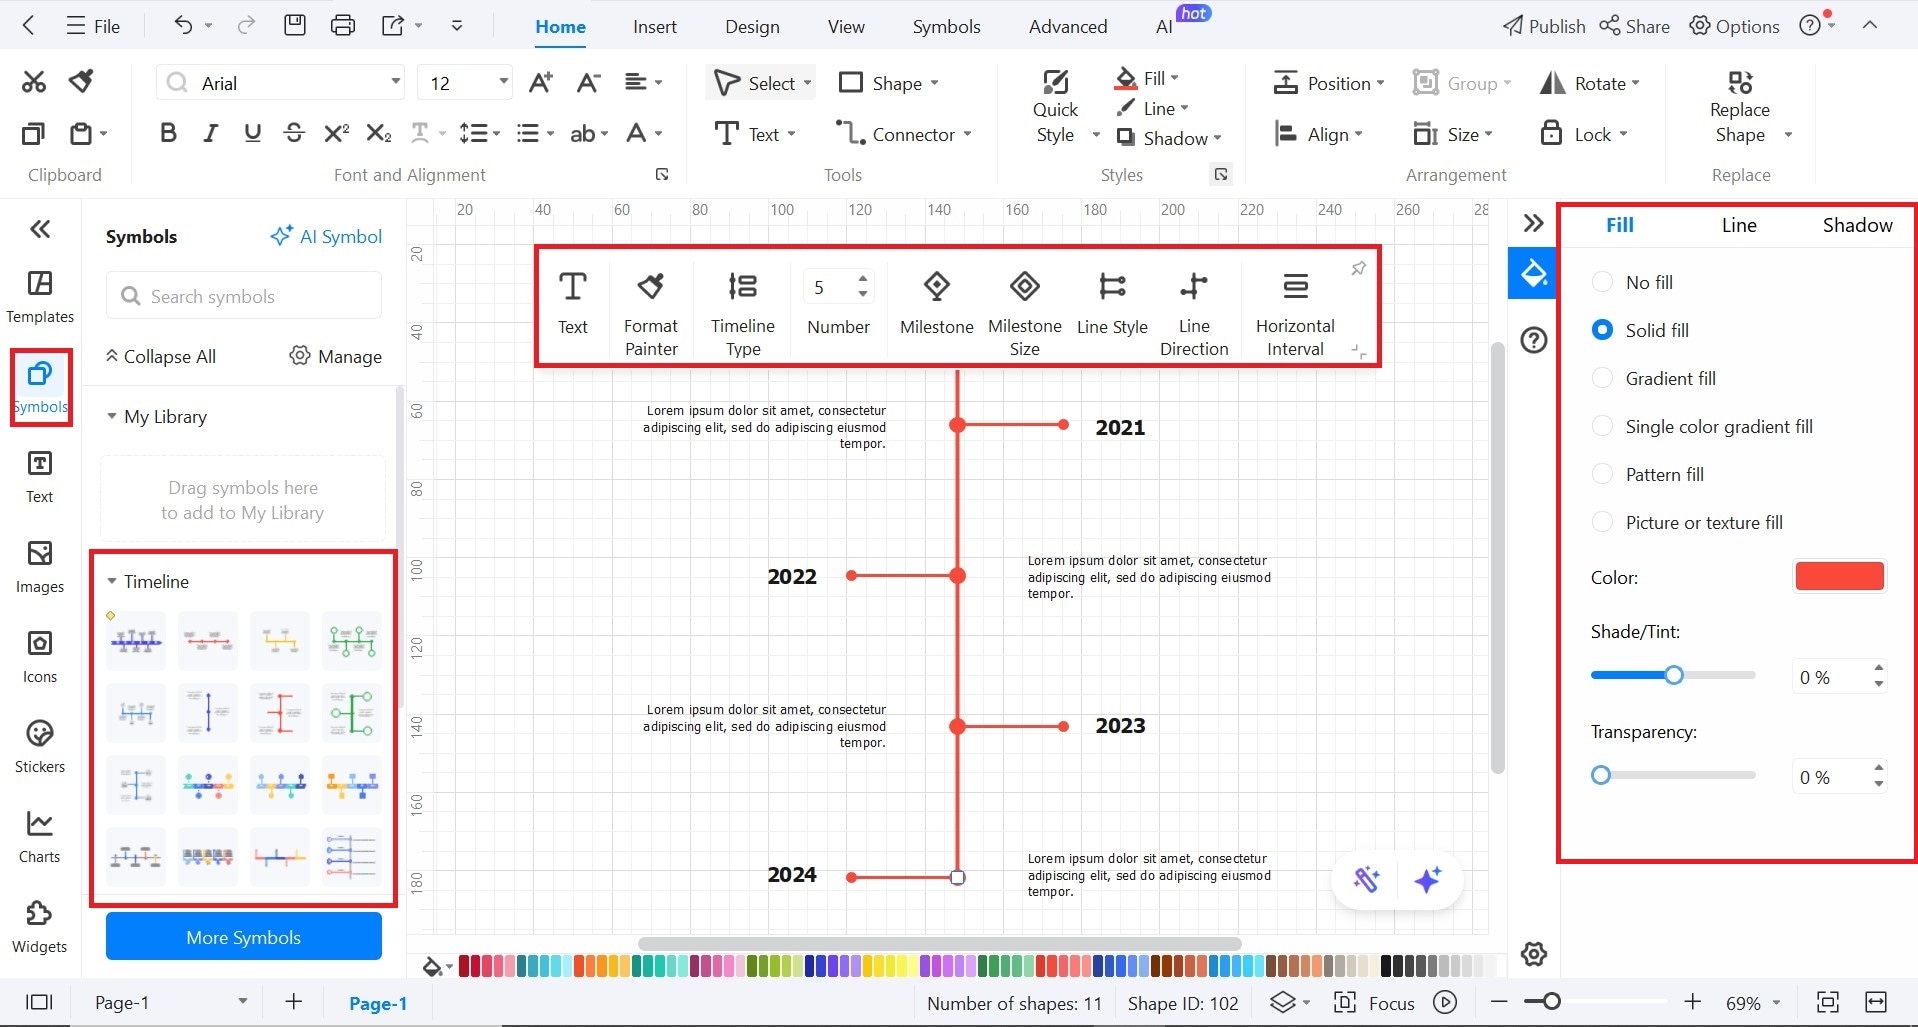
- Once on the blank canvas, head to the Symbol Library on the left sidebar.
- Drag one of your preferred timeline styles to the canvas.
- Double-click the timeline, and an editing panel will appear.
- From there, adjust the Timeline Style, change Line Direction, Milestone Size, and more.
- Customize it by changing its color and style from the right-hand bar.
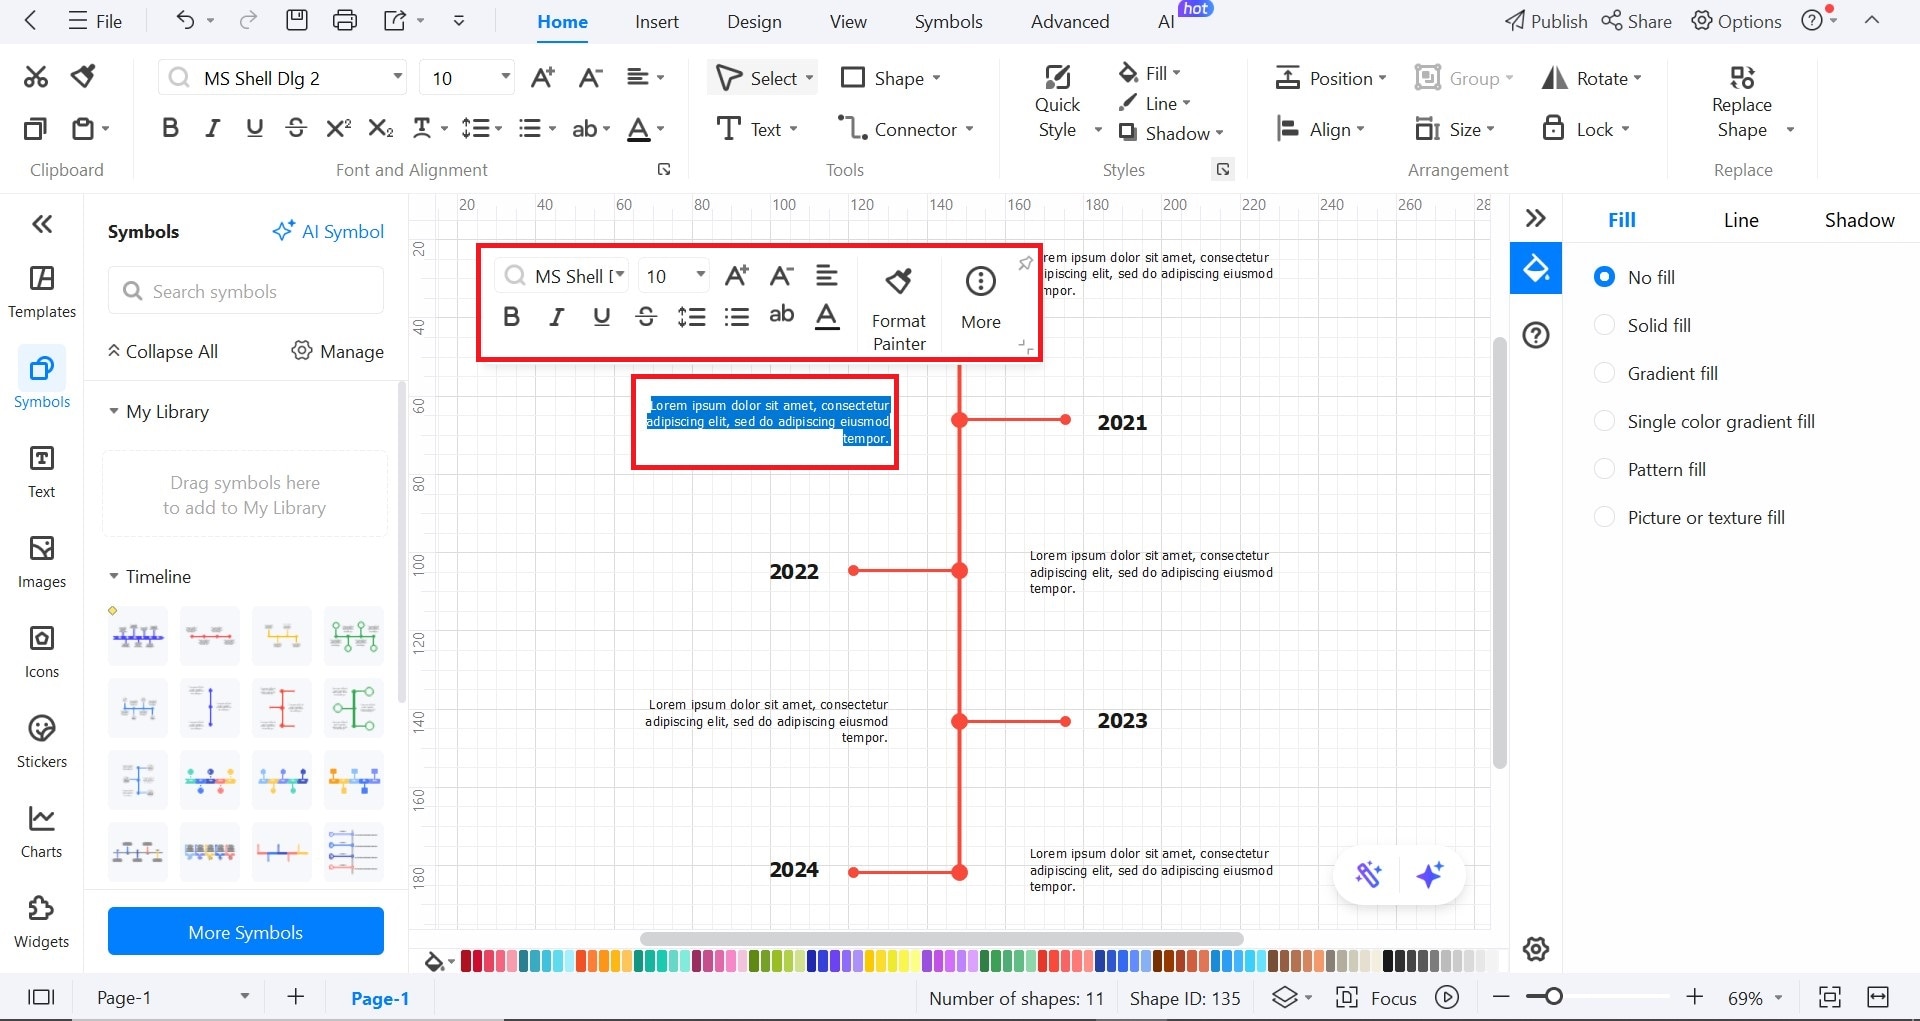
Step 4Add Milestones
- Double-click the sample text to add your milestones.
- You can change the description on each placeholder.
- Add as many milestones or events as you like by increasing the line numbers.
- Double-click on the text to change the font style, color, or size from the editing panel.
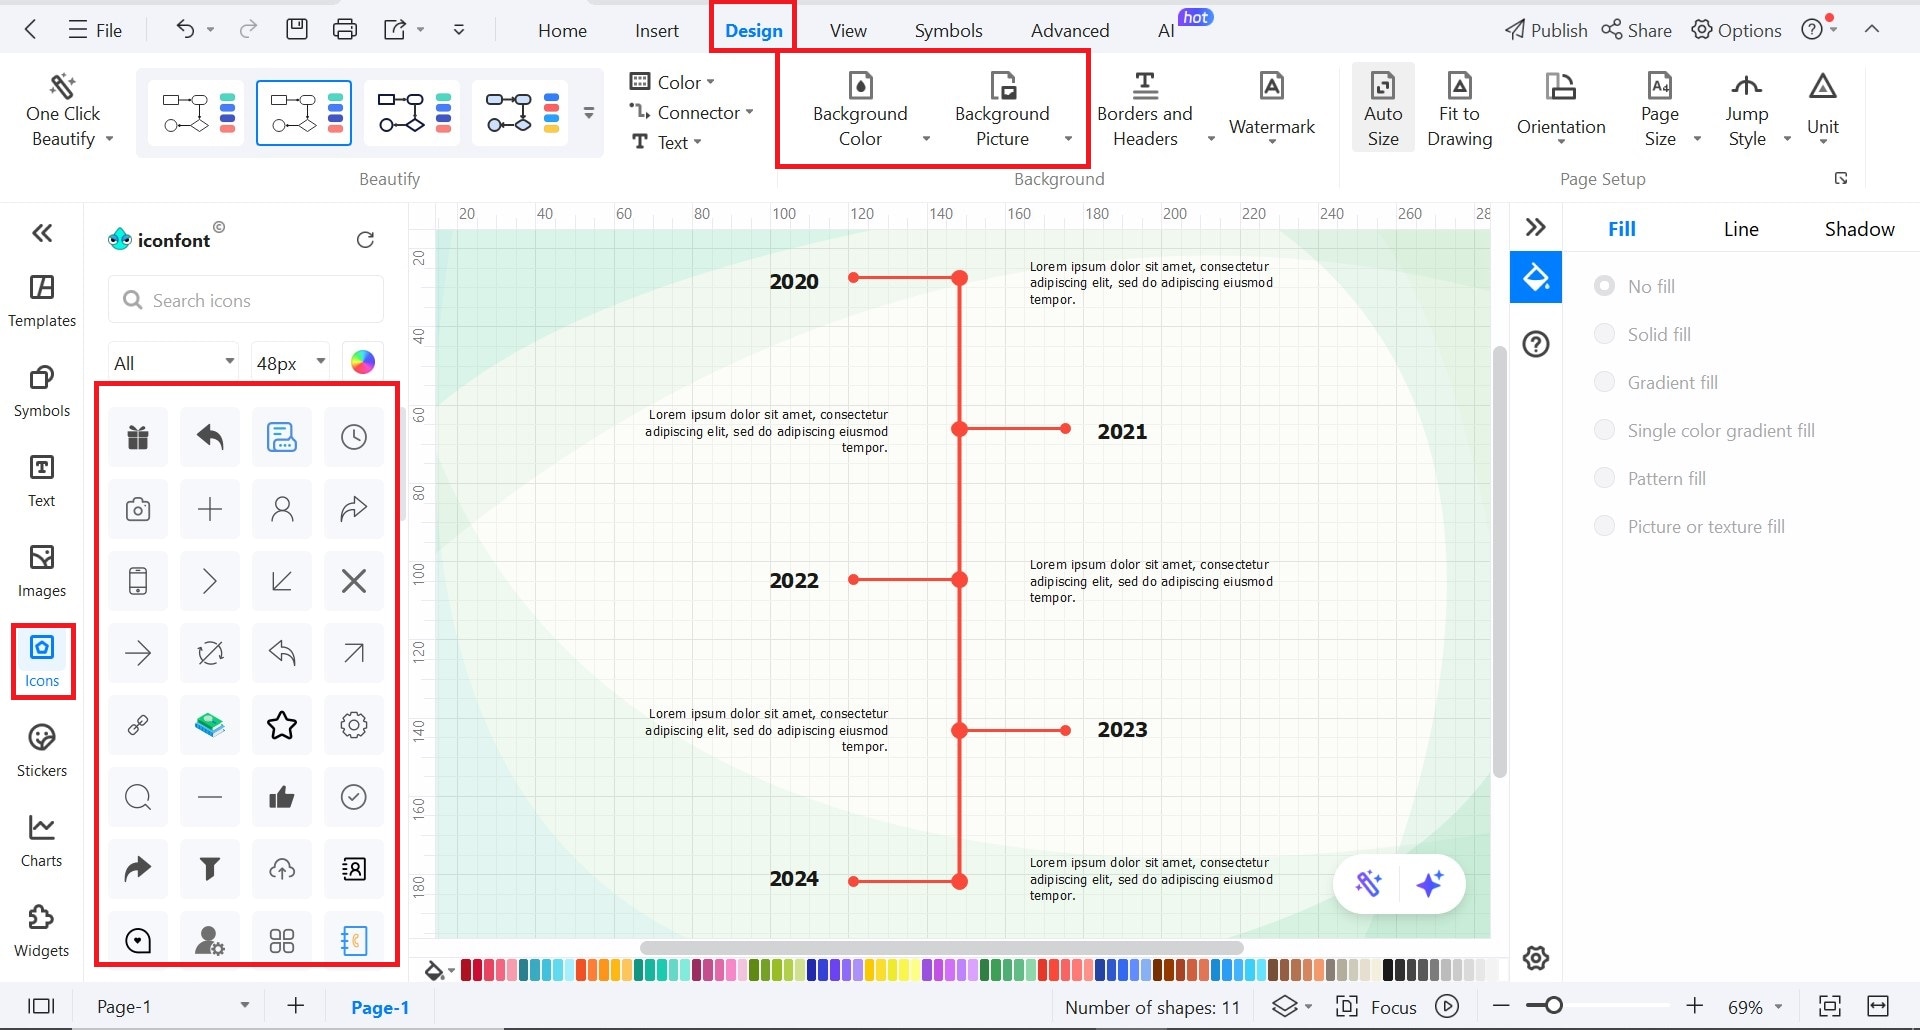
Step 5Customize the Timeline
- Finish your timeline by adding interactive icons from Icons on the left-side bar.
- Head to the Design panel to add background color or a background picture.
- Choose from the many options available.
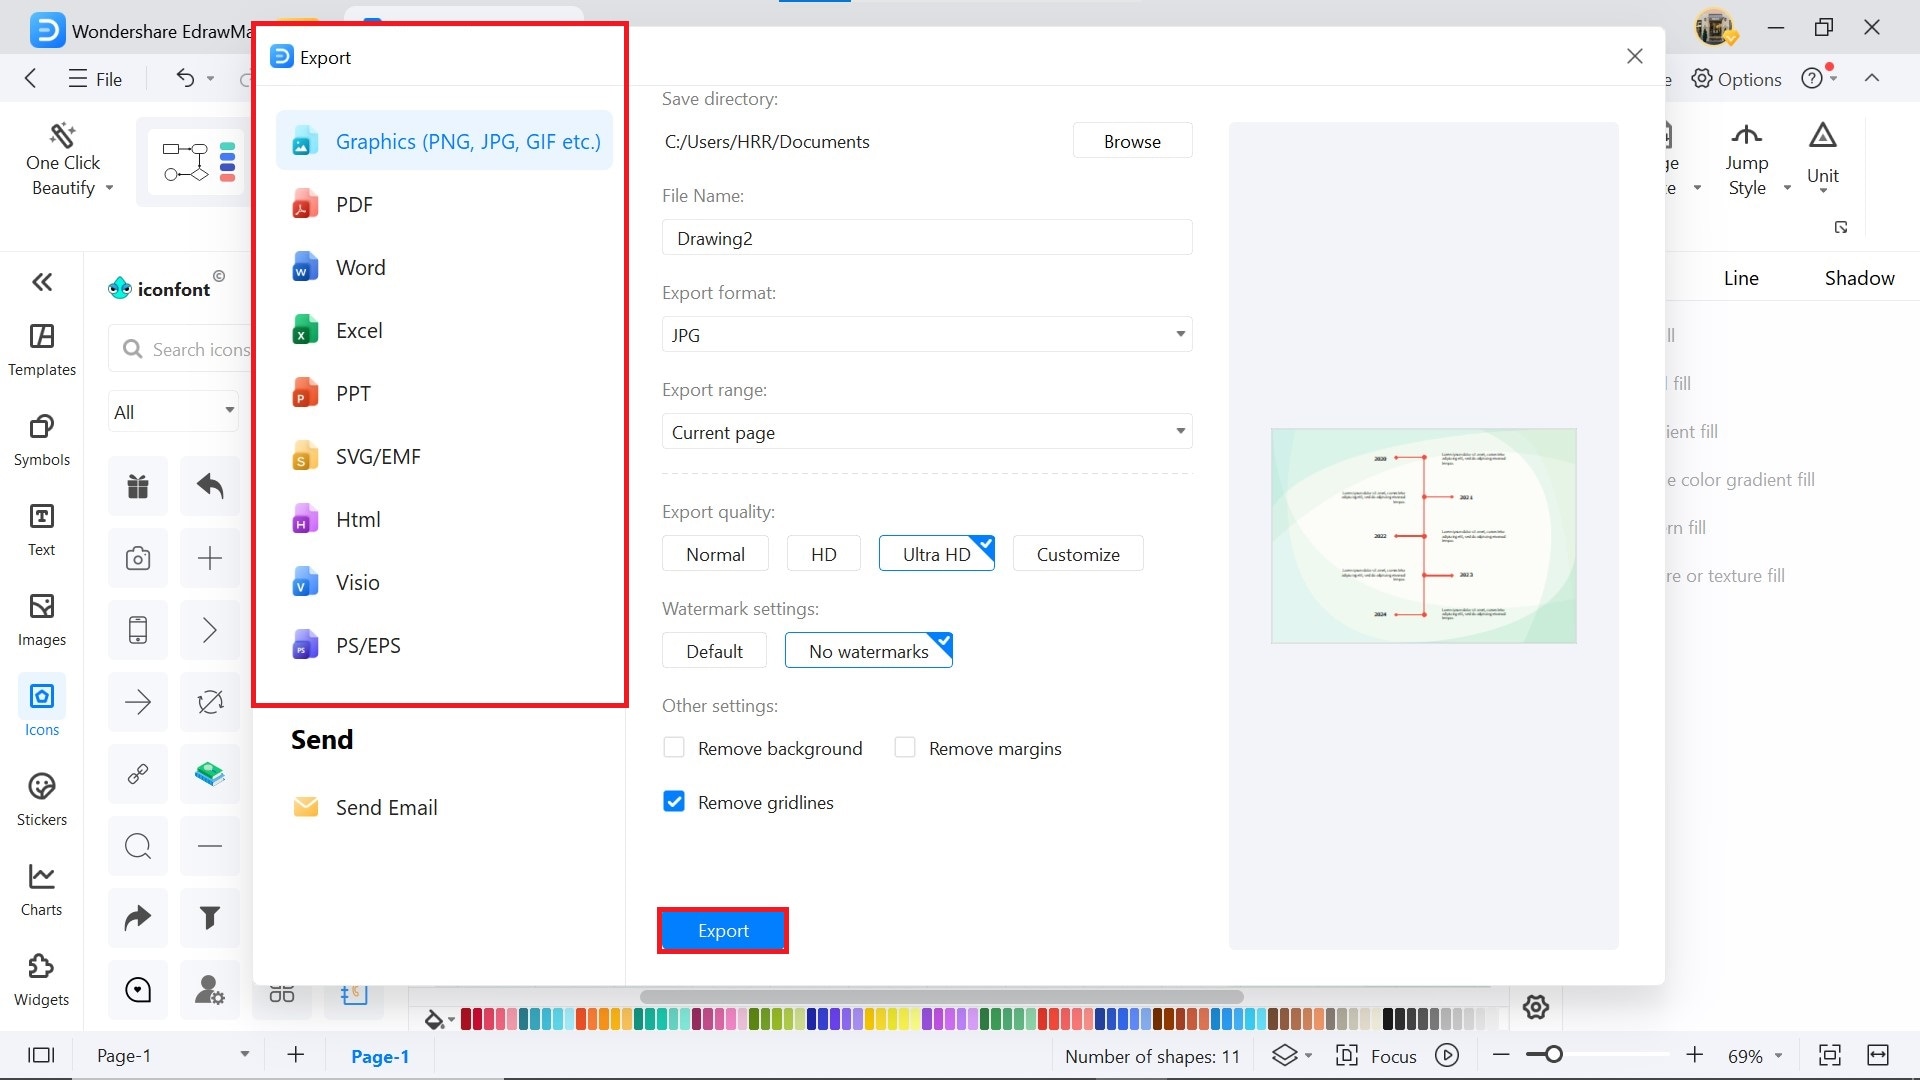
Step 6Save & Export the Timeline
Once finalized, hit the Export button from the top left menu and select your desired format from the multiple available options:
- PNG/JPG for images
- PDF for documents
- PPTX to use in PowerPoint
- Excel (XLSX) to keep numerical data
- And more.
AI Diagram Generator
Enter your prompt. Upload files if needed. Generate diagrams, charts, or slides instantly.


