


Trying to make sense of One Piece can feel like sailing into the ocean with no compass. Naturally, it’s no surprise that many first-time viewers get lost in the dozens of arcs and a sea of timelines. Our clean, visual “World Timeline of One Piece” timeline template works best for that purpose.
To fully appreciate the journey of the Straw Hat Pirates, it's essential to understand the key events that came before them. Below, we break down the major eras that define this world.
One Piece Timeline: Complete Explanation

1. Ancient Era (Over 800 Years Ago)
This era is at the heart of One Piece’s deeper narrative. It is known as the Void Century, as this era was completely erased from history. It was when the Great Kingdom thrived and created the indestructible stone tablets known as Poneglyphs.
But the Kingdom was later destroyed to utter destruction by the 20 allied kingdoms. These kingdoms later formed the World Government.
2. Roger Era (38-24 Years Ago)
Years later, a new age begins. Gol D. Roger conquers the Grand Line (a dangerous sea route), reaching the final island, Laugh Tale. This victory gets him the title Pirate King. Later at his execution, he ignites the Great Pirate Era, daring the world to see the One Piece.
This is also when two key characters, Luffy and Ace, are born, whose stories will soon be the centre of attention.
3. The Great Pirate Era (Starts 1522)
One Piece’s protagonist Monkey D. Luffy is a boy with a straw hat and a dream. He sets out from Foosha Village to become King of the Pirates. He quickly forms the Straw Hat crew. This crew helps him battle Buggy, Arlong, and the Crocodile as they enter the Grand Line.
Here, the seas grow rougher, but so does Luffy’s determination.
4. The Skypiea to Marineford Period (1523-1524)
A lot happens in these 2 years. In 1523, Luffy and his crew go to Skypiea and survive Enies Lobby. They declare war on the World Government and become enemies of the world.
In 1524, the crew is separated at the Sabaody Archipelago. Luffy faces the devastating Marineford war, where Ace and Whitebeard fall. This leaves Luffy broken. He takes a two-year training break to return stronger.
5. New World Era (1526 - 1527)
After 2 years, the crew reunites and sets sail for the Grand Line. This year, they face multiple dangers and must defeat them. By 1527, the Road Poneglyphs are revealed. A lot more happens, and the year ends with the Wano Arc beginning.
6. Wano and the Rise of a Yonko (1528)
This year, the Final Battle of Wano happens, where Kaido and Big Mom are defeated. Luffy awakens a new power, and by the end, he’s crowned a yonko, one of the world’s Four Emperors.
7. Final Saga (1528- Ongoing)
A new era begins and with the Egghead Island Arc, the world trembles again. Dr. Vegapunk, CP0, and Saturn enter the story. Ancient truths surface, and the story races towards its conclusion.
How to Easily Create a Timeline For Free?
Timelines help you organize events and track progress visually, ensuring you’re ahead of the game. Turn complex plans into clear stories with EdrawMax, a versatile diagramming tool. EdrawMax makes creating timelines a breeze. With hundreds of templates, AI tools, and a simple drag-and-drop interface, every step is a no-brainer.
EdrawMax helps you summarize decades-long stories into easy-to-understand timelines in minutes. Whether you’re mapping history or planning a project, EdrawMax keeps your story on track
Here’s how you can create a timeline with EdrawMax. Follow the steps below to make a timeline in 6 easy steps.
Step 1Access EdrawMax
Log in to sign up with your Wondershare account. Once logged in, you'll be directed to the home dashboard.
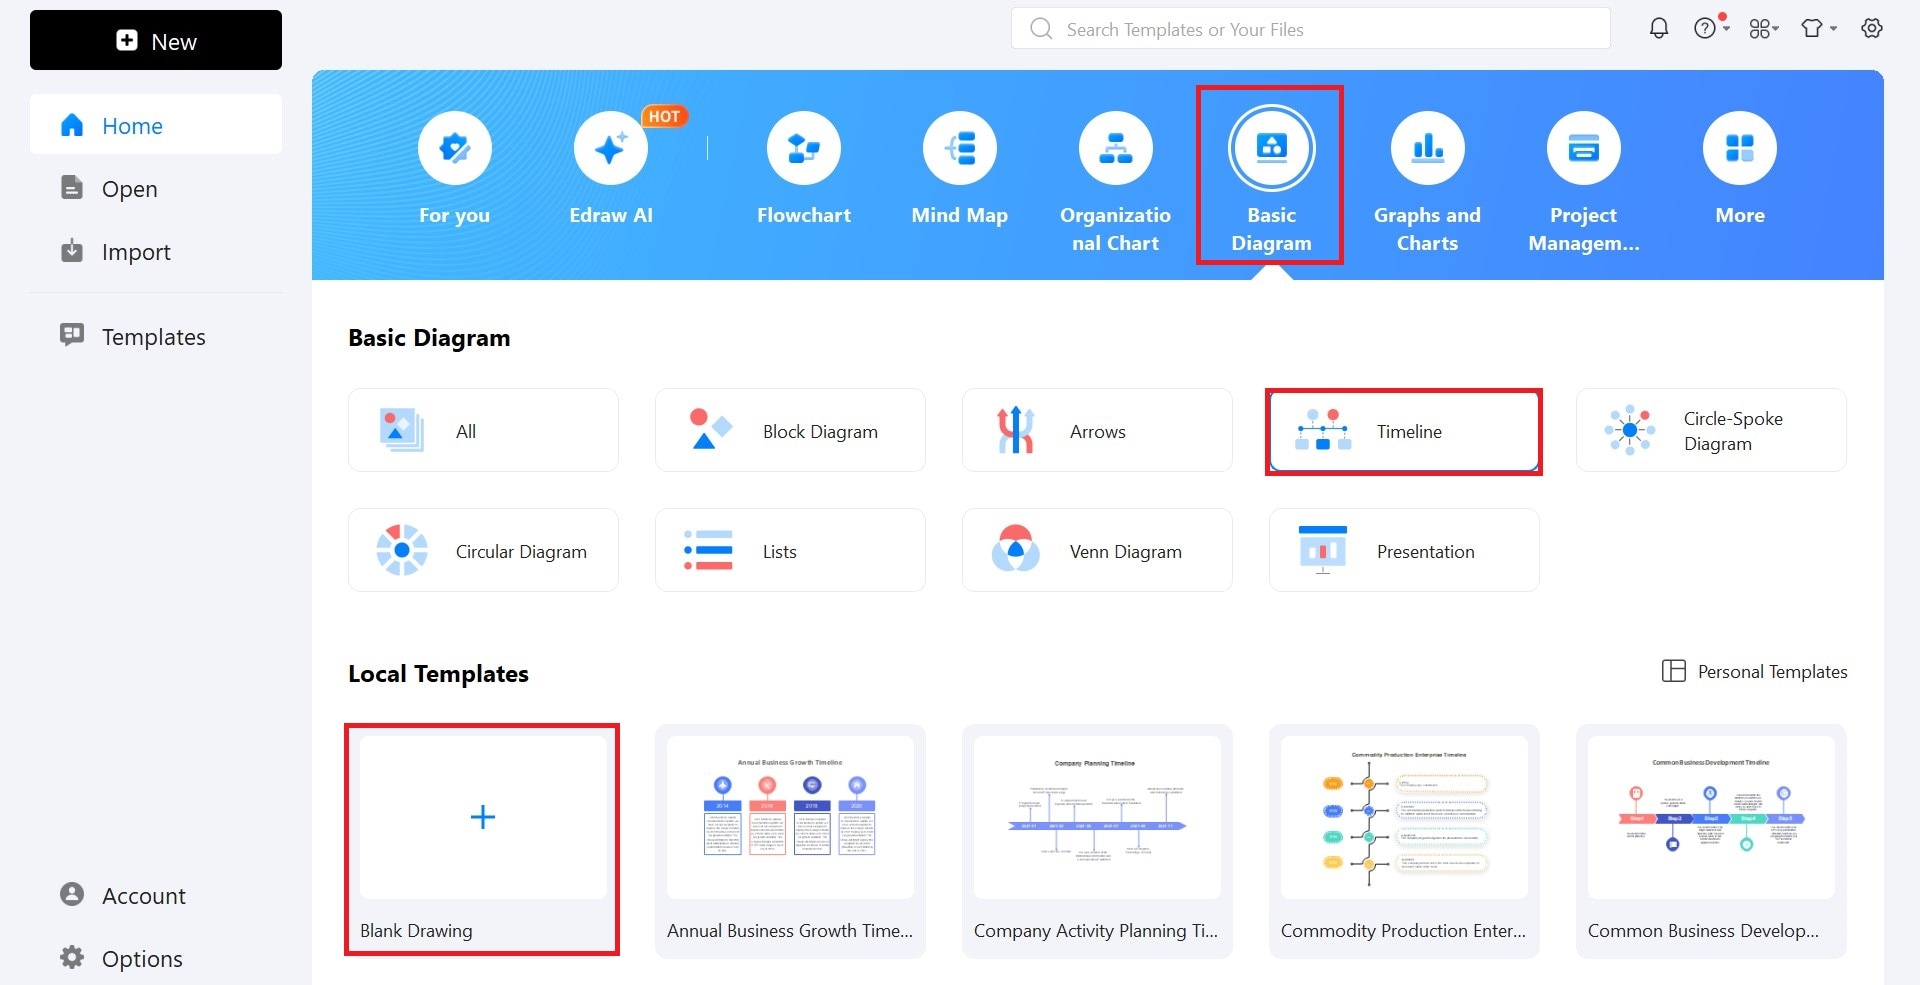
Step 2Start a New Timeline Document
On the homepage, navigate to Basic Diagram > Timeline.
Choose Blank Drawing to start from scratch.
Alternatively, select from various pre-made templates available in the Template Gallery. Templates include types like chronological, roadmap, project timelines, and more.
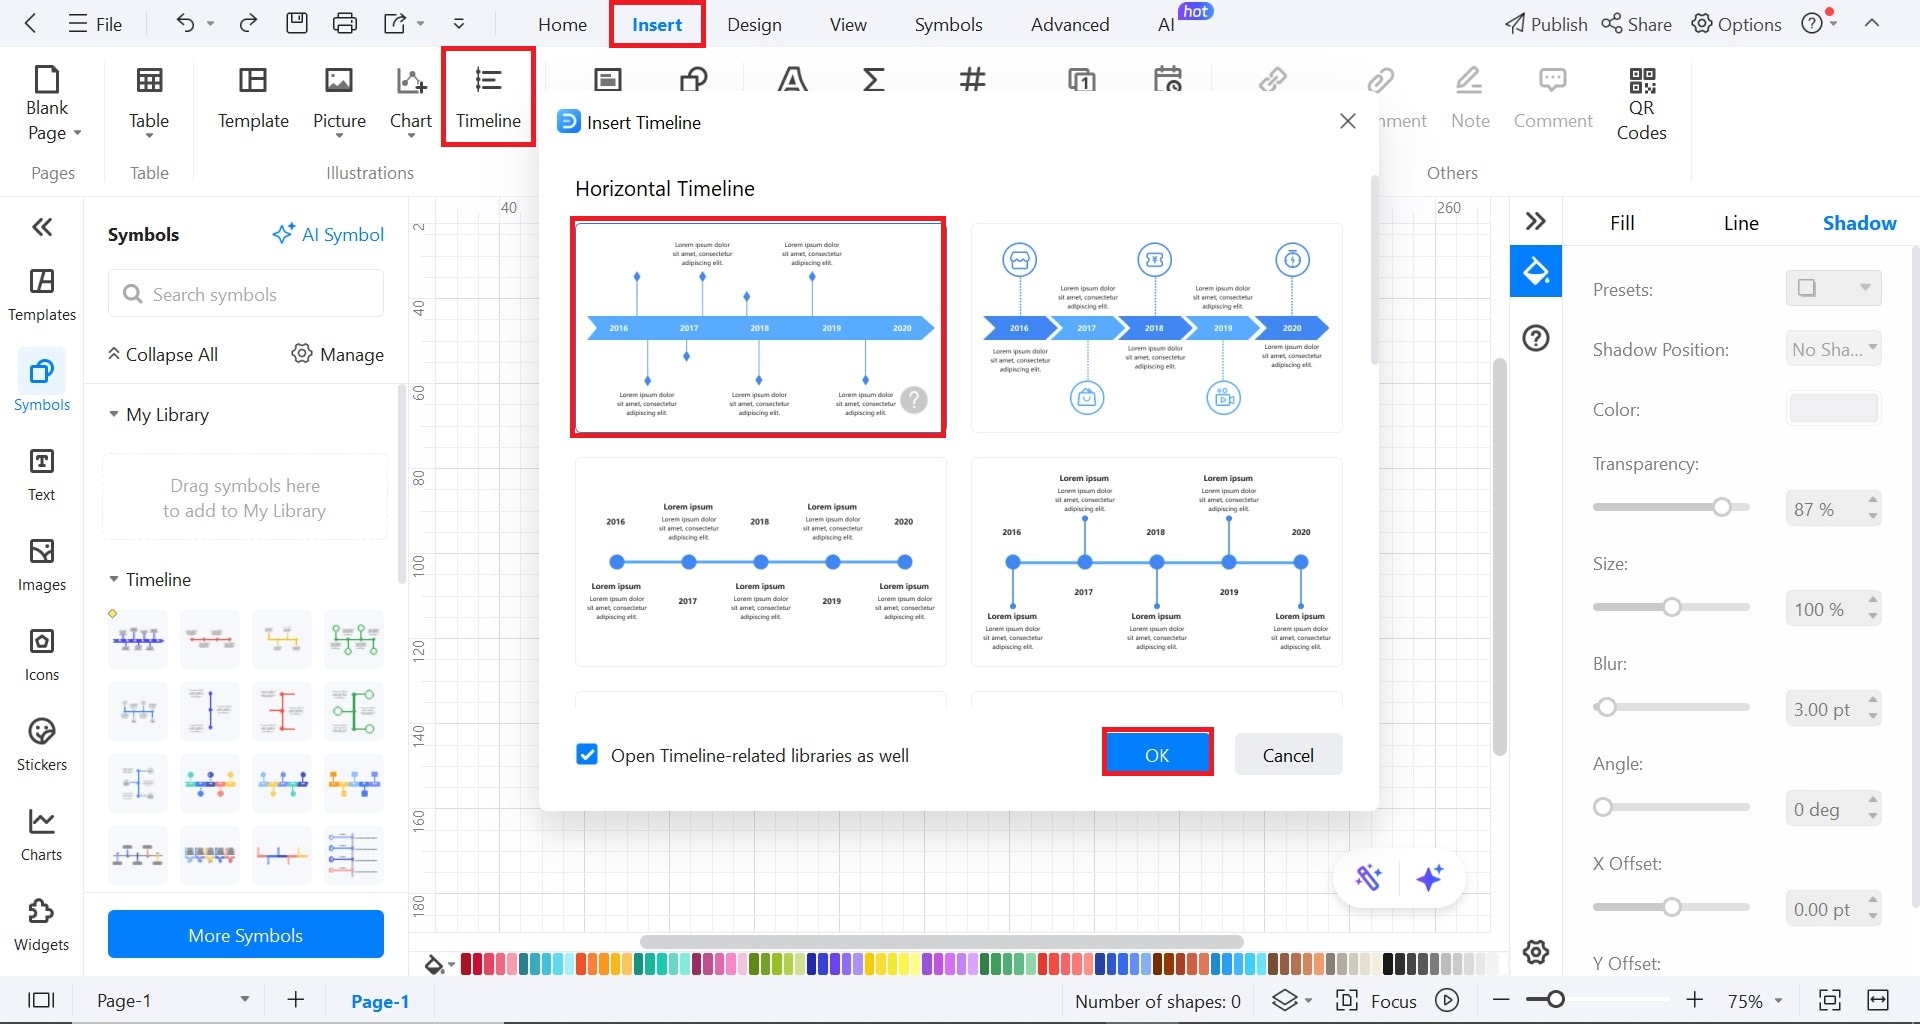
Step 3Choose and Edit Timeline
From the blank canvas, navigate to the quick-access panel. Head to Insert > Timeline to access a range of horizontal and vertical timeline bars.
Select one that suits your needs and click OK. Use side handles to adjust its size as needed.
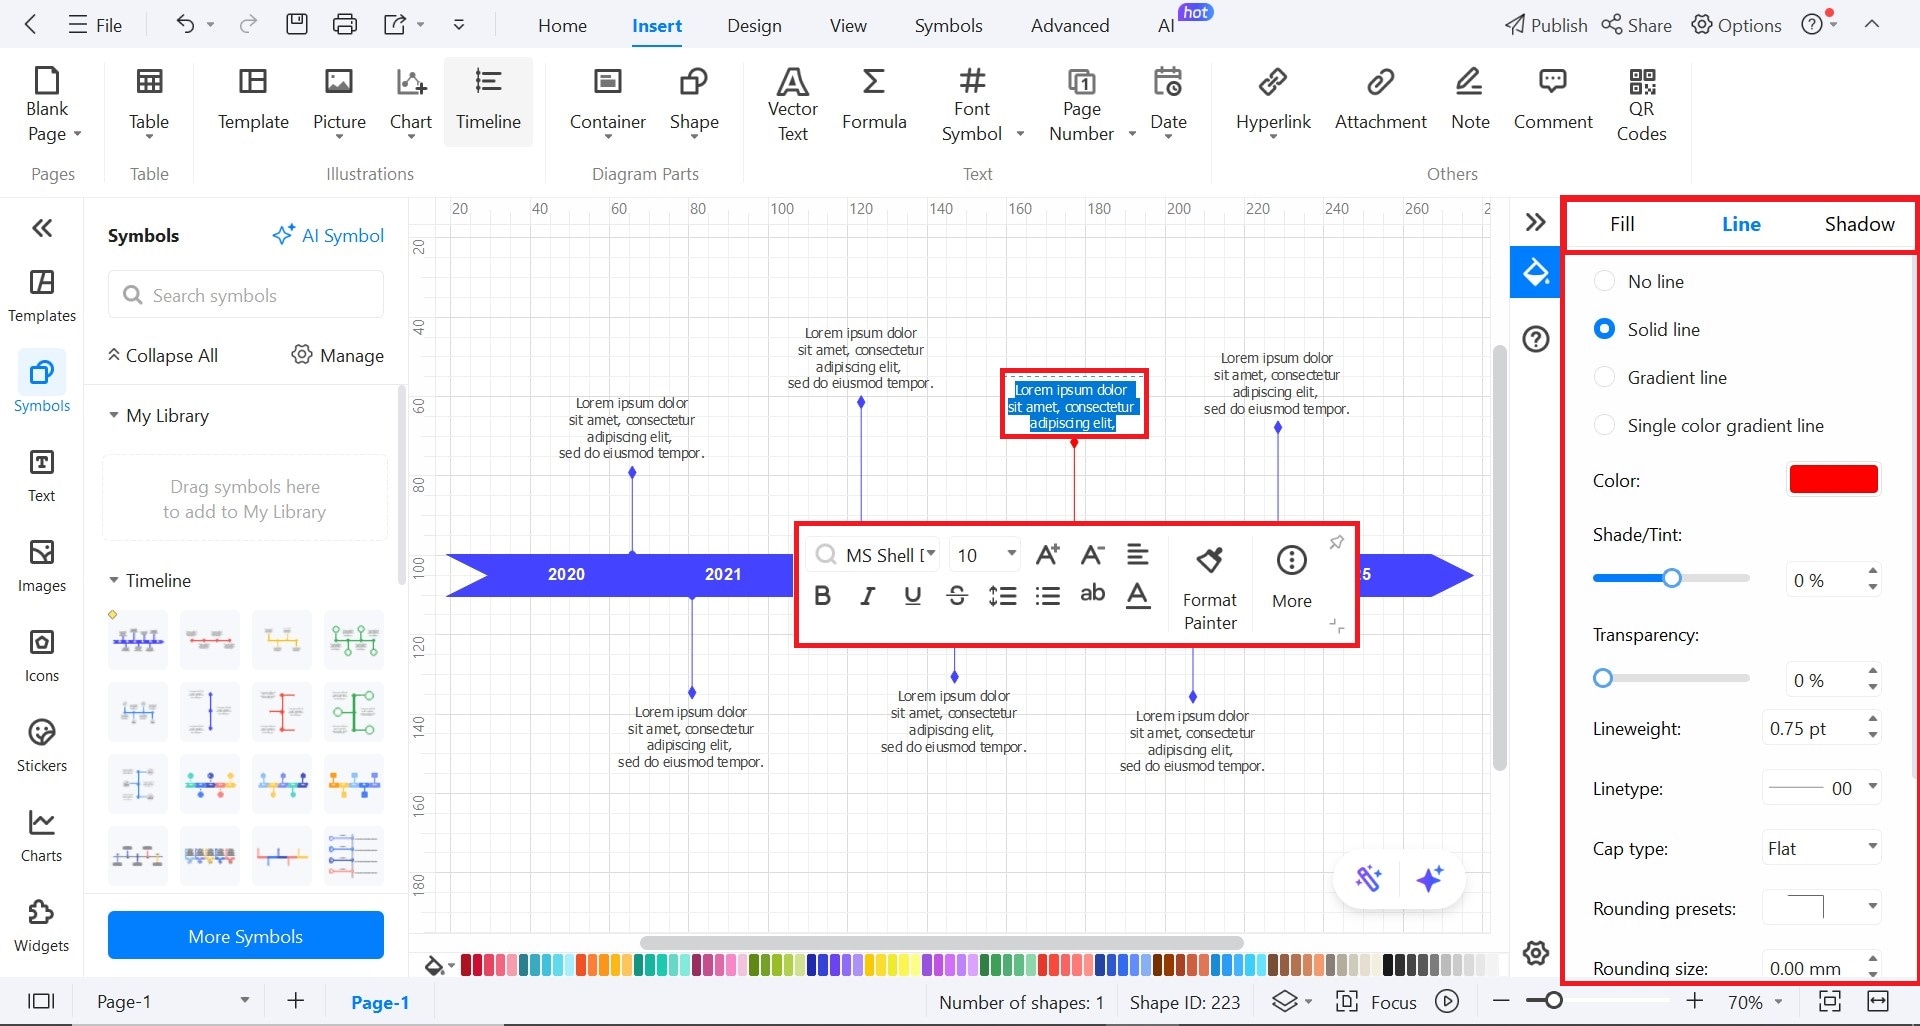
Step 4Customize the Timeline Bar
Click on the timeline bar to select it. Use the format panel on the right to:
- Change the Style (eg, solid fill, gradient)
- Adjust line color, transparency, and type (eg, solid, dashed, etc.).
- Modify the timeline presets and color.
Double-click on the timeline bar to add or edit milestones.
Enter your event descriptions and dates. Use the formatting tools from the floating panel to adjust font style, size, and color.
Step 5Enhance Timeline with Additional Elements
Add icons and symbols from the Icons panel on the left to represent events visually.
Insert callouts for additional information by:
- Clicking the Symbol Library.
- Selecting More Symbols > General > Callouts.
- Drag your chosen callout onto the canvas.
Customize callouts by editing text, adjusting size, and changing colors. Use the Design tab to:
- Apply different themes.
- Change background colors or add images.
- Modify connector styles and font styles.

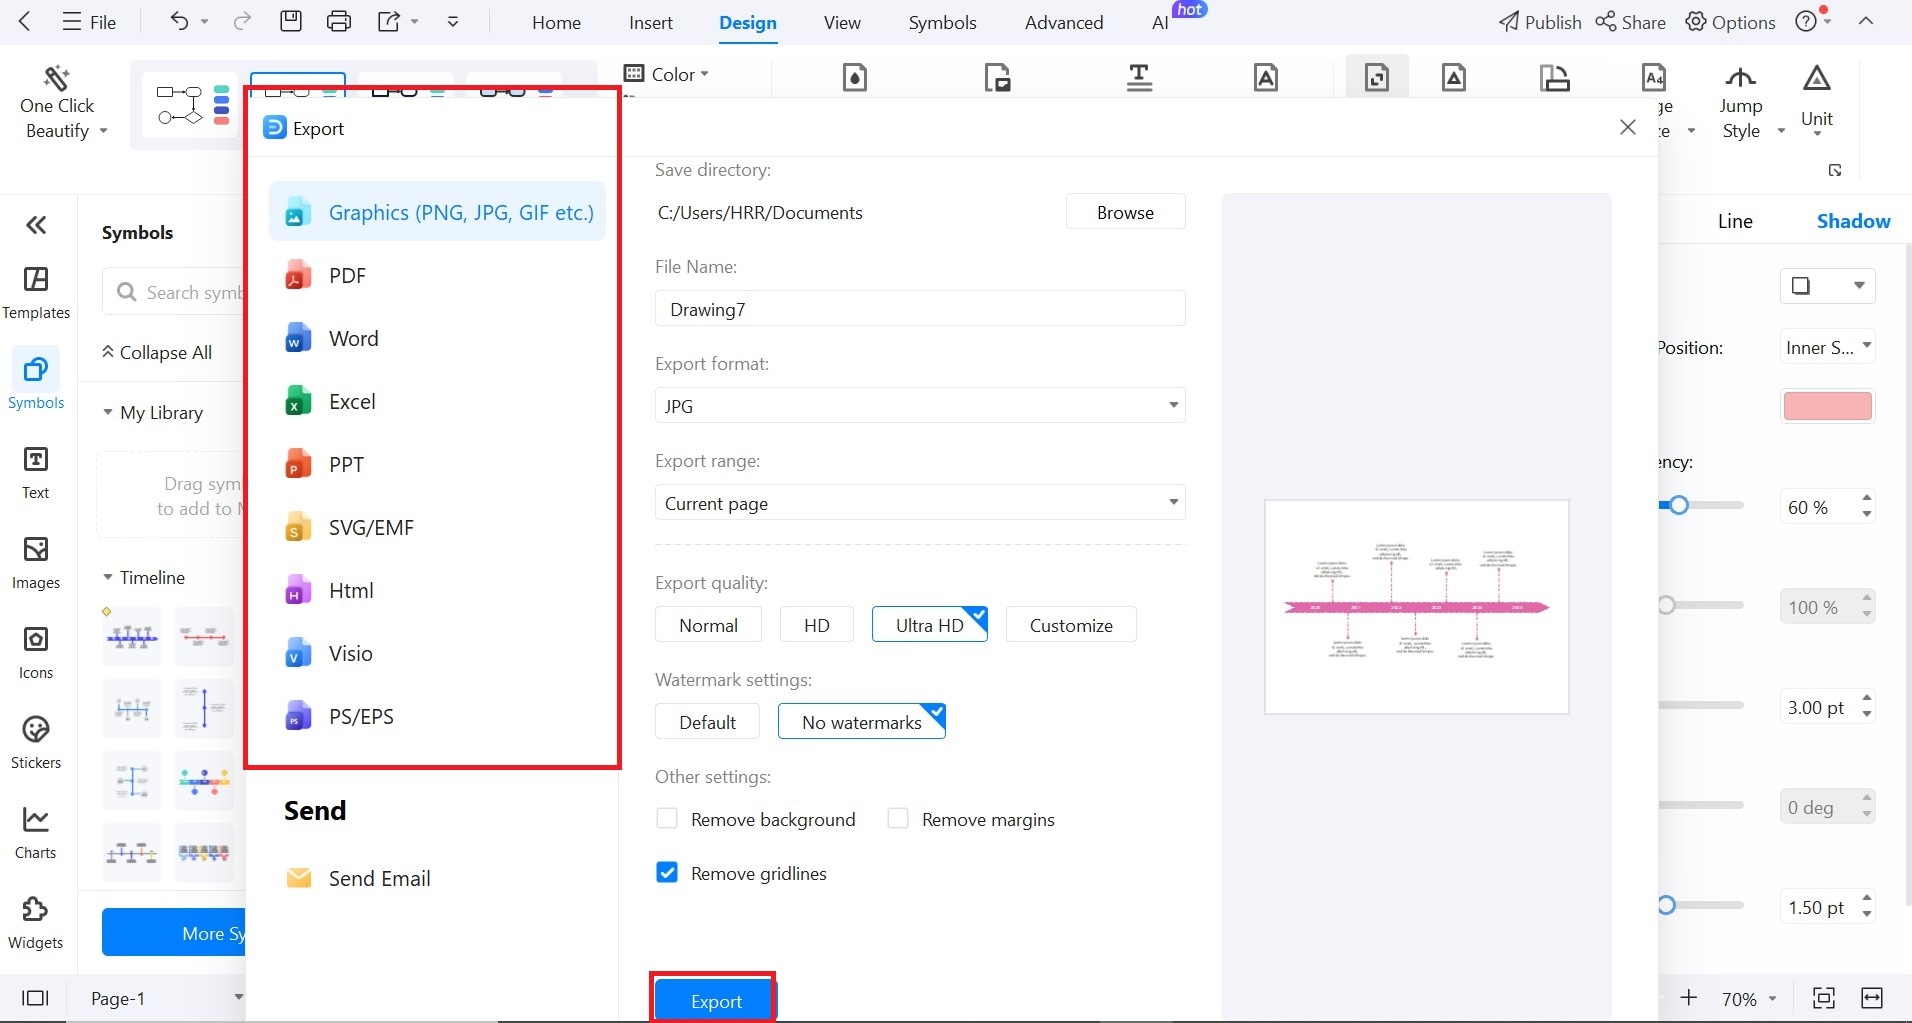
Step 6Save and Export Your Timeline
Click the Export button in the top-left menu. Choose your desired file format:
- PNG/JPG for images
- PDF for documents
- PPTX to use in PowerPoint
- Excel (XLSX) to keep numerical data
You can access your timeline through your EdrawMax cloud or your device directory.
AI Diagram Generator
Enter your prompt. Upload files if needed. Generate diagrams, charts, or slides instantly.


