


As one of the most iconic superheroes in comic book history, Batman is often seen as a solitary warrior. However, his story is also deeply rooted in the creation of a family built through loss, growth, and shared purpose. The path of the Dark Knight is not just one of individual heroism, but of forging connections with others who share his vision for justice.
While Batman’s battles are dark and personal, he is never truly alone. Over time, he has gathered a diverse group of allies, each with their own backstory and motivations. These individuals, who were once strangers or victims of Gotham’s dark streets, become the heart of the Bat-family. They are bound not just by their shared struggles, but by their commitment to protect Gotham.
This article will explore how each member of the Bat-family found their way to Bruce Wayne’s side, their unique journeys, and the challenges they face as part of Batman’s extended family. Together, they stand as a powerful team, each contributing their strength, skills, and unwavering resolve to uphold justice in a city overshadowed by crime and corruption.
Batman Family Tree
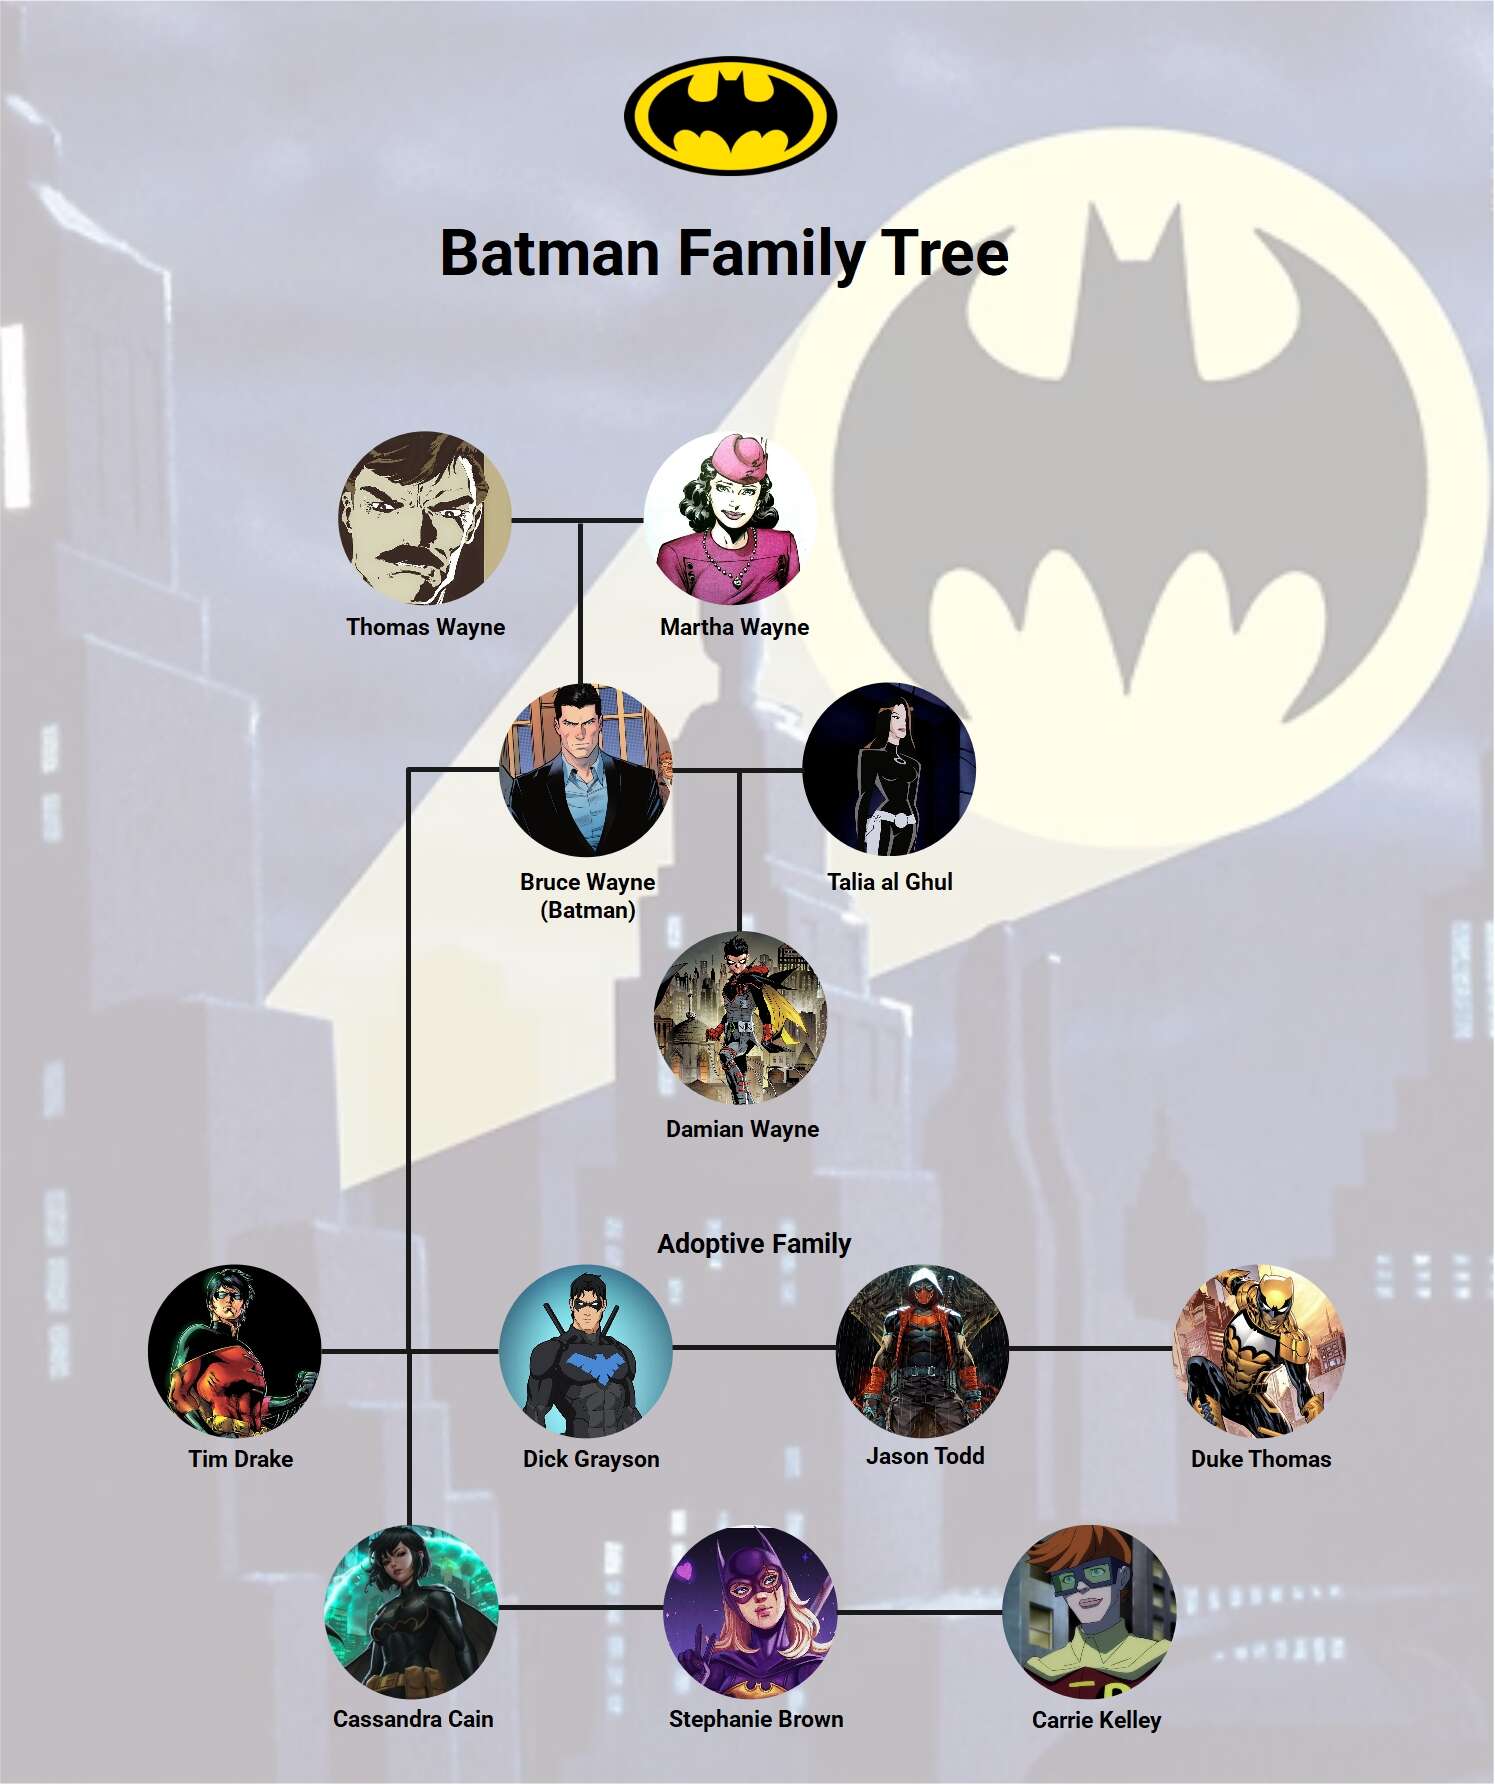
The Batman family tree is filled with loss, resilience, and a shared mission to protect Gotham. At the heart of it all is Bruce Wayne—Batman—who was shaped by the tragic murder of his parents, Thomas and Martha Wayne. Their death led Bruce to dedicate his life to fighting crime in Gotham.
Alfred Pennyworth, the loyal butler of the Wayne family, is like a father to Bruce. He raised Bruce after the death of his parents and continues to provide guidance, wisdom, and support. Alfred keeps Bruce grounded, reminding him of his humanity.
Over the years, Bruce has built a team of trusted allies, known as the Bat-family, all united by their commitment to justice. The first to join him was Dick Grayson, a young circus acrobat who becomes the first Robin. Later, Dick grows into his hero, Nightwing, as he outgrows his role as Robin.
Next was Jason Todd, the second Robin, whose tragic death at the hands of the Joker changed Batman forever. Jason is resurrected and returns as Red Hood, a more vengeful character who challenges Batman’s methods.
Then comes Tim Drake, the third Robin, who isn’t driven by tragedy but by his sharp detective skills. Tim convinces Bruce to let him become Robin after figuring out Batman’s secret identity. He’s a skilled strategist and detective, and later takes on the identity of Spoiler.
Barbara Gordon, the daughter of Commissioner Gordon, is also part of the Bat-family. As Batgirl, she’s a strong fighter and a close ally of Batman. After a brutal attack by the Joker that leaves her paralyzed, Barbara becomes Oracle, helping Batman and the Bat-family with vital information from behind the scenes.
Finally, there’s Damian Wayne, Bruce’s biological son with Talia al Ghul. Trained by the League of Assassins, Damian is a fierce fighter, but his upbringing creates conflict with Batman’s non-lethal methods. Over time, he learns to balance his deadly skills with his father’s moral code.
Together, the Bat-family stands as a group of heroes united by their love for Gotham and their shared purpose to protect it. Each member has their own past, struggles, and unique abilities, but they are all part of the same family, bound by a commitment to justice.
How to Make a Similar Family Tree on EdrawMax?
Making a family tree from scratch is simple with EdrawMax's extensive symbol library and advanced editing skills. Follow these simple steps to see how it goes.
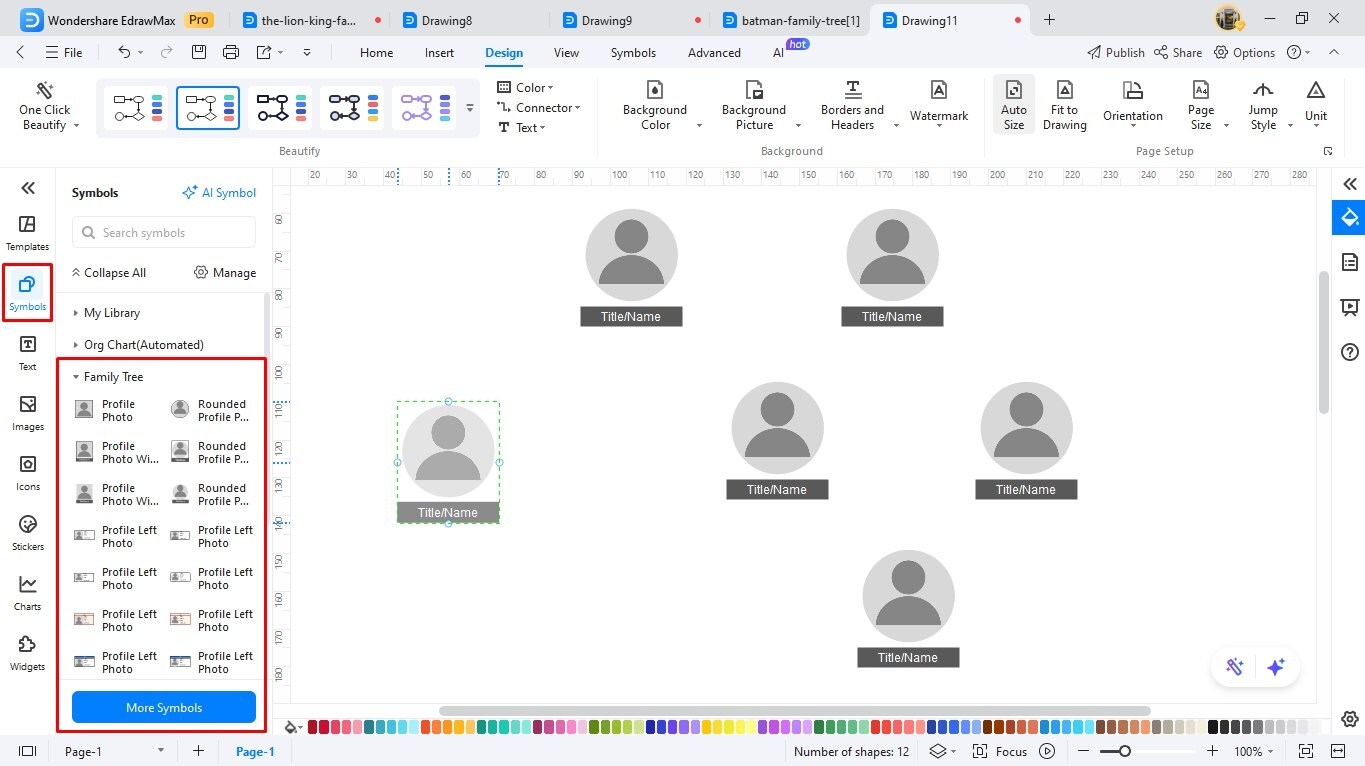
Step 1Access the Family Tree Maker
- Register your email on EdrawMax if it is your first time. Or, access the software using your Google, Facebook, and X accounts.
- Explore the dashboard and navigate to the Organizational Chart tab under the Home section.
- Select Family Tree and choose a desired template format. I will pick the Blank Drawing for this tutorial.

Step 2Arrange the Profiles
- Once on the editing panel, the first step is arranging the profiles.
- Visit the left-side symbol library and drag your desired profile shapes to the canvas.
- Arrange them in a way that matches your reference family.
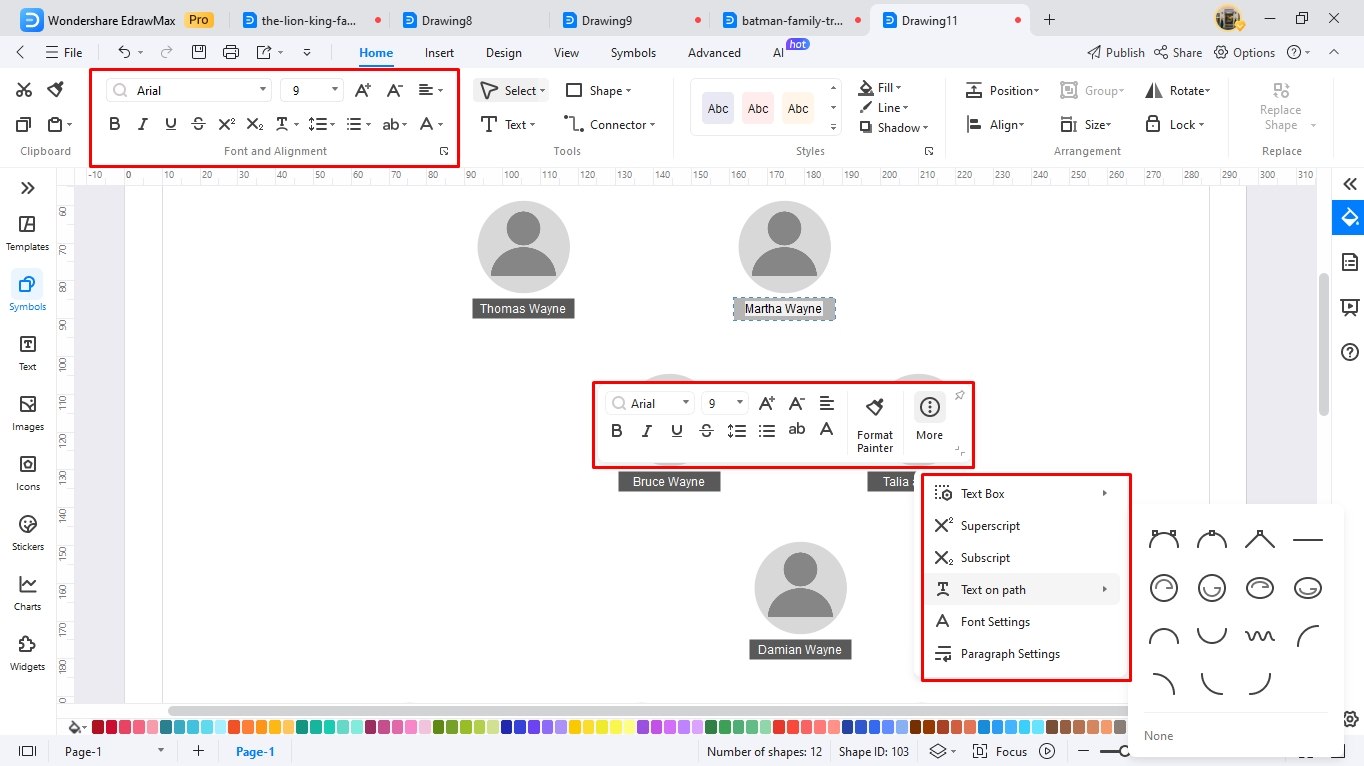
Step 3Add Descriptions
- Now, proceed to add descriptions.
- Double-click anywhere on the canvas and add labels. You may include names, relationships, date of birth, death, etc.
- Adjust the font details (style, size, etc) from the on-screen prompt or the Home tab.
- Click More from the on-screen prompt and decide whether you want to modify the path and tone of the description.
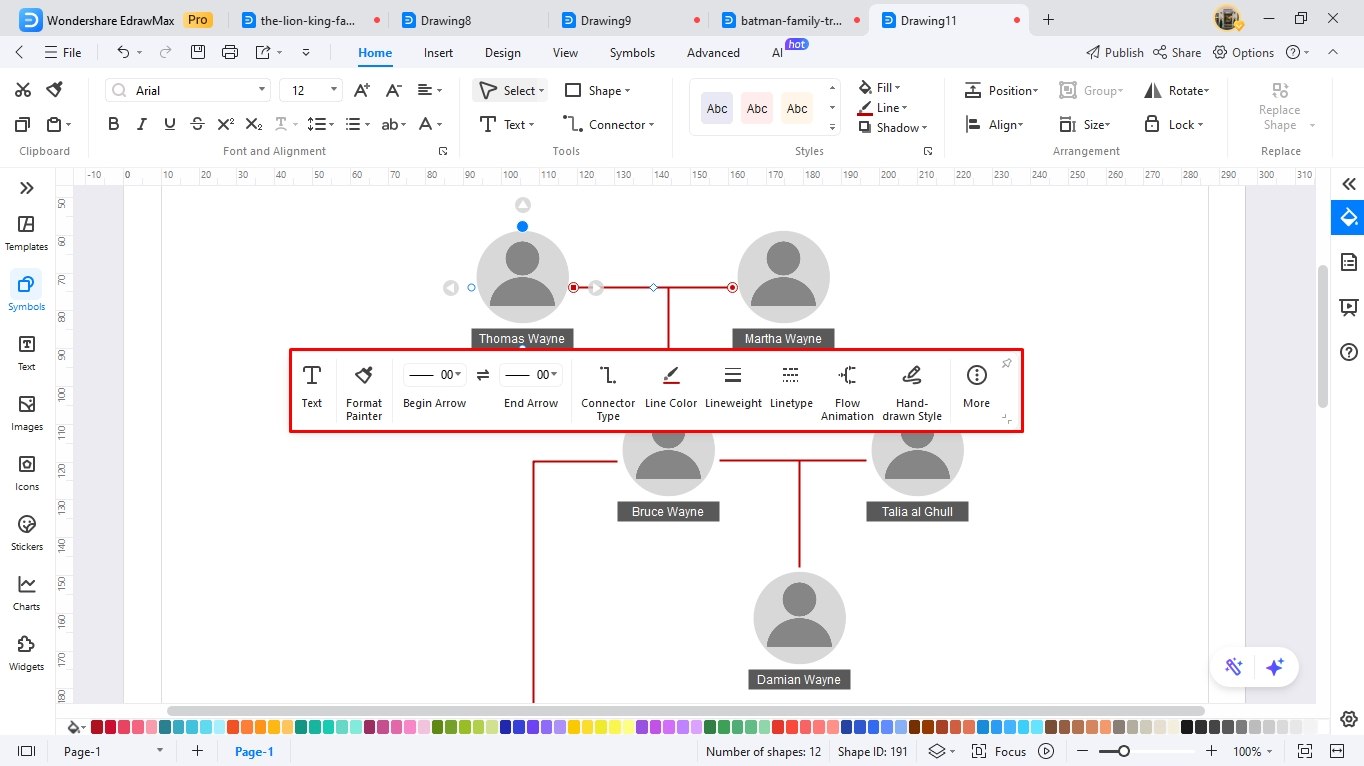
Step 4Build Connections
- It’s time to build relationships between family members.
- Use the four connection points on shapes to link them to another.
- You can change the size, color, thickness, style, and more of the connector directly from the on-screen prompt.
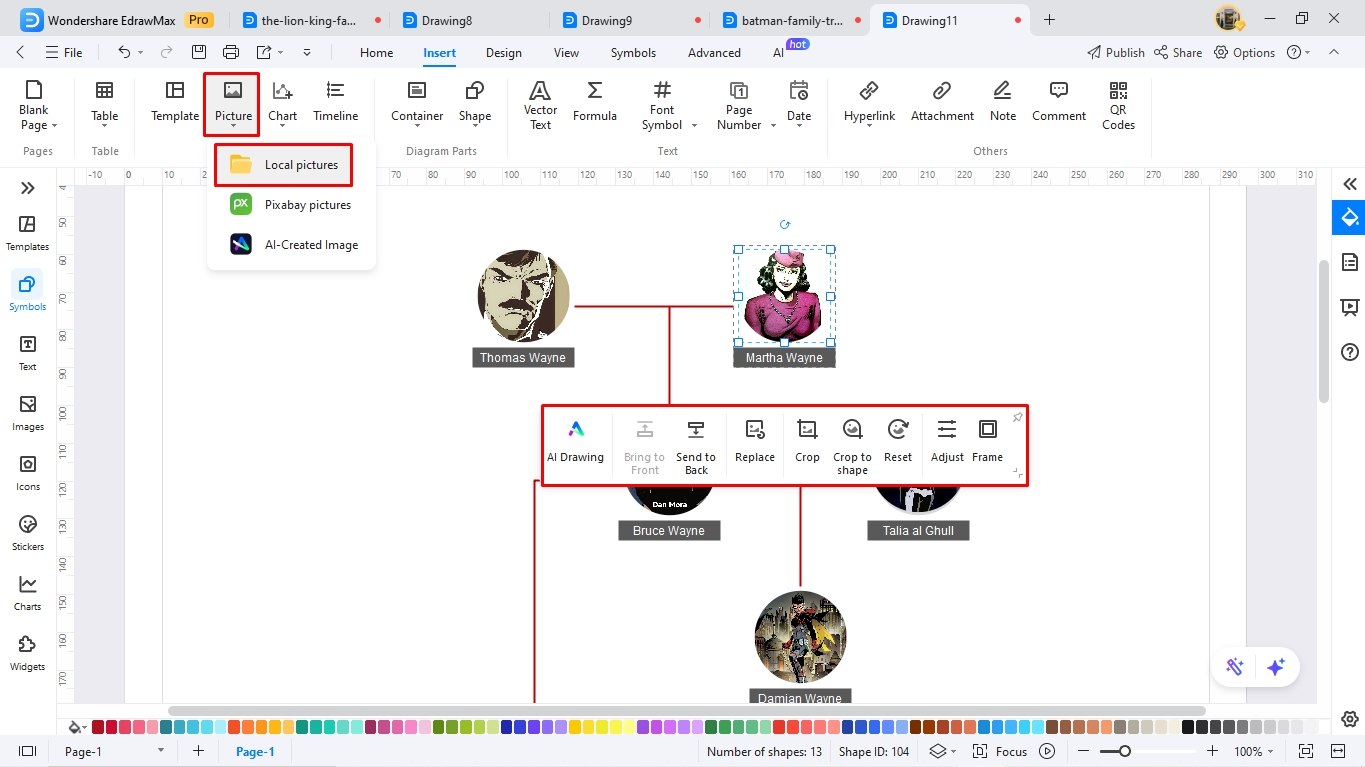
Step 5Insert Pictures
- Pictures are the backbone of your family tree. You must include them to aid the viewer’s understanding.
- Visit the Insert tab from the top and browse your PC for images. You can also directly copy and paste an image.
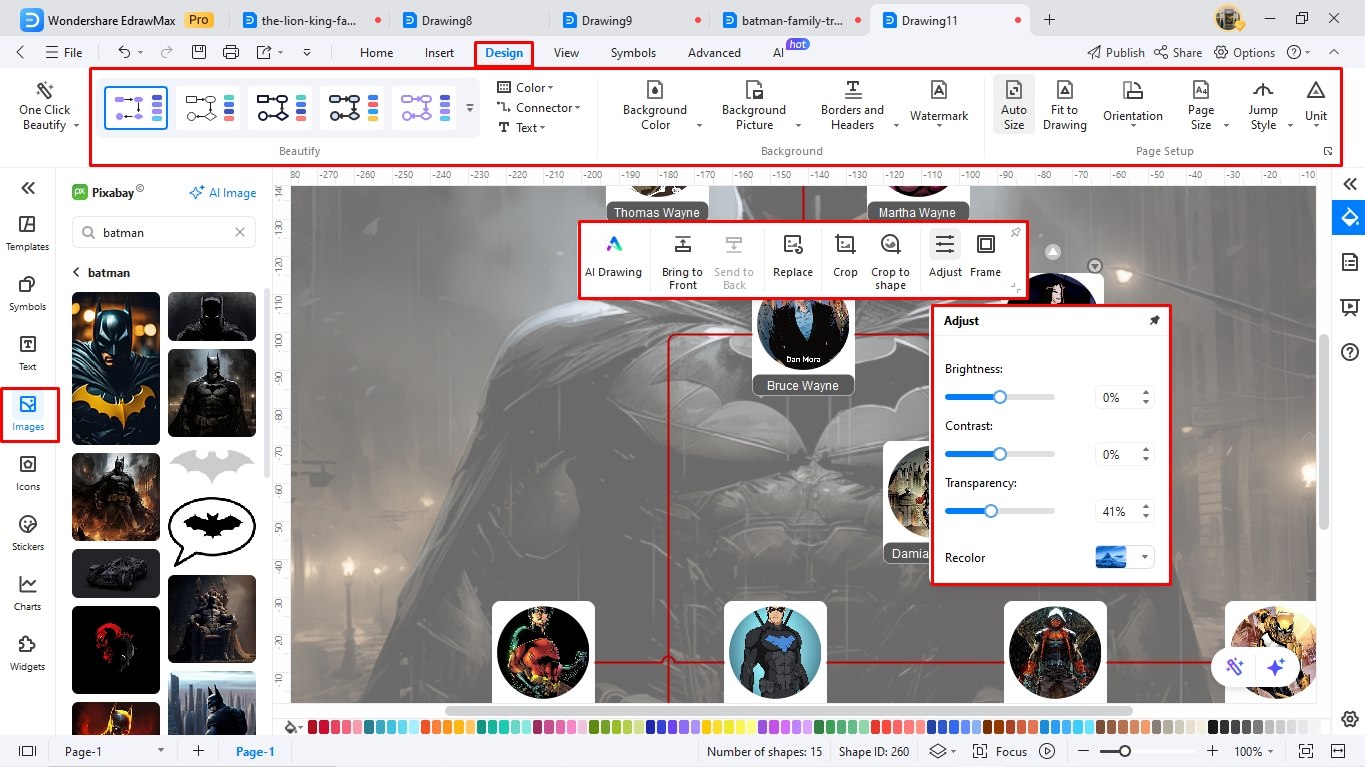
- Directly change the frame details and image nuances (brightness, contrast, transparency) from the on-screen prompt.
Step 6Adjust Design Details
- It’s almost done. All you need to do is modify some design details to make your infographics pop. Here, you have three options.
- First, go to the Design tab from the top and adjust the diagram’s theme, color scheme, background image, and orientation however you like.
- Secondly, simply click the One-Click Beautify button to let the software do everything. It will automatically pick and choose the design details of your infographic.
- Alternatively, go to the left-side Image library, type your keyword, and browse images. Set this image as the background, adjust its transparency, and send it back.
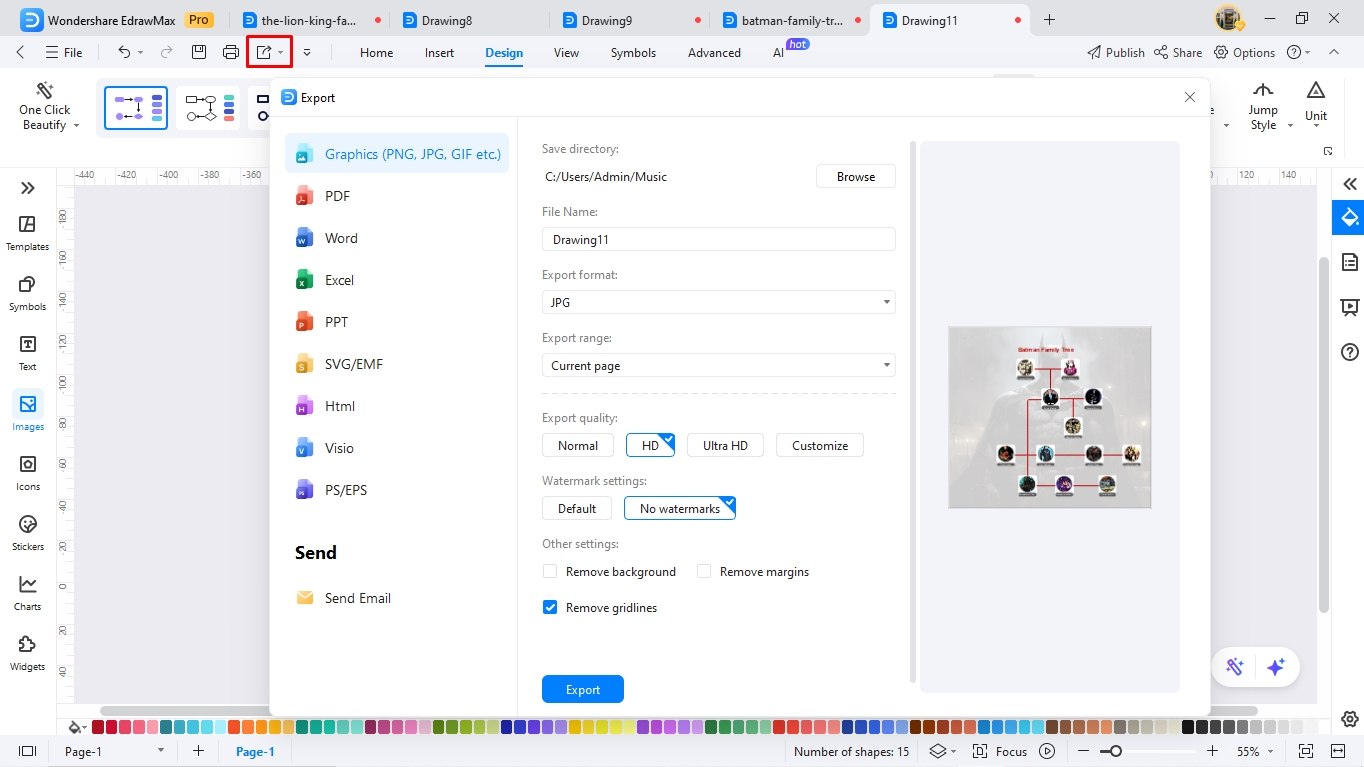
Step 7Download Your Family Tree
- Finally, export your family tree however you like from the quick-access toolbar.
- Graphics (PNG, JPG, JPEG, GIF).
- PDF for documents.
- For corporate use, MS Office (Visio, Word, PPT, and Visio).
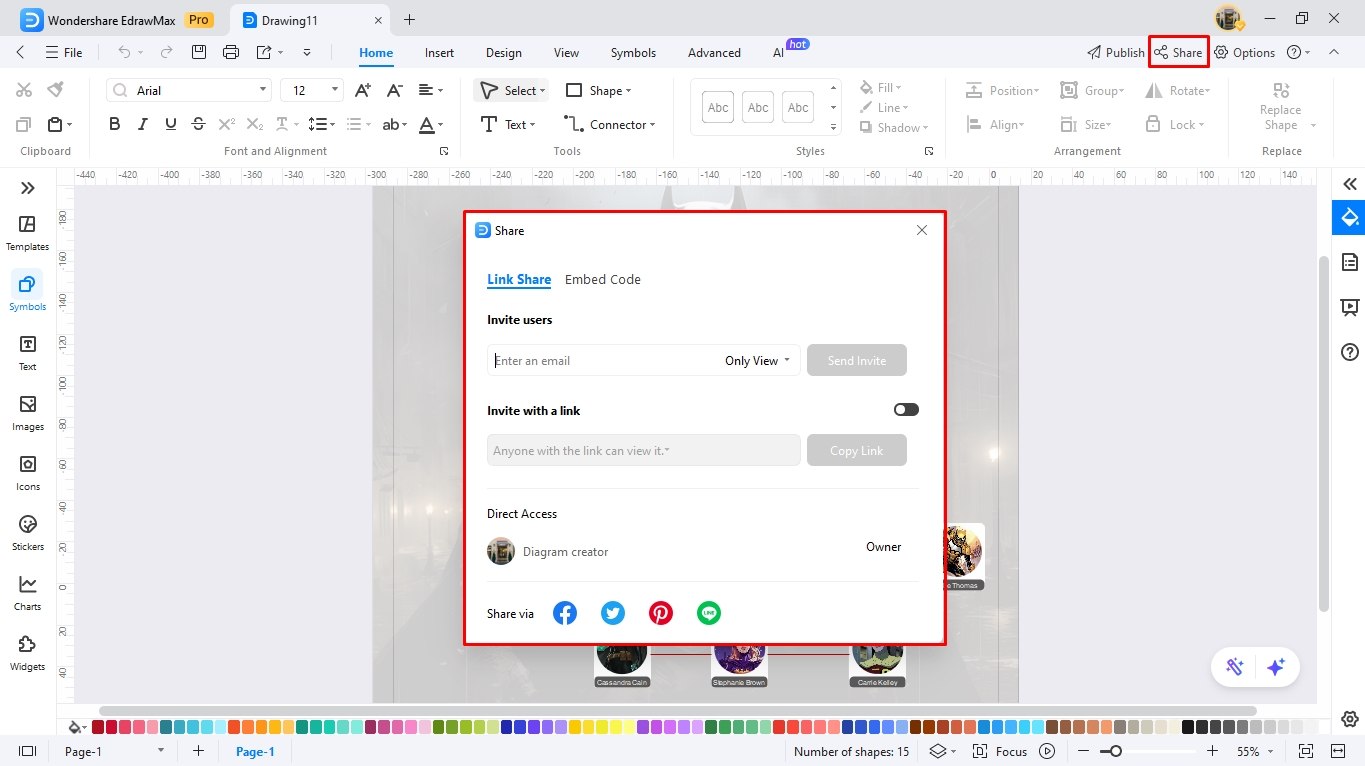
Step 8Share It with Friends!
- You can also make your work easily accessible for others by sharing it from the quick-access toolbar.
- Invite users by adding their emails and setting access permissions (viewing, editing, etc).
- Alternatively, use a system-generated link and allow others to see your work.
AI Diagram Generator
Enter your prompt. Upload files if needed. Generate diagrams, charts, or slides instantly.


