


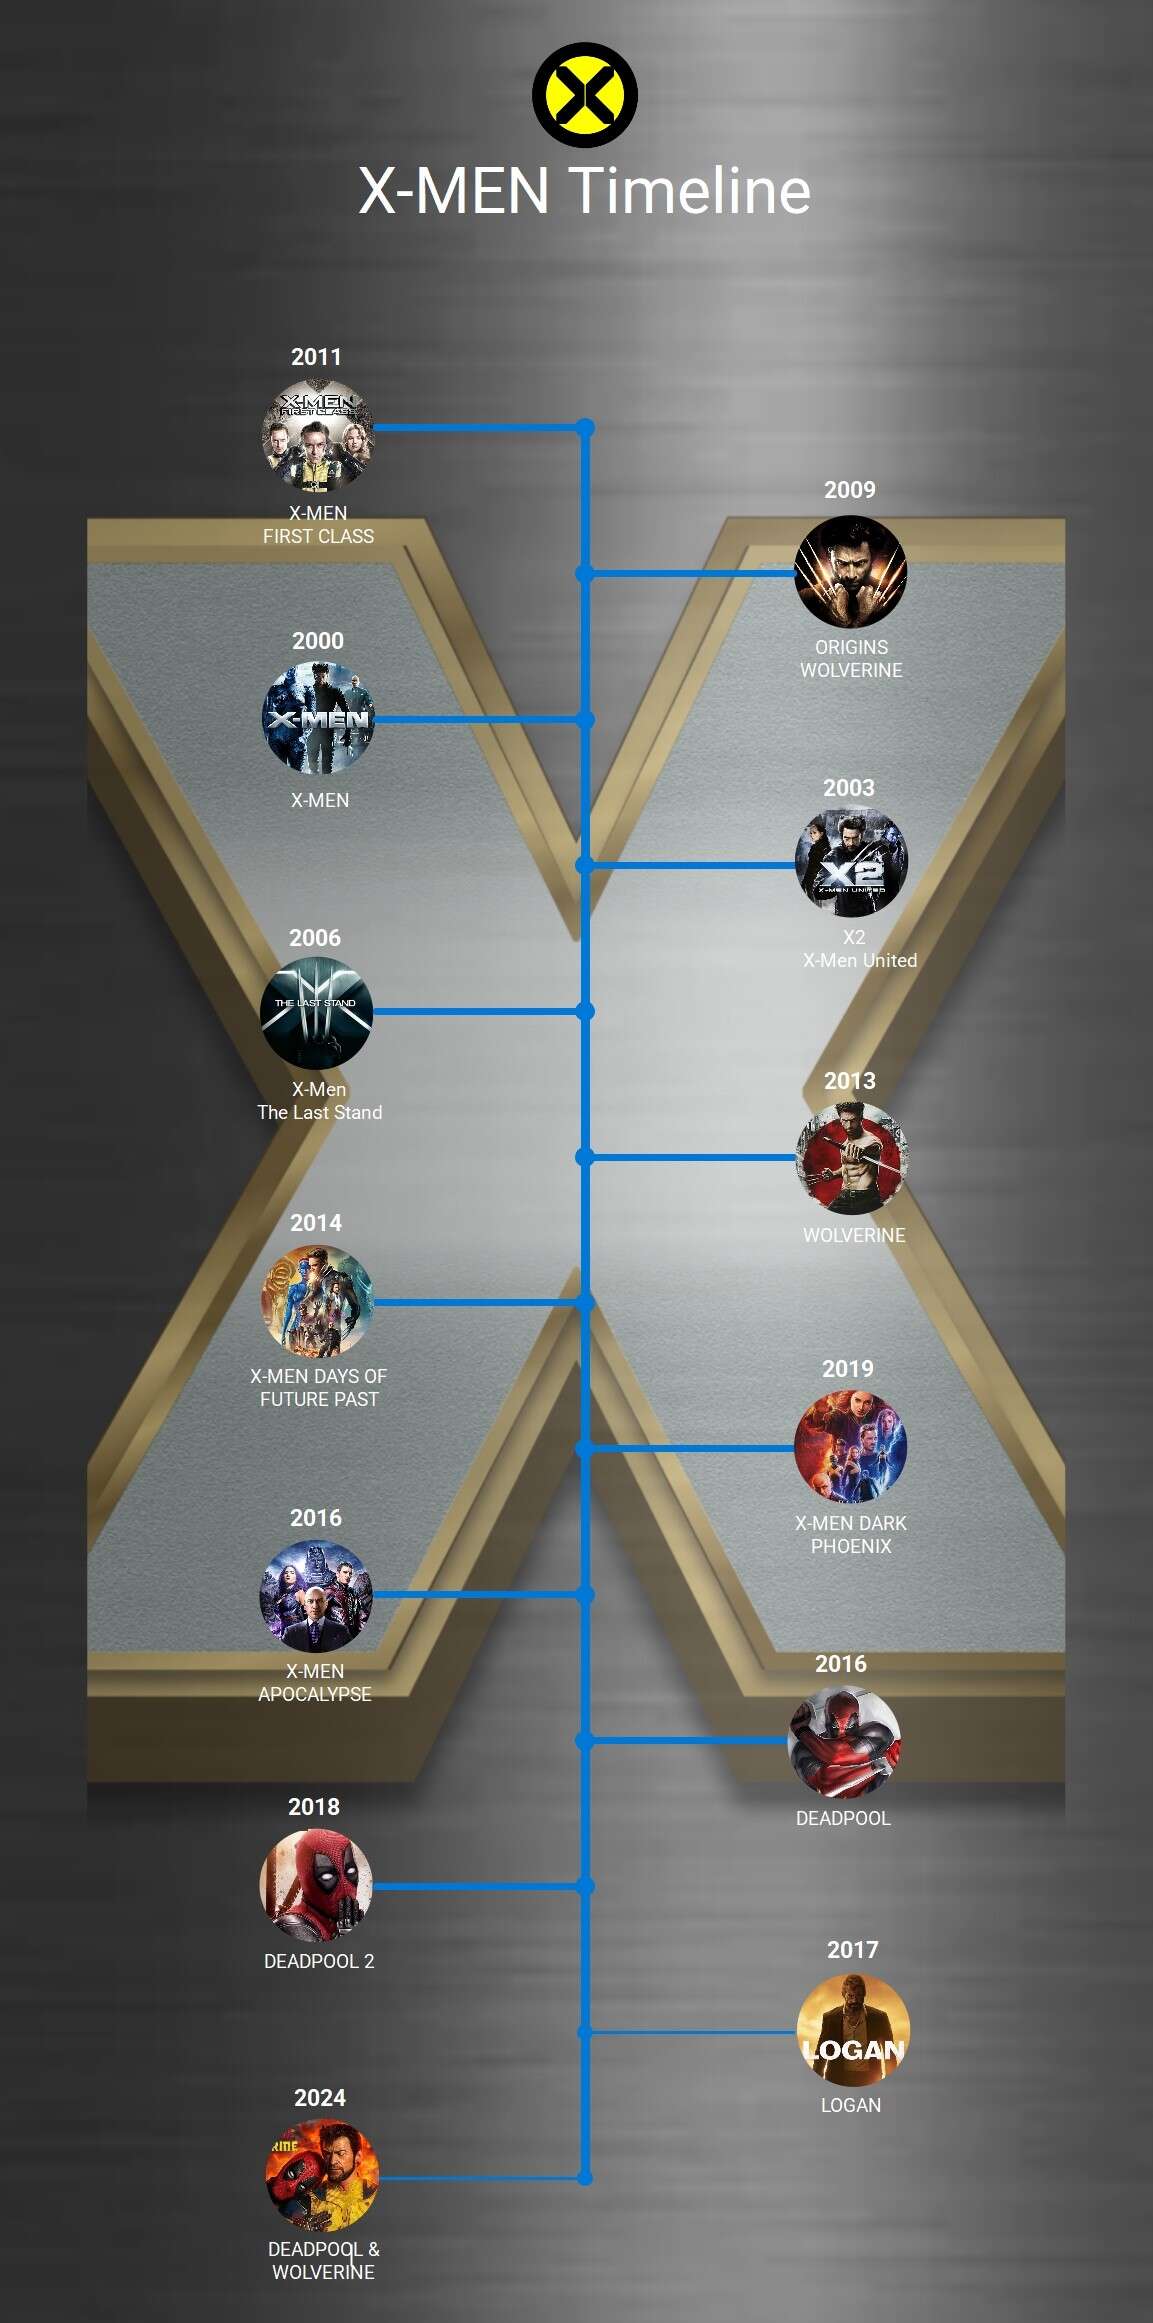
Figuring out how to stream every X-Men video isn’t as simple as it seems. That’s why the timeline below is an excellent guide for watching your favorite mutant movies in the correct chronological order.
This X-Men movie order timeline is created using EdrawMax, a tool you can use to create your movie timelines. If you’d like to add more details or customize the X-Men chronology, feel free to edit the template and download it for free.
In this article
X Men Chronological Movie Order
X-Men First Class
Even though X-Men: First Class was released eleven years after the first X-Men movie, it is the first movie in the saga chronologically. Set in 1962, this movie allows you a glimpse into the humble beginnings of the X-Men team. It opens with Prof X and Magneto’s friendship and shows how it is transformed into enmity by the end of the movie.
X-Men: Days Of Future Past
While Days of Future Past takes place in 1973, it acts as a bridge between the past and the future. It all begins with Bolivar Trask creating mutant-killing machines called Sentinels. When these machines start destroying mutants in the future, Wolverine subjects his mind to the past to finish them off and avoid mutant deaths.
The future part of the movie takes place after the Deadpool movies.
X Men Origins: Wolverine
As the name suggests, this movie tells us Wolverine’s backstory. Using a series of flashbacks that begin in 1845, the movie takes us through almost every major war Wolverine has been involved in, leading up to the adamantium surgery.
X-Men: Apocalypse
This movie opens with a sequence in 3600 BC Egypt, but shifts to 1983 as the plot progresses. In this movie, viewers are introduced to a new team of X-Men heroes and a prehistoric, all-powerful villain.
X-Men: Dark Phoenix
Dark Phoenix introduces us to the most beloved character of the X-Men series: Jean Grey. The movie explores how Jean transforms into a powerful yet unstable mutant after being exposed to a cosmic space force and how the X-Men attempt to harness her immense powers.
X-Men Trilogy
The X-Men Trilogy includes X-Men, X-Men United, and The Last Stand. The three movies take viewers on an exciting journey, introducing them to a new concept: ‘mutant.’ Starting from Professor Charles’ school of mutants to the challenges faced by mutants at the hands of first Magneto, then Stryker, and finally, scientific revolutions.
Wolverine
The movie Wolverine takes us to 2024 and is set after the X-Men trilogy. Here, we find Logan turning into a recluse after Jean’s death. But news of an old friend, Yashida, dying brings him to Japan. Unfortunately, his friend dies soon after offering Logan a chance at mortality.
It was at his funeral that unknown men attacked Yashida’s granddaughter, triggering a series of events that bring Wolverine face to face with his ultimate nemesis.
Deadpool 1 and 2
The movie Deadpool isn’t directly linked to the X-Men franchise, but it is set in the same universe. This connection becomes apparent when a character, Colossus, appears in the movie in an X-Men uniform.
Logan
Logan is the final movie in the X-Men universe. It depicts a time in 2029 where mutants are almost extinct, and a mutant child comes to Logan for help
How To Make A Timeline With EdrawMax
A timeline is an excellent diagram style for outlining events chronologically, but creating one can be time-consuming, especially for beginners. That’s where EdrawMax comes in. With over 210 diagram types, 1,500+ built-in templates, and more than 26,000 symbols, creating any kind of diagram becomes easy.
If you want to create a timeline like the X-Men universe, simply download the EdrawMax app and follow the steps given below.
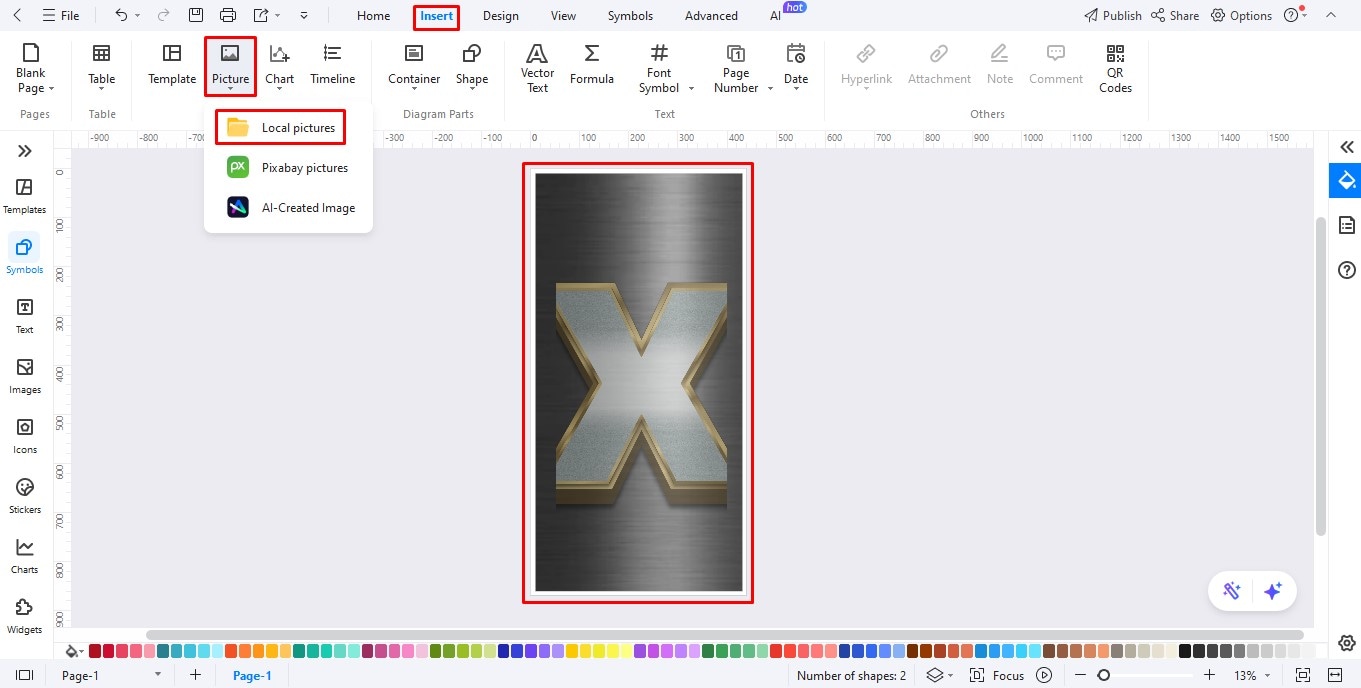
Step 1Add Background Image
- Click Insert on the top toolbar and select Picture from the options.
- Choose Local pictures to upload a background image to the timeline. If you click on the image, an editing panel will appear, allowing you to adjust the image’s brightness, contrast, and transparency.
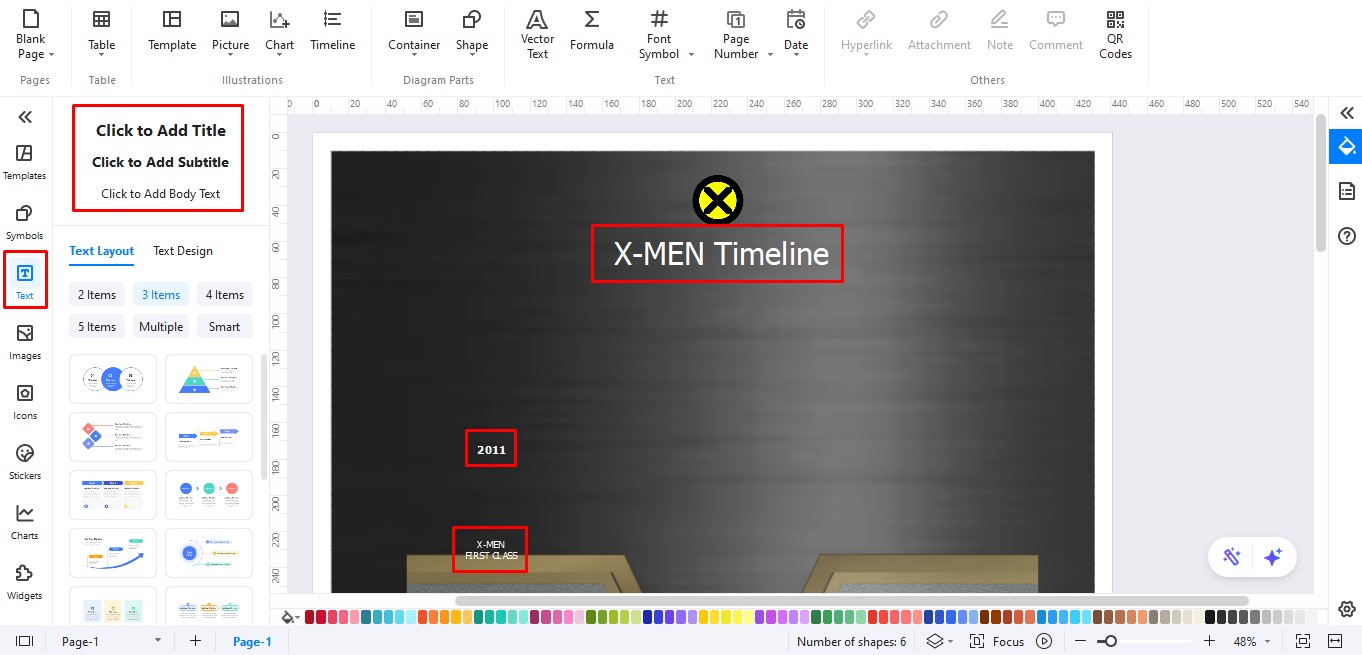
Step 2Insert Text
- The next step is to add a title to your timeline. To do this, click Text on the left editing panel to reveal more options.
- Select Click to Add Title and enter your heading in the text box.
- Click Click to Add Body Text to add movie names and release dates to the timeline.
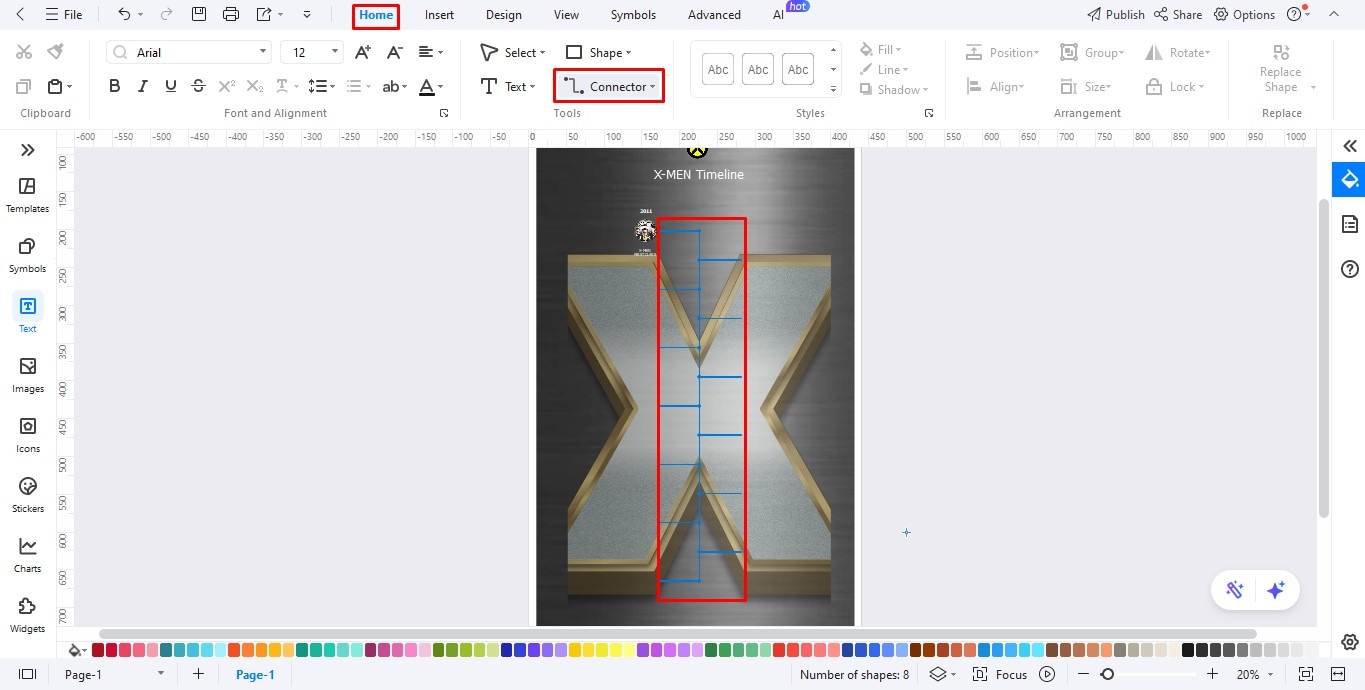
Step 3Draw A Timeline Using Connectors
- Click Home on the top toolbar and select Connector. Start by drawing a vertical line down the center of your timeline.
- Add smaller horizontal lines branching out from it to represent each movie.
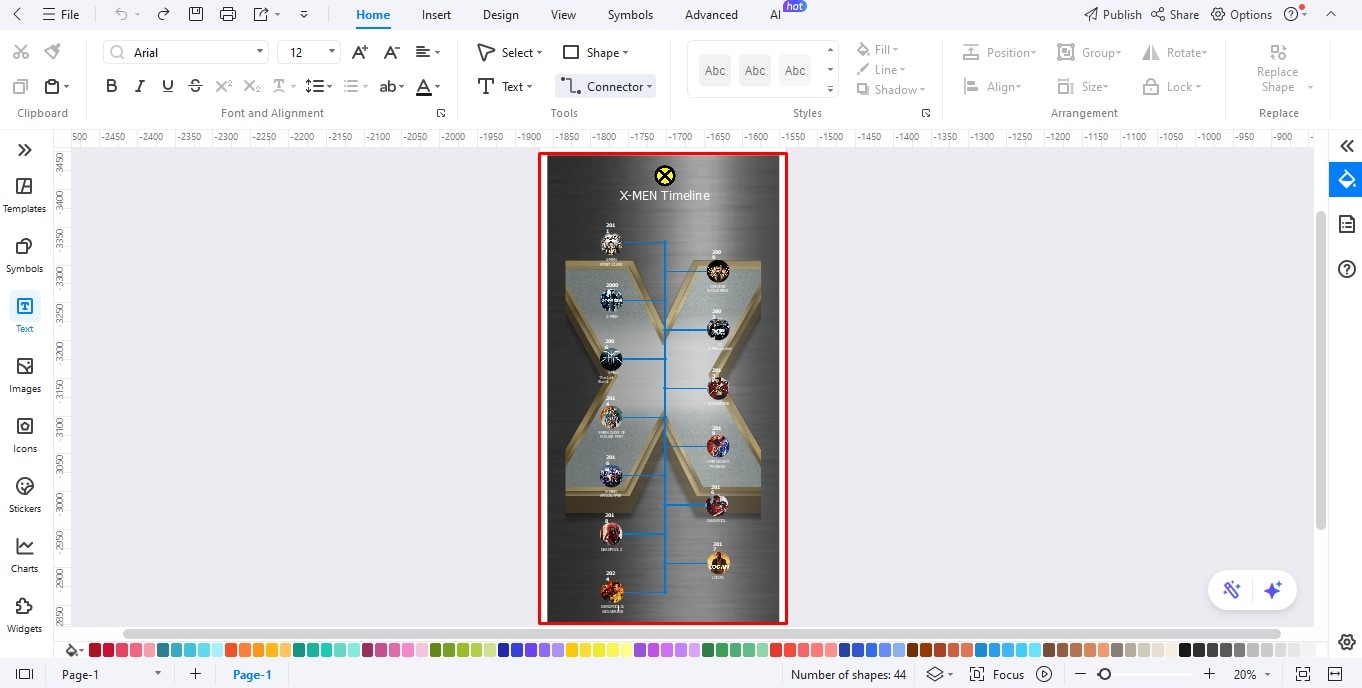
Step 4Complete the Timeline
Add text boxes and images for all the movies in the timeline, placing them along the timeline in chronological order.
Step 5Download the Diagram
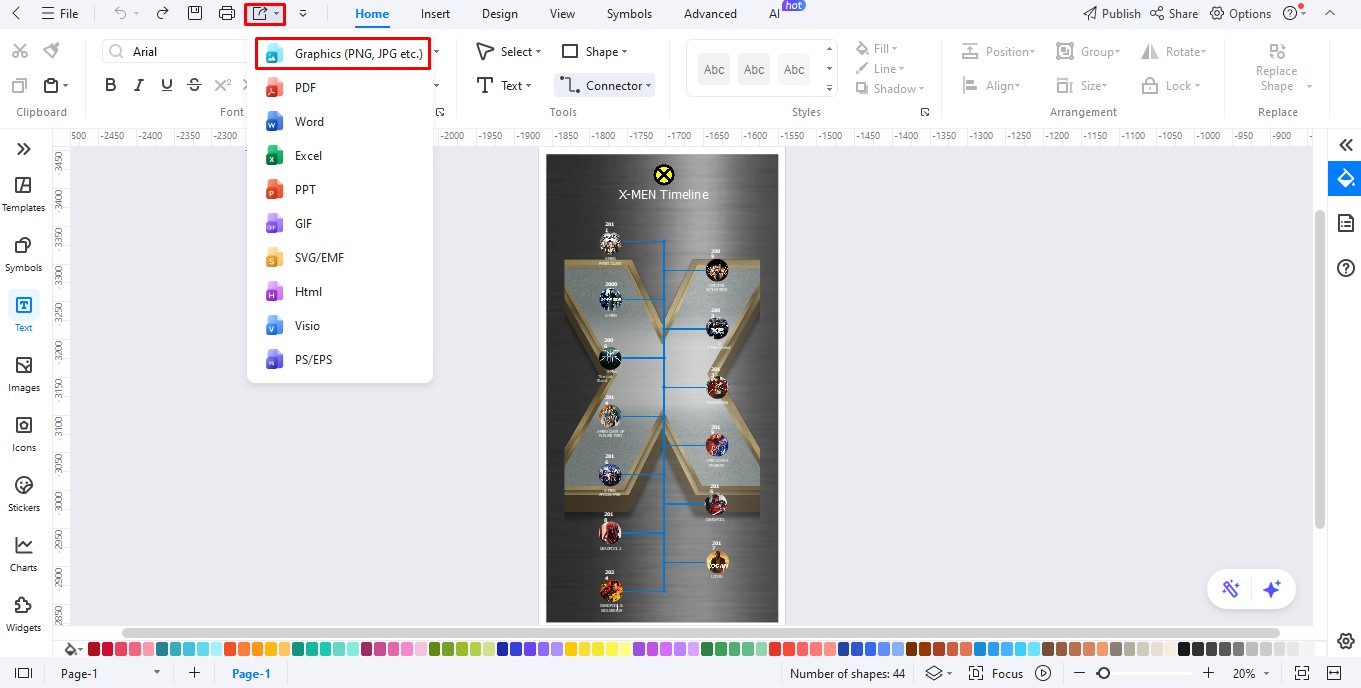
- Click Export on the top panel to open the download options.
- Select Graphics from the list to save the timeline on your system as an image file.