


- How to Make a Concept Map in Word
- How to Make a Concept Map in Edraw Max
- How to Save and Export Your Concept Map

How to Make a Concept Map in Word
Use Microsoft Word to create a simple and basic concept map for any topic. Follow our step by step guide on how to make a concept map in Word, which is mentioned below.
Step 1: Open MS word
For this tutorial, we will use Microsoft Word 2013. Launch MS Word on your desktop and open a blank page.
Step 2: Create Map Structure
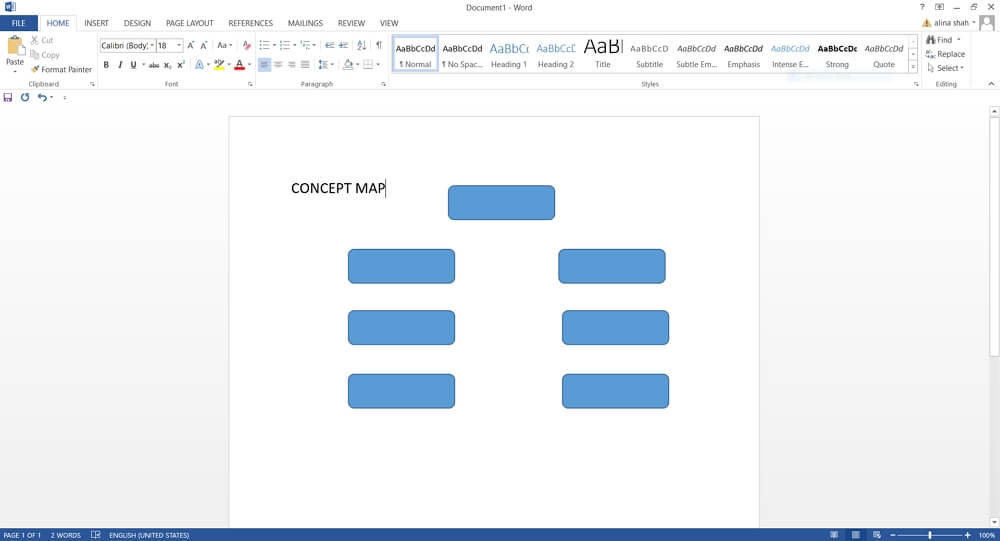
This is perhaps the most crucial step in how to make a concept map in Word. Go to the Insert tab, and under the “Illustration” section, click on “Shapes” to launch the dropdown menu. Here you will find lines, rectangles, other basic shapes, block arrows, equation shapes, stars, banners, and callouts.
Select the shape of your choice and draw it on your page. Keep on arranging the shapes on your page to create the structure of your concept map.
Step 3: Add Relations and Text
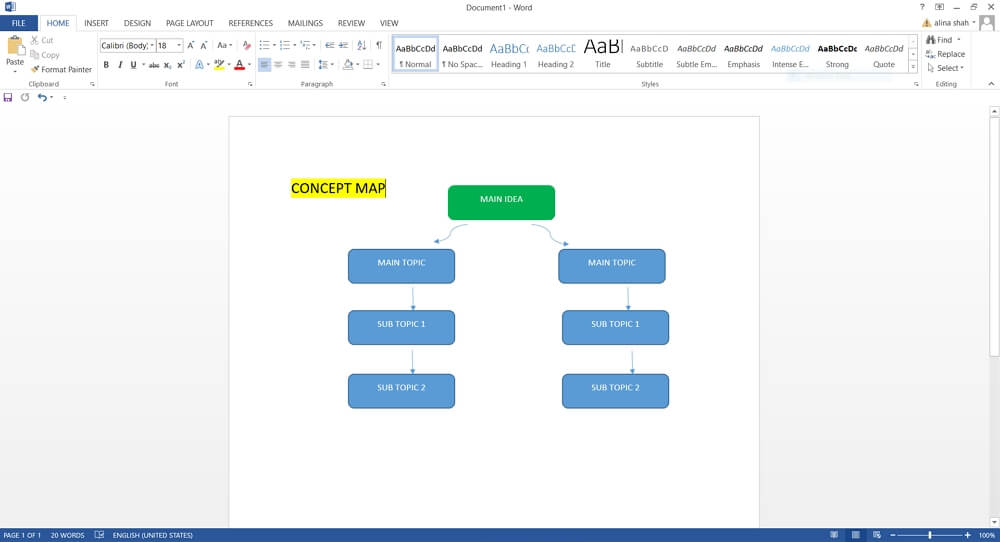
To show relationships among different areas of your concept map, use connecting lines from the same dropdown menu.
Now, add the relevant text in each box to finalize your concept map. You can also add other additional information around the shapes or next to the arrows in order to add more details. Finally click on each shape to launch drawing tools under the Format tab. used these tools to change the shape, color, outline, style, and other visual aspects of your concept map.
Step 4: Save File
When your concept map is complete, you can go to the File tab and click on “save” to launch a pop-up window where you will add the name, select file location and click on “Save” to store your file permanently.
How to Make a Concept Map in Edraw Max
Microsoft Word is great for processing words and documents, but it is not suitable to create complex concept maps. A very easy-to-use and versatile drawing tool that you can use as an online alternative is Edraw Max Online. To learn how to make a concept map in word using Edraw Max, follow these instructions:
Step 1: Open Edraw Max
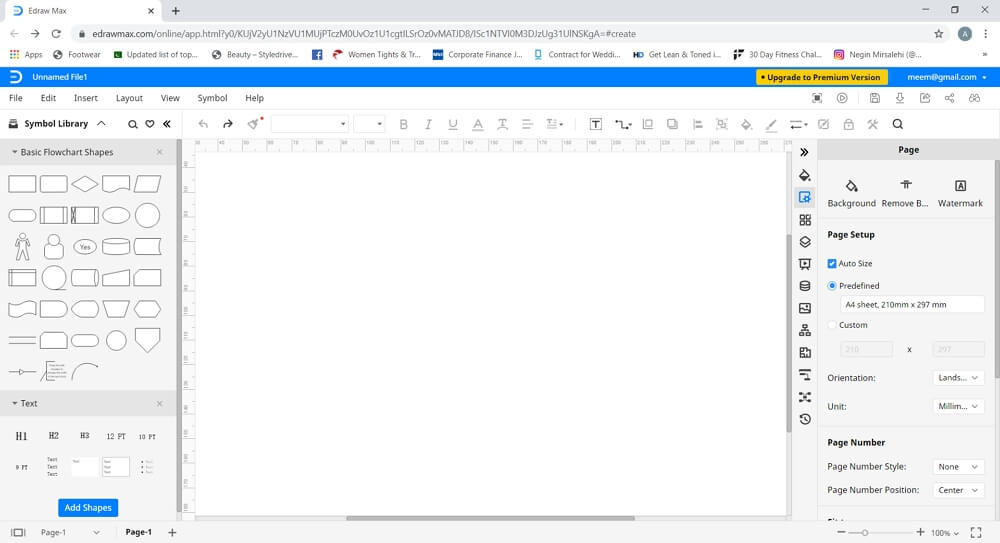
Launch your browser and open Edraw Max online by entering this URL: edrawmax.com/online.
Step 2: Open Drawing Tab
Select the blank canvas and wait for the online drawing tab to load.
Step 3: Create Concept Map
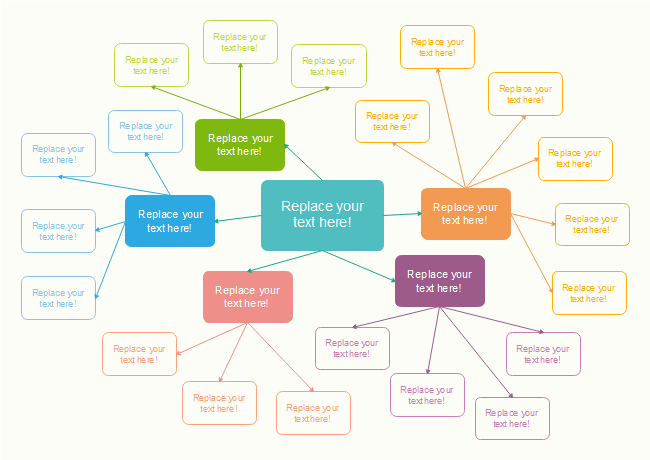
To make a concept map, you should first know the topic on which you want to make the diagram. Once you have your topic in mind, identify its key elements and how they relate to each other. Now that you have a clear understanding of the concept, you can easily put that into a visual form.
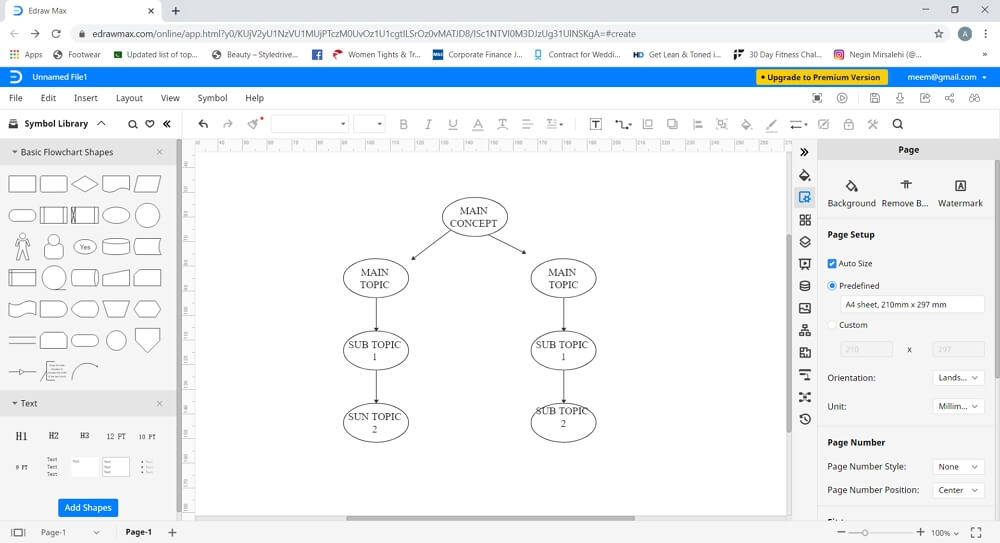
On the left side of the screen, you will see Symbol library, where you will find basic drawing shapes. Select the shape of your choice and start arranging it on the page. Simply select and drag the shape onto the sheet and place it in the order that you want.
Steps 4: Add Text and Connecting Lines
Once you have placed the shapes on your page, you can show the relationships among different areas of your concept map by adding floating lines. Go to the “connector” option in the menu ribbon and click on the “straight connector”. Now, connect all the shapes to express the relationships among different areas of your concept map. Finally, enter the text.
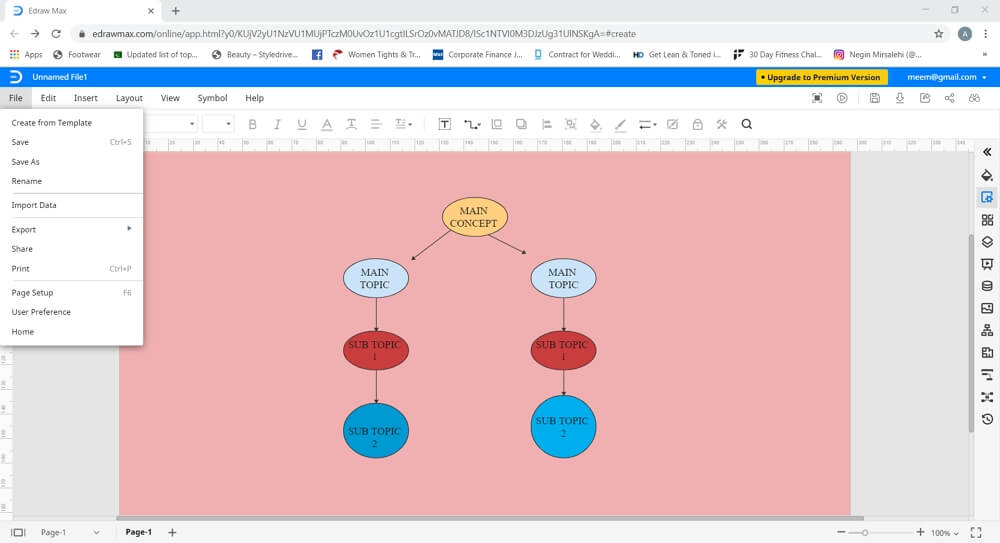
Step 5: Design
Once you have created the basic layout of your concept map, you can enhance it by changing color, adding images, and using symbols. To format, use the tab on the right side of the screen, which will give different options to change the background color, adjust themes and styles, etc.
How to Save and Export Your Concept Map
If you have created your concept map on Edraw Max, but you want to use it in a word document, then don't worry because this tool offers a unique “Export” feature that allows you to save your document and comment file formats like Word, Excel, PowerPoint, PDF, JPG and HTML. You can also save the file in local storage, Dropbox and Google drive. You will find all these different storage options under the File Tab.
AI Diagram Generator
Enter your prompt. Upload files if needed. Generate diagrams, charts, or slides instantly.


