


Tree diagrams are widely used in logic, mathematics, and linguistics. They’re also used in computer science to represent hierarchical relationships. LaTeX is a popular system for creating these structures with high precision. However, its syntax, using TikZ, can be difficult to manage as trees grow in complexity.
In case you are considering a faster visual alternative, read on to learn how to do this for free with Wondershare EdrawMax with easy templates and flexible editing tools. The platform is ideal for users who need clean results without the coding hassle.
In this article
Create Tree Diagrams in LaTeX With TikZ
In LaTeX, you can use the tikz package to draw such diagrams. Below is a basic guide to drawing a simple tree diagram using LaTeX.
Step 1Set Up TikZ Package
Before you start drawing, you need to include the tikz package in the preamble of your LaTeX document:
\documentclass{article}
\usepackage{tikz}
\usetikzlibrary{trees} % Optional, but useful for tree-specific commands
\begin{document}
Step 2Create Basic Tree Diagram
The simplest way to draw a tree diagram is by using the child keyword. Here’s an example of a basic tree structure:
\begin{tikzpicture}
\node {Root}
child { node {Child 1} }
child { node {Child 2} };
\end{tikzpicture}
This code produces a tree with one root node and two child nodes (Child 1 and Child 2).
Step 3 Make Multiple Levels
You can also have multiple levels of children. To do this, simply chain additional child nodes:
\begin{tikzpicture}
\node {Root}
child { node {Child 1}
child { node {Grandchild 1.1} }
child { node {Grandchild 1.2} }
}
child { node {Child 2} };
/end{tikzpicture}
This example creates a tree with a root node, two children, and one child having two additional sub-children (grandchildren).
Step 4Style the Tree
You can style the tree using TikZ options such as draw, fill, circle, rectangle, etc., to modify the appearance of the nodes. Here's an example with some basic styling:
\begin{tikzpicture}
\node[draw, fill=blue!20] {Root}
child { node[draw, fill=green!20] {Child 1}
child { node[draw, fill=yellow!50] {Grandchild 1.1} }
child { node[draw, fill=yellow!50] {Grandchild 1.2} }
}
child { node[draw, fill=red!20] {Child 2} };
\end{tikzpicture}
In this example, different colors are applied to the nodes, and each node has a border (draw).
Step 5Change Node Shape and Alignment
If you want to change the shape of nodes or their alignment, you can adjust the node options. For instance, if you want rectangular nodes or center alignment:
\begin{tikzpicture}
\node[draw, rectangle, text centered] {Root}
child { node[draw, rectangle, text centered] {Child 1}
child { node[draw, rectangle, text centered] {Grandchild 1.1} }
child { node[draw, rectangle, text centered] {Grandchild 1.2} }
}
child { node[draw, rectangle, text centered] {Child 2} };
\end{tikzpicture}
Step 6Control Space
You can adjust the distance between nodes using the sibling distance option. This option controls the horizontal space between sibling nodes:
\begin{tikzpicture}[sibling distance=3cm]
\node {Root}
child { node {Child 1} }
child { node {Child 2} };
\end{tikzpicture}
The sibling distance is set to 3cm, which increases the distance between Child 1 and Child 2.
Step 7Customization
If you want to add custom labels to the branches or nodes, you can use the node syntax:
begin{tikzpicture}
\node {Root}
child { node {Child 1} }
child { node {Child 2}
child { node {Grandchild 2.1} }
child { node {Grandchild 2.2} }
}
child { node {Child 3} };
% Adding custom labels to branches
\draw[->] (root) -- node[above] {Label 1} (child 1);
\end{tikzpicture}
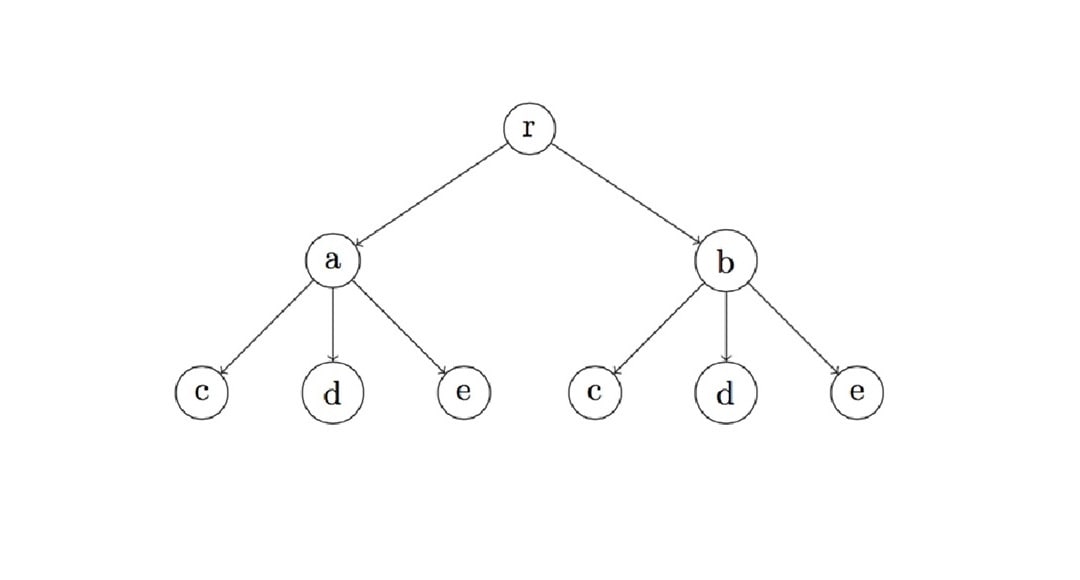
Full Example of a Tree Diagram
This will produce a tree with a Root node, three child nodes, and several grandchildren. Each level has its own color and style, making the tree visually appealing and easy to read.
\documentclass{article}
\usepackage{tikz}
\usetikzlibrary{trees}
\begin{document}
\begin{tikzpicture}
\node[draw, fill=blue!20, text centered] {Root}
child { node[draw, fill=green!20, text centered] {Child 1}
child { node[draw, fill=yellow!50] {Grandchild 1.1} }
child { node[draw, fill=yellow!50] {Grandchild 1.2} }
}
child { node[draw, fill=red!20] {Child 2}
child { node[draw, fill=pink!30] {Grandchild 2.1} }
}
child { node[draw, fill=orange!30] {Child 3} };
\end{tikzpicture}
\end{document}
Common Issues and Drawbacks
While TikZ gives you full control over layout and formatting, it’s not always the most beginner-friendly tool for creating tree diagrams.
Here are some common challenges:
- Steep learning curve. Understanding node hierarchy and syntax takes time.
- Manual positioning. You often need to adjust spacing and alignment manually.
- Error-prone syntax. A single typo can break the entire diagram.
- Scaling issues. Trees with more levels become harder to maintain.
- Lack of preview. Real-time diagram visualization isn’t possible. Every change needs recompilation.
These factors make TikZ difficult for quick edits or when working under tight deadlines, especially for students or professionals creating detailed trees.
Want to skip the LaTeX headaches?
Try Wondershare EdrawMax for a more innovative approach. It uses a drag-and-drop builder, ready-made tree templates, and export-to-LaTeX features. EdrawMax lets you create clean, editable tree diagrams without touching a single line of code.
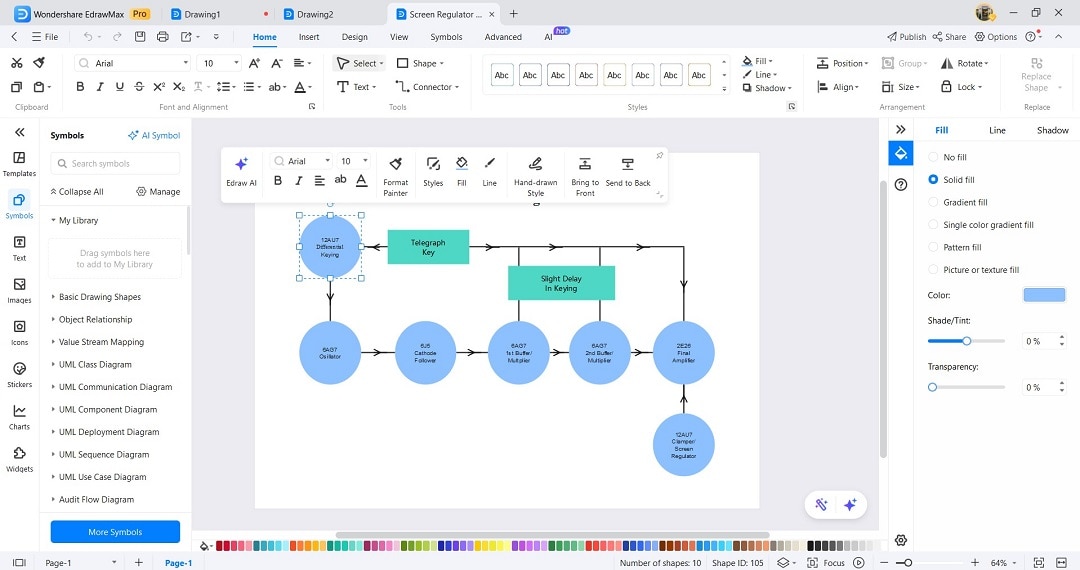
Drawing Tree Diagrams With EdrawMax
EdrawMax offers a much simpler approach to creating tree diagrams with no code needed. It’s useful when working on complex hierarchical structures, decision trees, or linguistic trees. Here's how to create a tree diagram with EdrawMax:
Step 1Install
- Download and install EdrawMax on your computer.
- Launch the tool and log in or register a Wondershare account.
- Click the New > Blank Drawing or choose from a template.

Step 2Open Editor
- Wait for EdrawMax to transport you to the editing window.
- Use built-in nodes and connectors to build out your tree quickly.
Step 3Edit Your Diagram
- Add branches, move nodes around, and change their size and color.
- Add shapes, arrows, labels, and icons by dragging them onto the canvas.
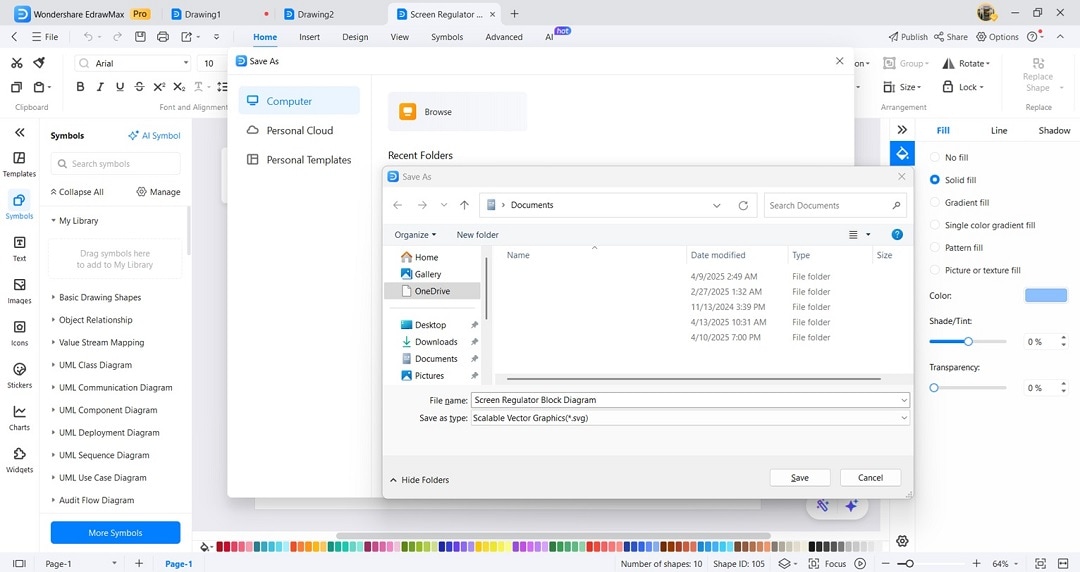
Step 4Export File
Once your diagram is ready,
- Go to File > Export > Export.
- Choose SVG (best for LaTeX with \includegraphics) or PNG (for compatibility with all editors).
Step 5Insert Document
In your LaTeX document, include the diagram using:
\usepackage{graphicx}
\includegraphics[width=\linewidth]{your-tree-diagram.svg}
This allows you to create professional-looking tree diagrams in a fraction of the time it would take with TikZ.
If you find some parts challenging, no worries! You can always start from the beginning and learn how to create simple diagrams in LaTeX step by step. Click here to revisit the basics and build your confidence!
Conclusion
TikZ in LaTeX works well for small, simple trees. They offer precise control for technical documents. But for more complex tree diagrams, EdrawMax is a much faster, more flexible solution. Its visual interface, customizable templates, and easy LaTeX export options make it perfect for anyone who values time, clarity, and control.
Are you ready to build smarter tree diagrams? Try EdrawMax for a better way to create and integrate visuals into your LaTeX workflow.
AI Diagram Generator
Enter your prompt. Upload files if needed. Generate diagrams, charts, or slides instantly.


