


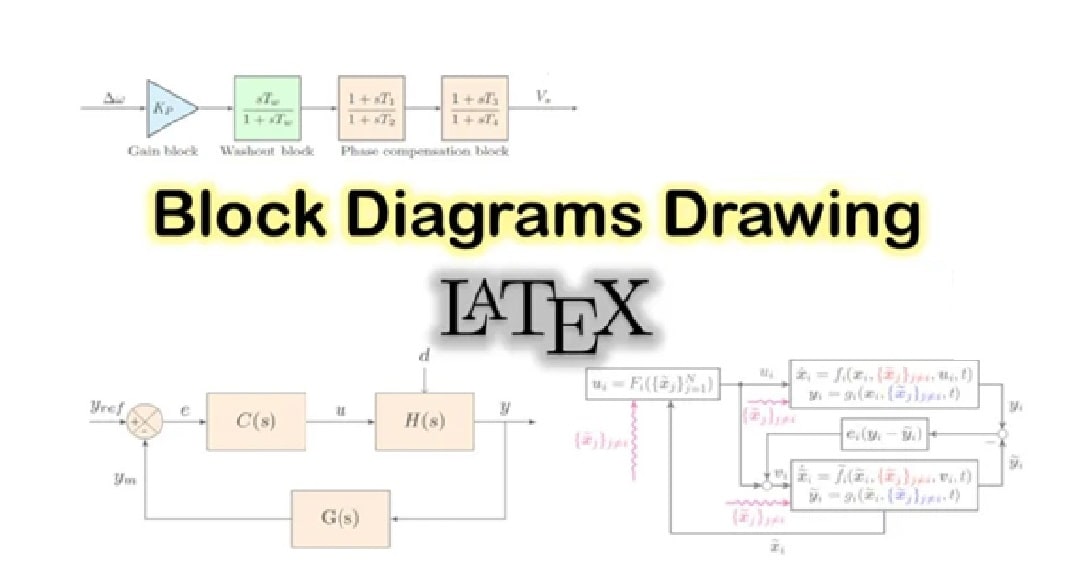
Block diagrams are essential tools in engineering, electronics, and system design. They help visualize components, flows, and processes using simple shapes and connectors. LaTeX, especially with TikZ, is a powerful typesetting system for technical content.
However, drawing block diagrams with LaTeX involves writing detailed code. For those seeking a faster visual approach, Wondershare EdrawMax offers an intuitive alternative. Continue exploring the article to learn more.
In this article
Create Block Diagrams in LaTeX
Follow these steps to easily create block diagrams in LaTeX. You'll start with basic setup and progressively learn how to enhance formatting, add different block types, and include text labels.
Step 1Basic Setup
First, include these packages in your preamble:
\usepackage{tikz}
\usetikzlibrary{shapes, arrows, positioning}
Step 2Minimal Block Diagram
\begin{tikzpicture}
\node[draw] (input) {Input};
\node[draw, right of=input] (process) {Process};
\node[draw, right of=process] (output) {Output};
\draw[->] (input) -- (process);
\draw[->] (process) -- (output);
\end{tikzpicture}
Step 3Improved Formatting
Add spacing and alignment:
\begin{tikzpicture}[node distance=2cm, auto]
\node[draw] (input) {Input};
\node[draw, right of=input] (process) {Process};
\node[draw, right of=process] (output) {Output};
\draw[->] (input) -- (process);
\draw[->] (process) -- (output);
\end{tikzpicture}
Example 1Common Block Types
\begin{tikzpicture}[node distance=1.5cm]
\node[draw, rectangle] (rect) {Rectangle};
\node[draw, circle, right of=rect] (circle) {Circle};
\node[draw, diamond, right of=circle] (diamond) {Decision};
\node[draw, ellipse, right of=diamond] (ellipse) {Ellipse};
\end{tikzpicture}
Step 4Adding Text Labels
\begin{tikzpicture}[node distance=2cm]
\node[draw] (a) {Block A};
\node[draw, right of=a] (b) {Block B}
\draw[->] (a) -- node[above] {Signal} (b);
\end{tikzpicture}
Step 5Feedback Loop
\begin{tikzpicture}[node distance=2cm]
\node[draw] (sys) {System};
\draw[->] (sys.east) -- +(1,0) node[right] {Output};
\draw[->] (sys.east) ++(0.5,0) |- (0,-1) -|
node[near start, left] {Feedback} (sys.west);
\end{tikzpicture}
Example 2Complete Example
\begin{tikzpicture}[
block/.style={draw, rectangle, minimum height=1cm, minimum width=2cm},
sum/.style={draw, circle, node distance=1cm},
>=stealth', auto, node distance=2cm
]
\node[block] (input) {Input};
\node[sum, right of=input] (sum) {+};
\node[block, right of=sum] (controller) {Controller};
\node[block, right of=controller] (plant) {Plant};
\node[block, below of=controller] (sensor) {Sensor};

\draw[->] (input) -- node {$r$} (sum);
\draw[->] (sum) -- node {$e$} (controller);
\draw[->] (controller) -- node {$u$} (plant);
\draw[->] (plant) -- node[name=y] {$y$} +(2,0);
\draw[->] (y) |- (sensor);
\draw[->] (sensor) -| node[pos=0.99] {$-$} (sum);
\end{tikzpicture}
Tips for Better Diagrams:
- Use \usetikzlibrary{positioning} for more control over node placement
- Define custom styles, like block/.style for consistent formatting
- Name your nodes (e.g., (controller)) for easier connections
- Use relative positioning (right=of, below=of) instead of absolute coordinates
- Add arrow tips with >=stealth' or other styles
5 Pain Points in Manual Diagram Writing
While LaTeX with TikZ is a powerful way to create block diagrams, the manual process can be frustrating and time-consuming.
Here are some common issues users face:
- Lengthy, cluttered code. Even basic diagrams need many lines of structured syntax. As diagrams grow, your LaTeX file can become unreadable.
- No real-time visual feedback. There's no drag-and-drop interface. You must compile your LaTeX code repeatedly.
- Manual alignment and spacing. You need to specify node positions using coordinates or relative distances. It’s tedious trial-and-error adjustments.
- Difficult debugging. A missing bracket or incorrect reference can break the entire diagram. LaTeX’s error messages aren’t always helpful.
- Scalability challenge. As the diagram grows, managing layout and structure through code becomes difficult, even for advanced users.
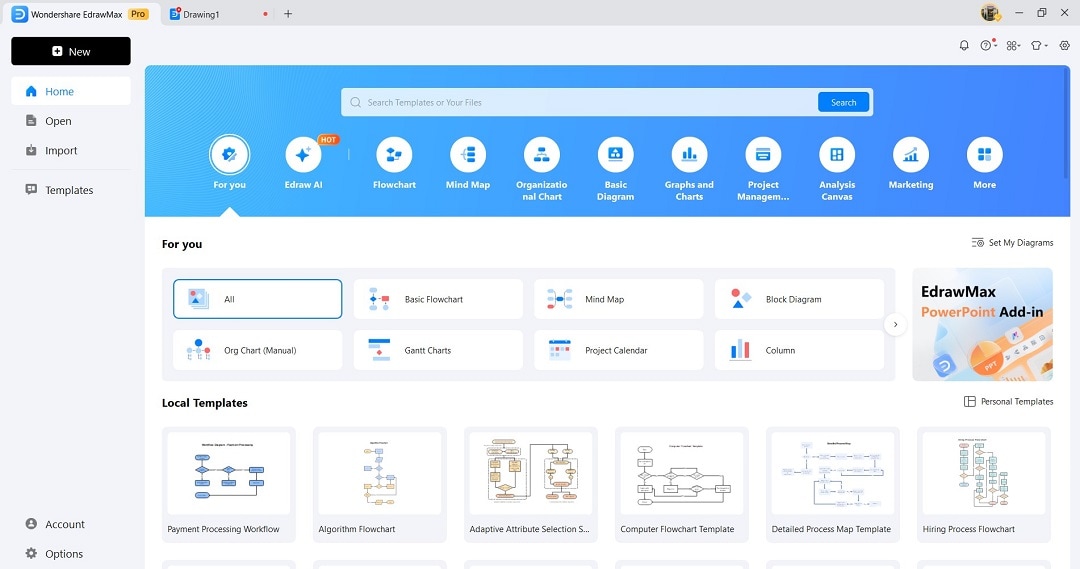
If you need a more visual and efficient workflow, Wondershare EdrawMax is a powerful alternative. The tool lets you create block diagrams without coding. It’s perfect for students, engineers, and professionals who want clarity without complexity.
How To Use EdrawMax for Block Diagrams
EdrawMax makes block diagram creation far easier. This is especially true for those who prefer a visual editor over raw code. Follow the steps:
Step 1Install EdrawMax and Set Up Your Account
- Download and install Wondershare EdrawMax.
- Log in or register for a free Wondershare account to access all diagramming tools. This unlocks full access to the diagramming toolkit, including a vast collection of ready-made templates.
Step 2 Start a New Diagram
- Click + New and choose Block Diagram.
- Wait for EdrawMax to transport you to the editing window.
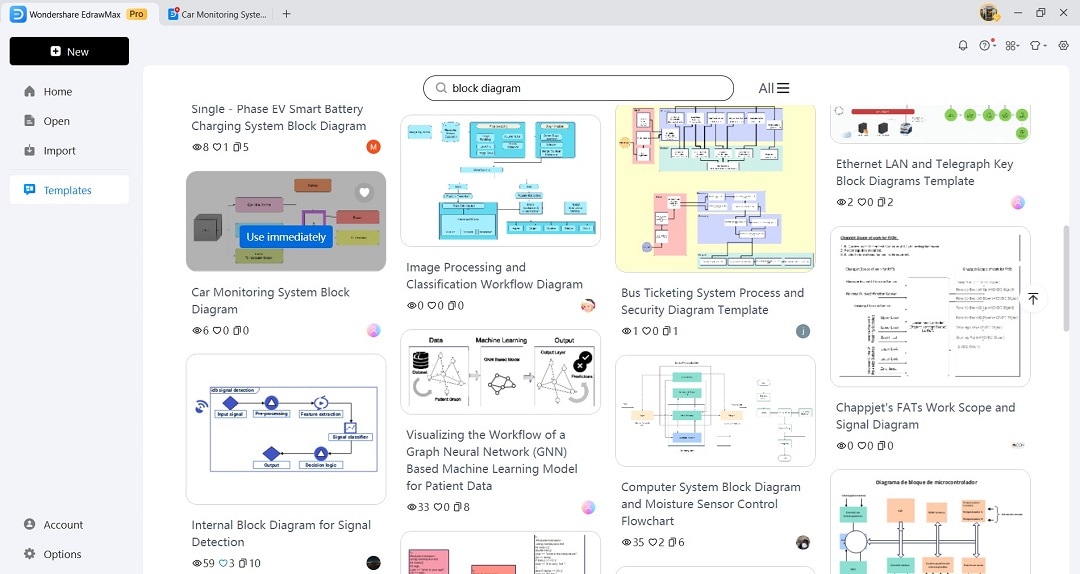
- To save time, browse the Templates menu on the left sidebar.

Step 3Select a Template
- Pick one that fits your purpose.
- Alternatively, use the search bar and look for a block diagram template that you like to use as a template.
- Click Use immediately to begin.
Step 4Customize Your Diagram
- Drag and drop blocks, arrows, and connectors onto the canvas.
- Customize blocks with text labels, colors, and styles to create a clear and visually appealing layout.
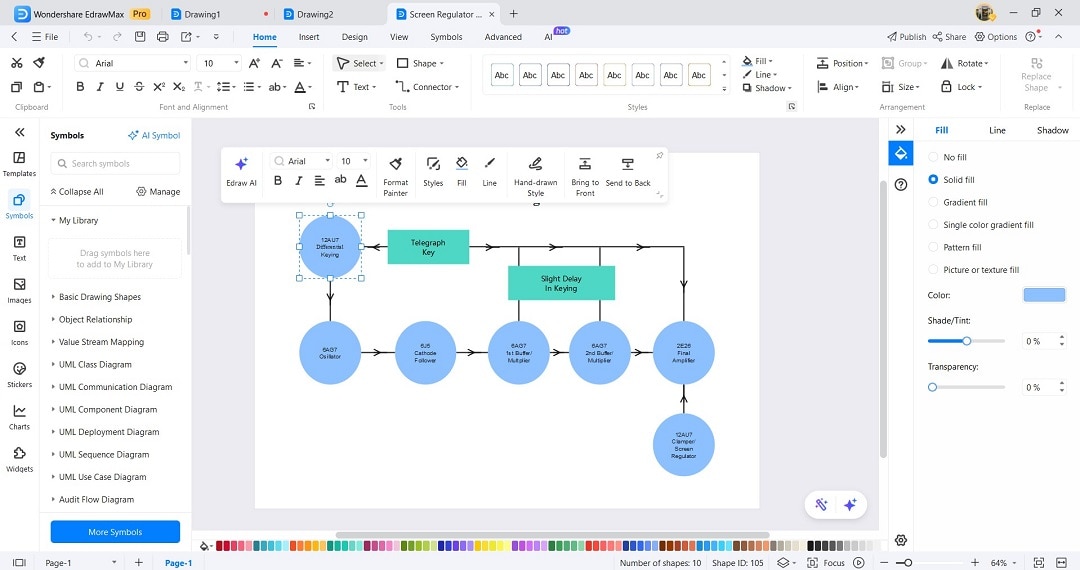
Step 5Connect Elements
- Use smart connectors to link diagram elements. These connectors auto-adjust as you move shapes around.
- Keep everything tidy and aligned.
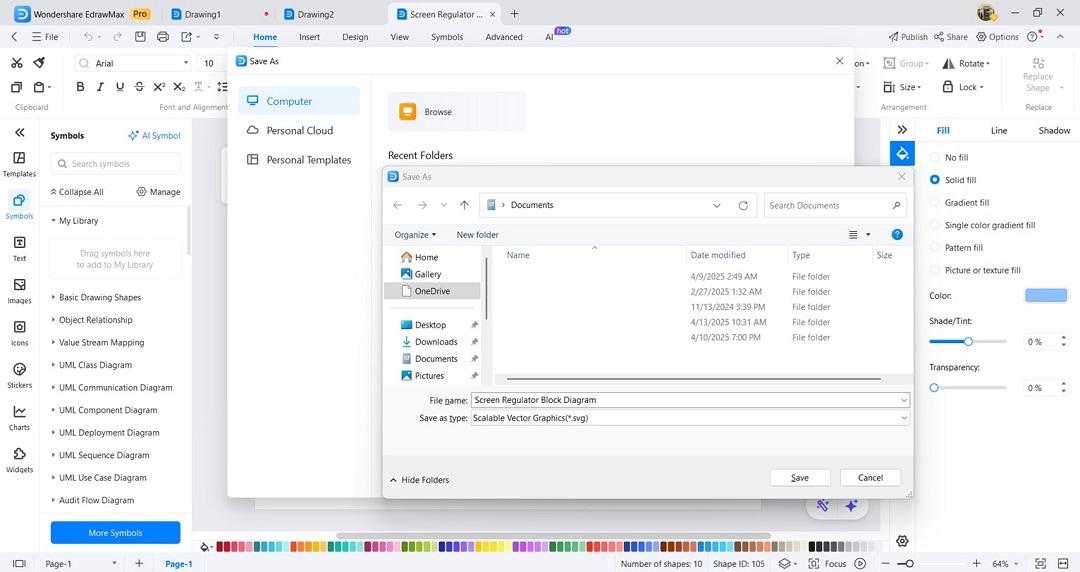
Step 6Export Your Diagram
- Export your diagram as SVG for LaTeX integration
- Or choose PNG, PDF, or other formats for reports, slides, or web use.
Conclusion
LaTeX is great for precision in technical documents. But for creating diagrams, it’s not always the fastest or most user-friendly method. If you want cleaner visuals, faster edits, and an easier workflow, EdrawMax is a smart solution.
The platform gives you the power of drag-and-drop clarity. You can build block diagrams in seconds, whether you're preparing engineering diagrams or teaching materials. What are you waiting for? Give EdrawMax a try today!
AI Diagram Generator
Enter your prompt. Upload files if needed. Generate diagrams, charts, or slides instantly.


