


A class diagram is a type of UML (Unified Modeling Language) diagram that represents the structure of a system by showing the classes of the system and their relationships between them. Classes in the diagram represent a collection of objects with common properties and behaviors. On the other hand, association represents a relationship between two classes, which helps us understand that objects of one class are connected to objects of another class.
Class diagrams provide a visual representation of the classes in a system. These diagrams are needed to design object-oriented systems, as they help in identifying and defining the classes needed to implement the system's functionality.
In this guide, we are going to learn how to create class diagrams in Visio. We are going to learn it through a step-by-step guide.
In this article
How to Create a Class Diagram in Visio
Microsoft Visio is a tool to create UML diagrams. Creating a UML class diagram in Microsoft Visio involves a series of straightforward steps that allow for a clear representation of a system's structure.
Here are a few steps you need to follow to make your class diagram in Visio:
Step 1:
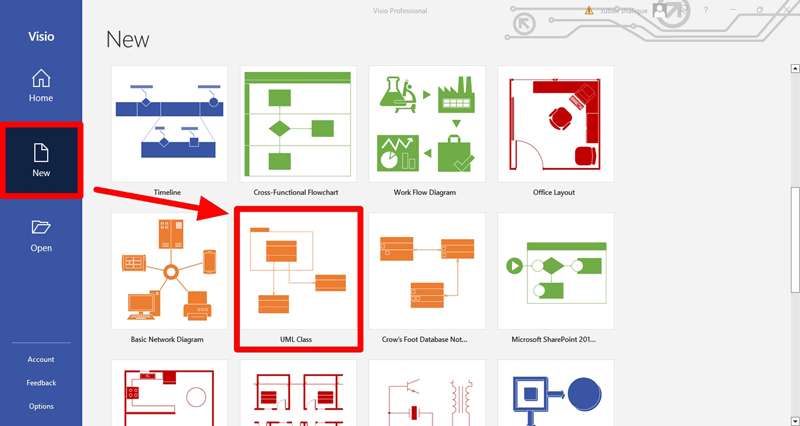
Launch Microsoft Visio and navigate to the File menu. Click on New. Select the UML Class template from the available options.
Step 2:
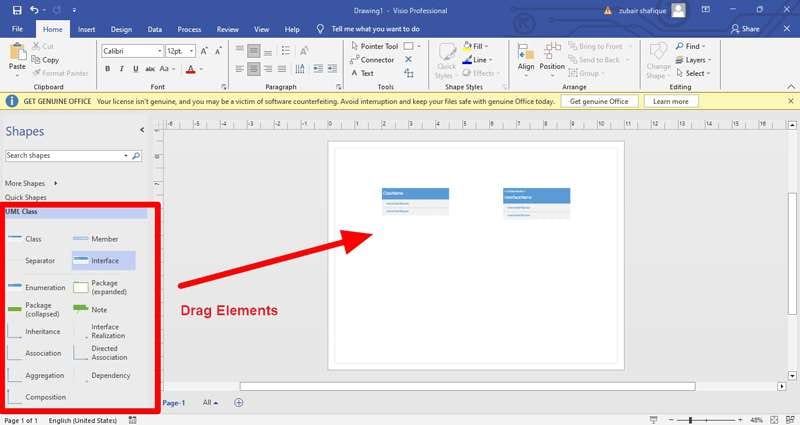
Drag class shapes from the toolbox onto the drawing page, representing each class in the system. Double-click on each shape to input the name of the class.
Step 3:
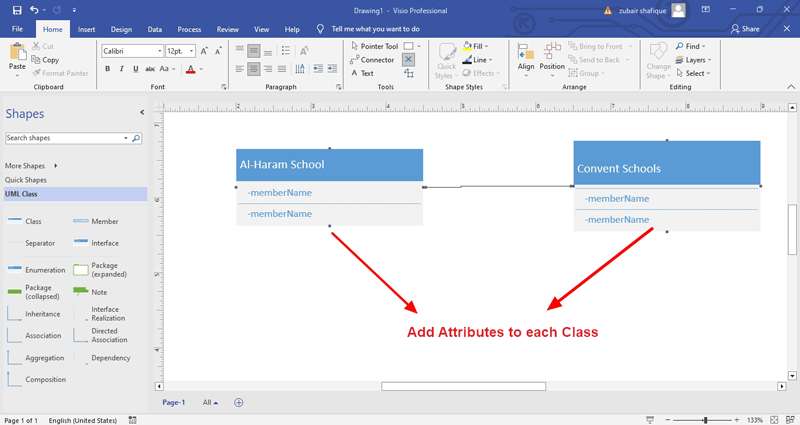
Inside each class shape, specify the attributes and methods by double-clicking on the shape and adding the relevant details. Put whatever you need to add and label them in the boxes.
Step 4:
Utilize the Association shape from the toolbox to establish relationships between classes. Drag the Association shape onto the drawing page and connect the appropriate class shapes with lines, indicating the associations.

Step 5:
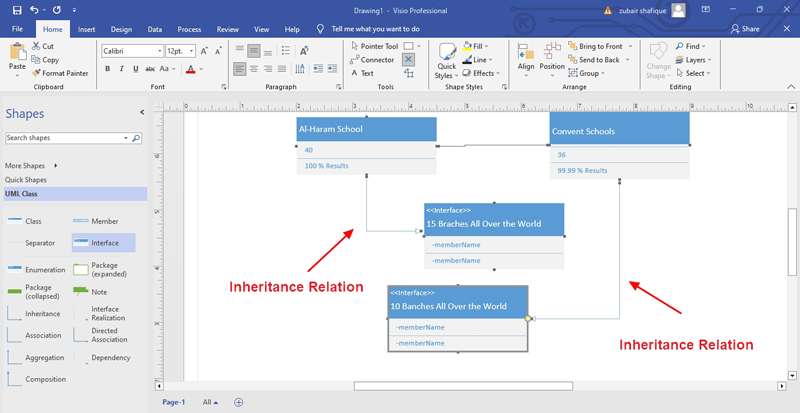
If inheritance relationships exist in your system, incorporate them by dragging the Generalization shape from the toolbox. Connect the superclass to the subclass to represent the inheritance relationship.
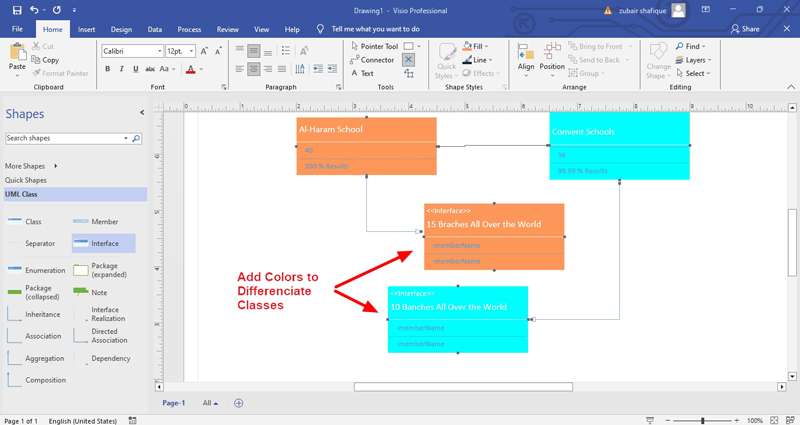
Step 6:
Organize the classes and relationships on the drawing page in a logical manner for clarity. Adjust line styles, colors, and formatting as needed to enhance readability and visual appeal.
So, that is it. You can efficiently create a UML class diagram in Visio, facilitating the visualization and communication of the structure of your software system.
How to Create a Class diagram in EdrawMAx for Free
EdrawMax is one of the most versatile diagramming software tools designed to help users create various types of diagrams, charts, and visuals for a wide range of purposes. It has a huge variety of templates that can help you choose according to your needs.
With its extensive range of features and flexibility, EdrawMax serves as a comprehensive solution for creating professional-quality diagrams and visuals across various industries and fields, including business, education, engineering, IT, and design.
Why is it better than Visio?
Visio doesn’t come free and charges a monthly or yearly package fee, while EdrawMax is free to use and easier to handle. Its interface makes it easier for the users to navigate. If you want to use templates, there are a large number of free templates to start with as well.
Here is a step-by-step guide to create a class diagram with EdrawMax.
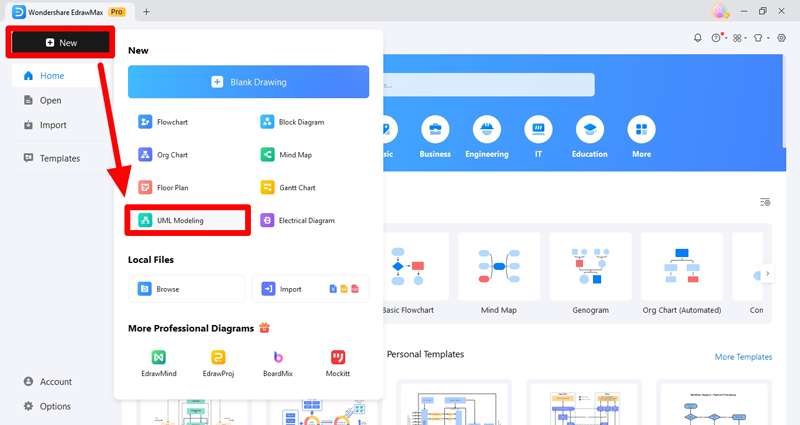
Step 1:
Open EdrawMax and Click New > UML Modeling.
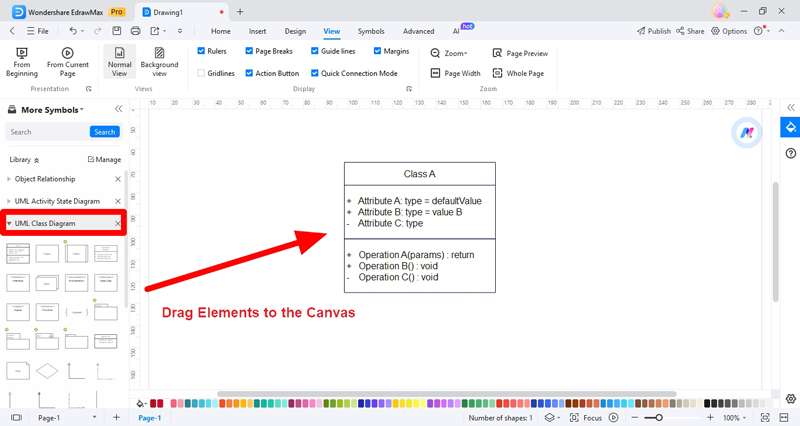
Step 2:
Select the UML diagram and drag all the elements needed on the canvas to work with.
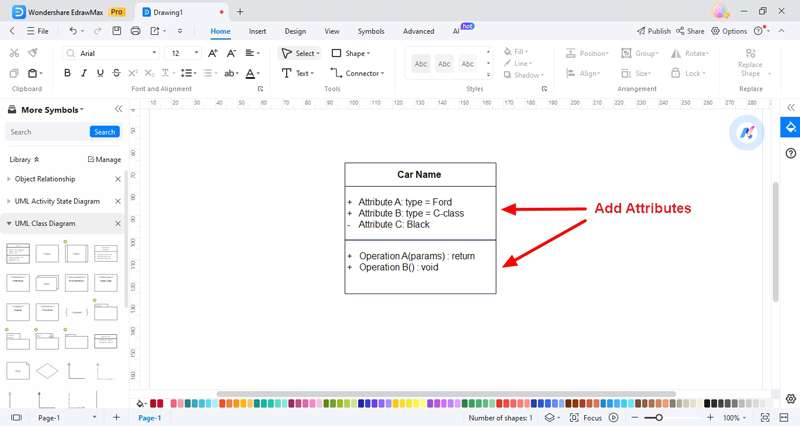
Step 3:
Add all the attributes and relationships between the classes in the diagram. Label them to make it clear to the readers about how they are related.
Step 4:
Save the file now and keep it for further use.
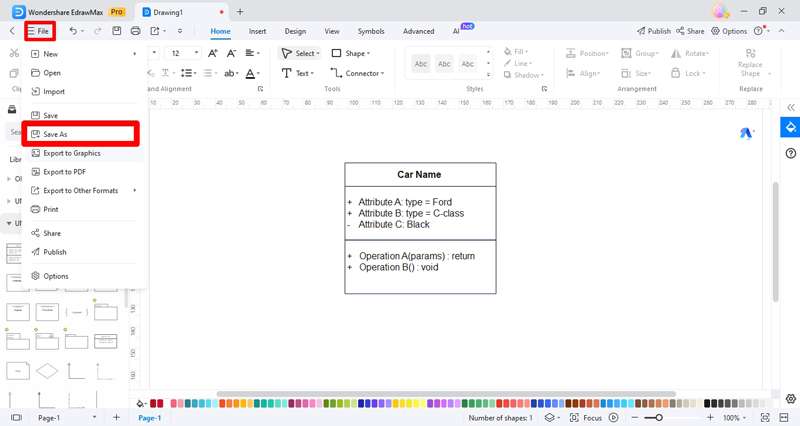
All you need to do is to follow these given steps and you will get your class diagram ready in minutes. If you want to make your work even easier, you can visit the templates given by EdrawMax to see if they fit your requirements. All you need to do is to search for UML class diagrams and you will find hundreds of templates to start with. That’s how easy it is.
Conclusion
UML class diagrams are a standardized way to visualize the structure of a system or software application using object-oriented concepts. We've explored the process of creating UML class diagrams using Microsoft Visio, a widely used tool for diagramming and visualization.
With its intuitive interface, extensive library of templates and shapes, and robust collaboration features, EdrawMax could easily be a compelling alternative to Visio. It is free and easy to use and works well on every device due to its compatibility.
