A package diagram is a type of UML diagram that shows the arrangement of model elements such as classes, documents, and diagrams in the form of packages. It is used as a container to organize the elements in a more manageable manner. A package diagram has various components, such as a package, a namespace, a package merge, a package import, a dependency, an element, and a constraint.
Developers use a Visio package diagram to display dependency between different packages. This helps system architects break down a complex problem into more minor issues. You can learn how to create a package diagram in Visio by accessing simple features like tree view, drag-and-drop, and creating sub-packages.
In this article
Part 1: How to Create a Package Diagram?
A package diagram in UML helps combat the challenges of extensive systems.
For example, if you draw a system class model, there might be too many links between classes to understand. In this case, a package diagram can help to group elements, provide a namespace to the elements, make a hierarchical organization, and more.
Here is a step-by-step process to create a package diagram with VIsio:
Step 1:
Open a diagram-making application and create a new file from the home page. Choose the model or package you want to make the package diagram in and right-click on it. Next, point to "new" → diagram → UML → package diagram. Give a new name to the package diagram and press enter.
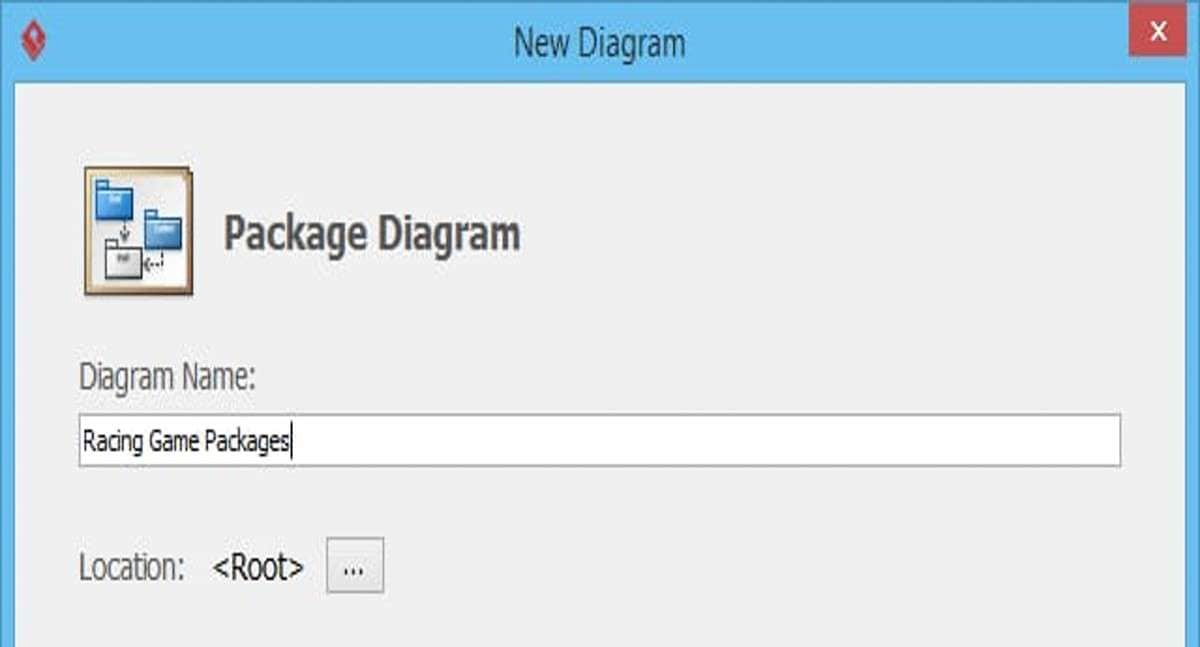
Step 2:
You can set the diagram's default view option. To do this, open the package diagram, right-click on the background, and select the default view option. Select the item type you want to change in the left pane, and then set the value as required from the options tab.
Step 3:
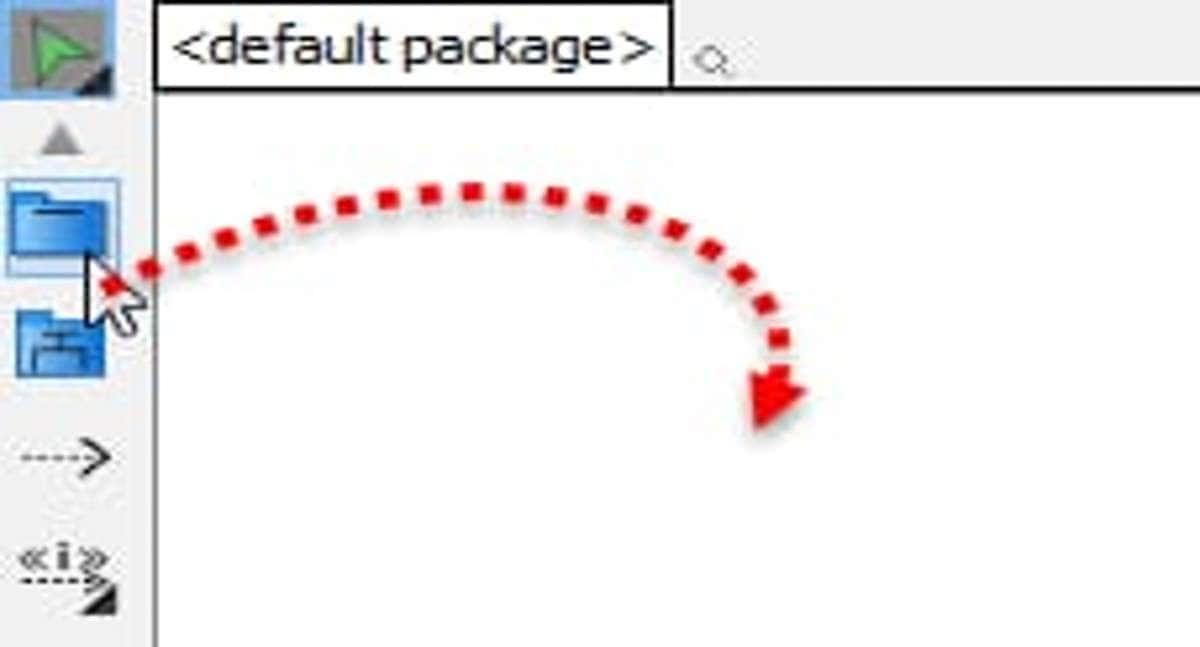
To create items, open the package diagram from the modeler. Click the model→ model library→ package→ profile→ viewpoint button on the diagram toolbar. Next, click on any free space on the diagram, type the item's name, and press enter.
Step 4:
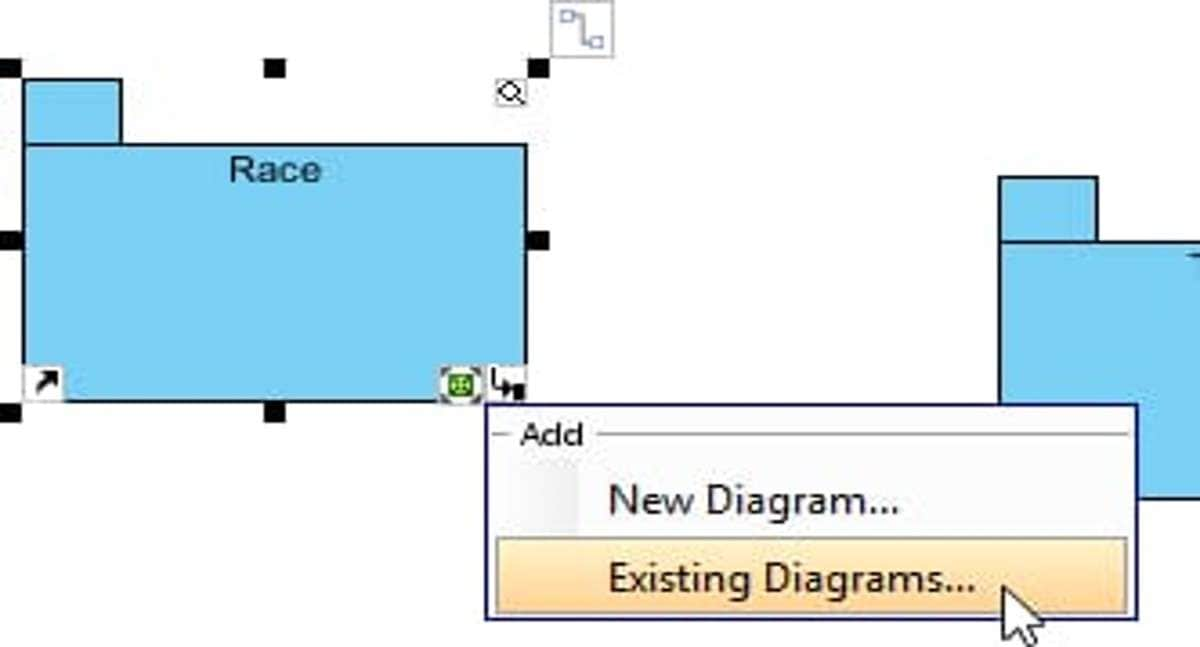
If you want to add existing items, open the package diagram and locate the item you wish to add. Drag the item onto the chart from the appropriate panel. Alternatively, you can add items included in the model or package the package diagram owns.
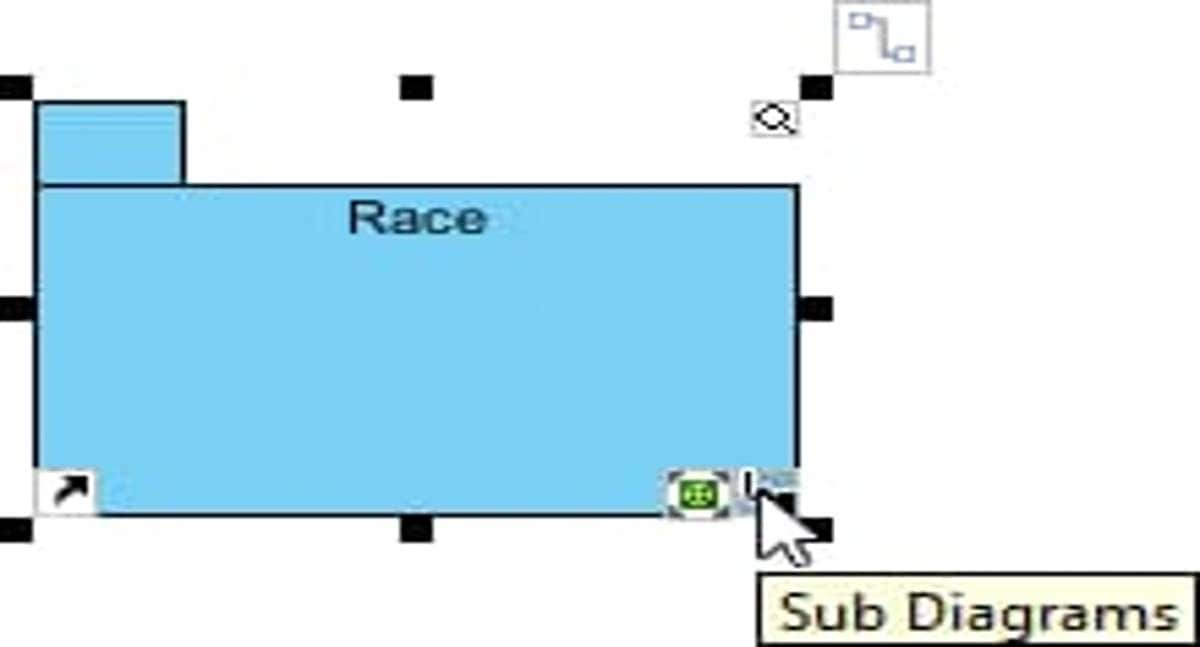
Step 5:
You can also add existing links related to missing relationships, existing access, existing profile applications, confirming relationships, etc., through the populate command and diagram toolbar options.
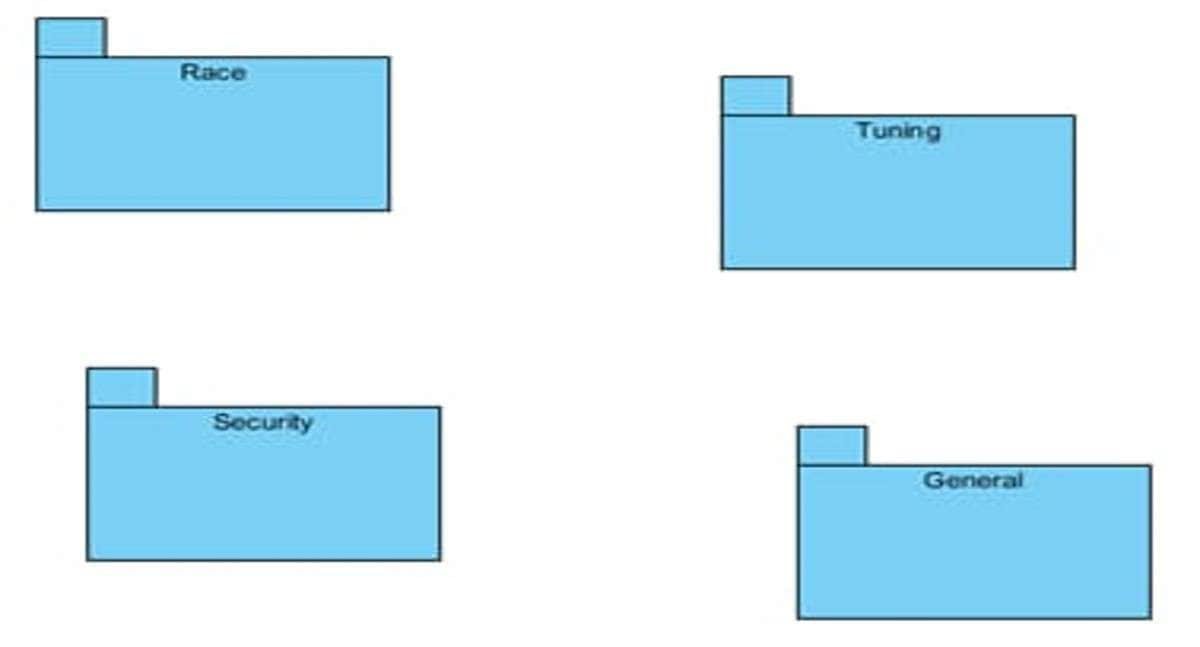
Many diagram-making tools have an extensive array of objects, stencils, and shapes for creating diagrams. But there might occur some challenges a user might face while creating a package diagram, such as:
- Maintaining simplicity while providing enough details can be quite challenging. The user might find it difficult to balance the two and, therefore, must not include extra information, making it complex to comprehend.
- Package diagrams mainly focus on the static structural aspect of the elements. Sometimes, they might be limited to this aspect and not catch aspects like the runtime behavior or interaction between components.
- Putting extra emphasis on dependencies creates clutter and a complex diagram. Dependencies should be displayed concisely so that the diagram is easy to understand.
Part 2: EdrawMax: Alternative to Visio for Creating a Package Diagram
Among many alternatives to diagram-making tools for creating a package diagram is Wondershare's EdrawMax, an online and offline diagramming tool.
EdrawMax integrates the functionality of many other drawing products. It has 1500+ built-in templates and 26,000+ symbols and generated charts and diagrams from Edrawers. You can discover many diagrams from the template community and share them across social media to generate ideas and map trends. EdrawMax has superior file compatibility, 210+ diagram types, and supports Windows, Mac, Linux, and the Web.
Features of EdrawMax
- 210 Diagram Types: You can choose and create from more than 210 network and database diagrams.
- Multiple Resources: Along with an intuitive interface, you get 20,000+ built-in symbols and Iconfont integration. The Pixabay integration allows you to access and add images, vectors, and illustrations to your diagram.
- Share anything easier: With its multiple format compatibility, you can export files in formats like PDF, Visio, SVG, HTML, etc. Project managers can share the diagram or publish it on websites.
- Advanced Toolbox: The advanced toolbox has smart containers to organize and group related shapes. With the boolean operation feature, you can create complex shapes by combining groups of objects.
- Basic Toolbox: This essential toolbox includes a drag-and-drop feature, auto connection, smart shapes, and a snap-and-glue feature. The auto connection automatically creates connectors between the shapes.
Rating
EdrawMax has received many positive ratings from users due to its additional features and intuitive interface.
- G2: 4.3 out of 5.0 (based on 61 reviews)
- Capterra: 4.6 out of 5.0 (based on 203 reviews)
- GetApp: 4.6 out of 5.0 (based on 203 reviews)
Step-by-Step Guide to Make UML Package Diagram with EdrawMax
A package diagram simplifies complex class diagrams by organizing classes into packages. Some examples of package diagrams include control & navigation systems and purchase orders. Here is a step-by-step process to create a package diagram in EdrawMax:
Step 1:
To create a package diagram you can use the desktop or web version of EdrawMax. To use the desktop version, launch the application in your system. EdrawMax is compatible with Mac, Windows, and Linux.
Step 2:
On the home page, you will see a navigation panel on the left side with an option to create a new file or select templates for your diagram. While scrolling down, you can also find a template community and check the diagrams of other Edrawers.
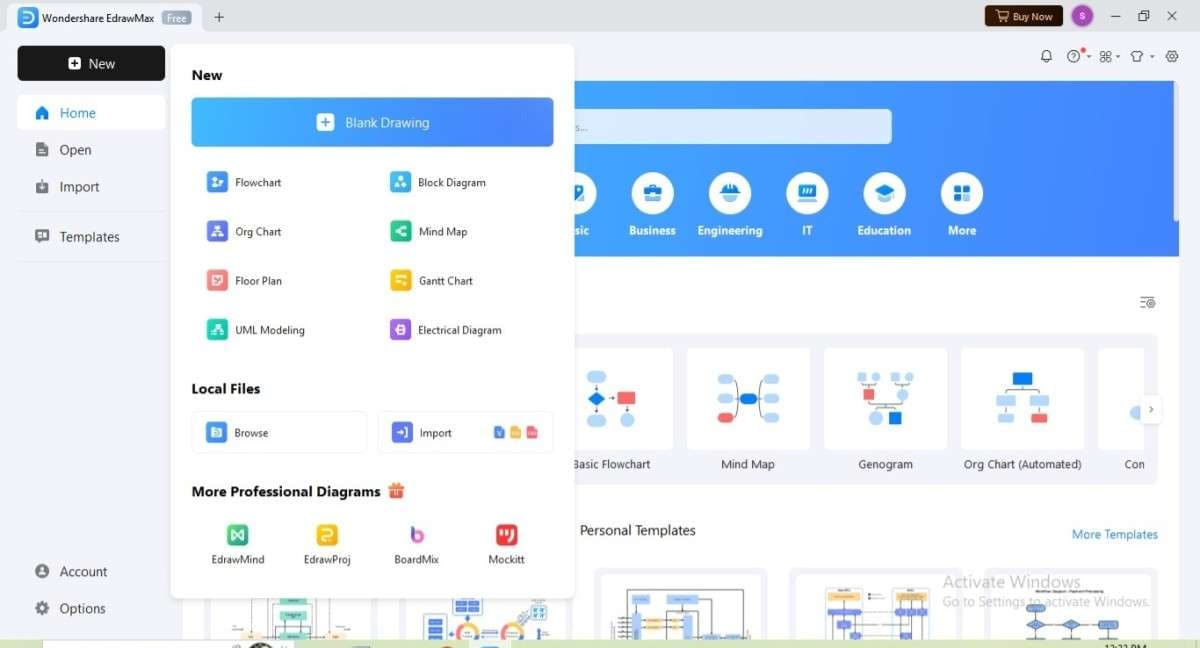
Step 3:
Type a package diagram in the search box to select a template. You will get a list of templates with different types of package diagrams. Choose any template, and a new page with the template will open. You can customize the diagram accordingly.
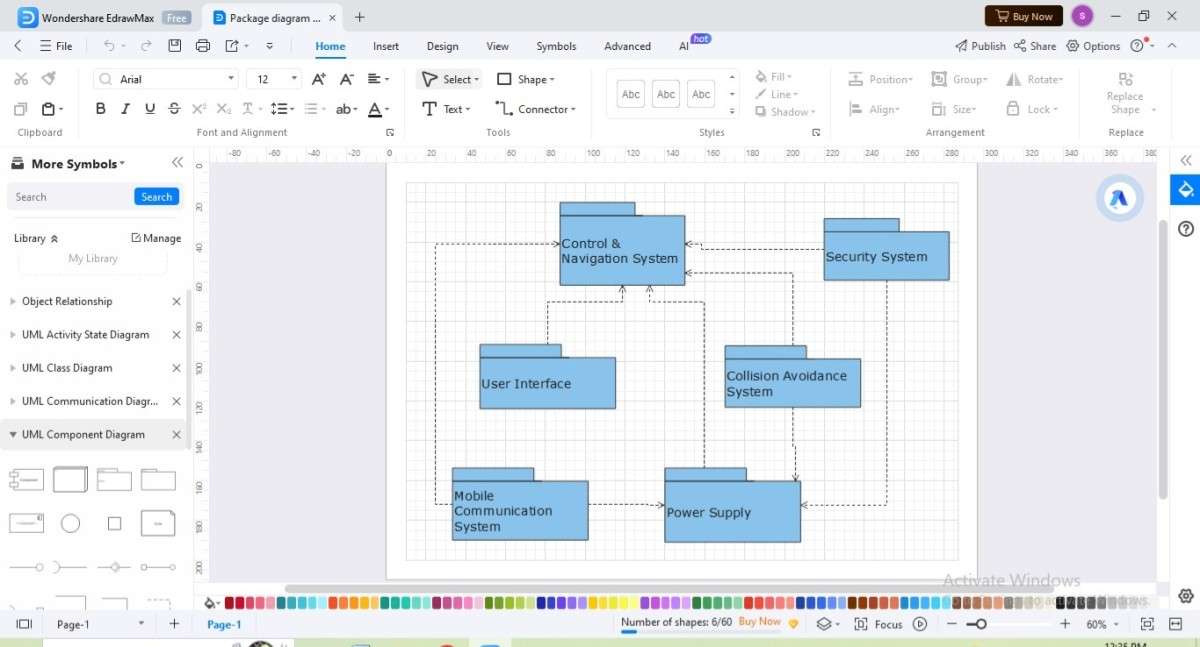
Step 4:
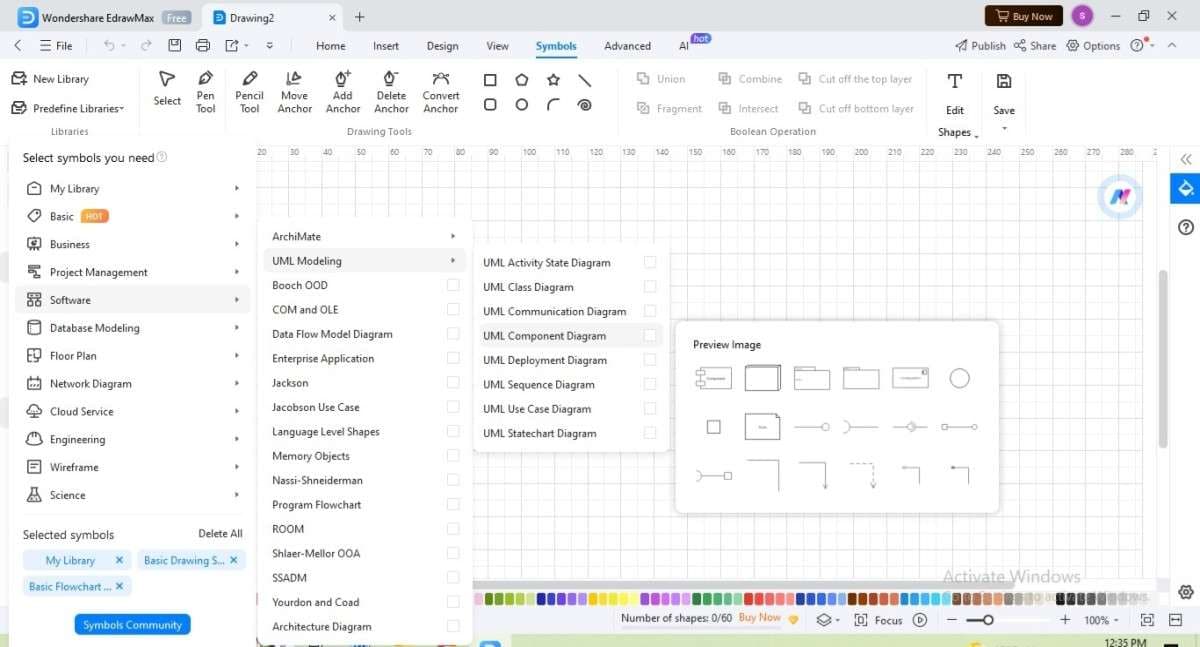
To start creating the package diagram from scratch, click on a new option on the home page, and a blank canvas will open. On the top navigation panel, go to "symbols," and a list of symbols will appear on the left panel. Click on more symbols → software → UML modeling and select relevant symbols.
Step 5:
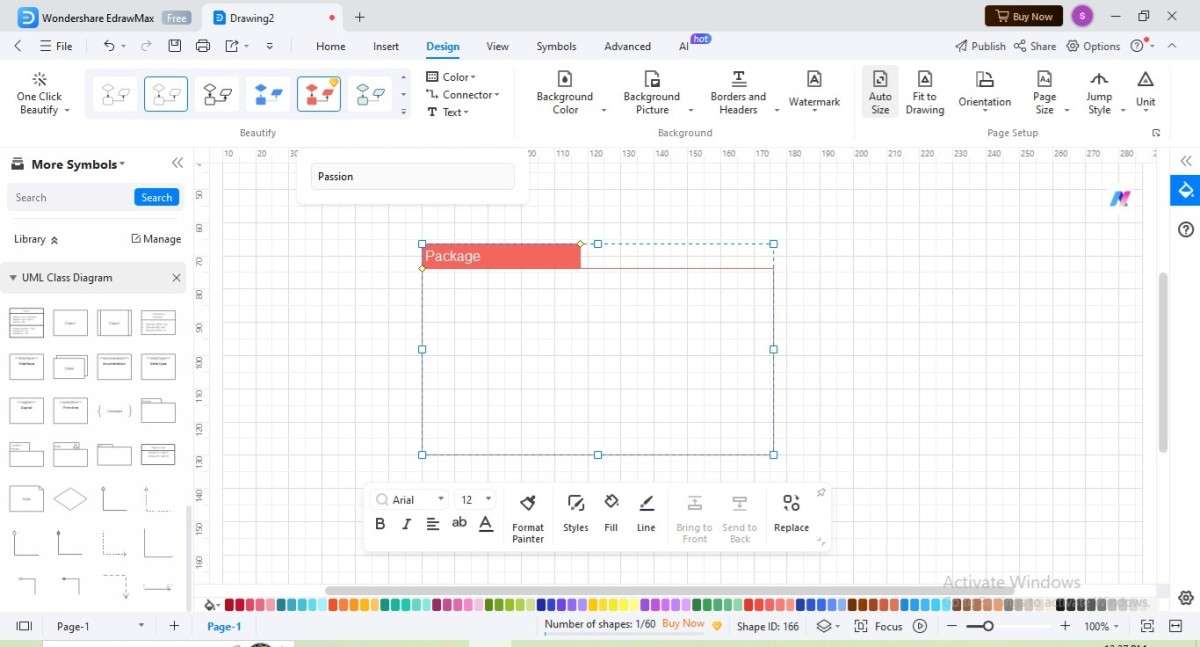
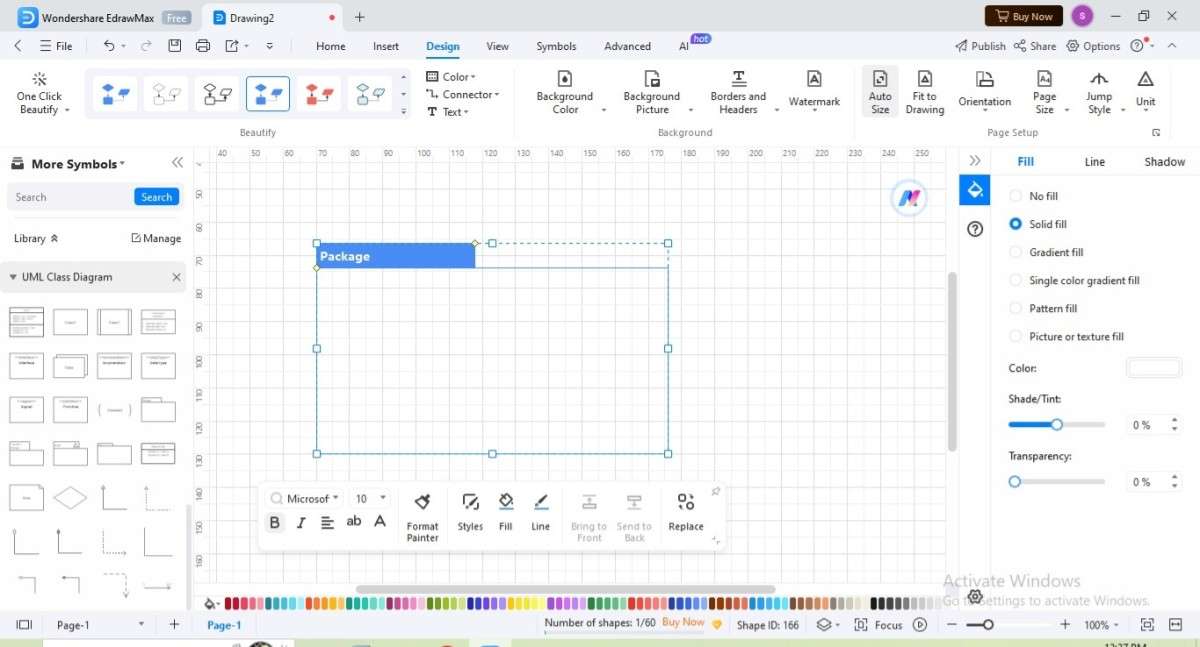
Once you have finished creating your diagram you can change the design, text, colors, and style from the right navigation panel. On the top navigation panel, click "design" to change the style, orientation, background picture, and more.
Step 6:
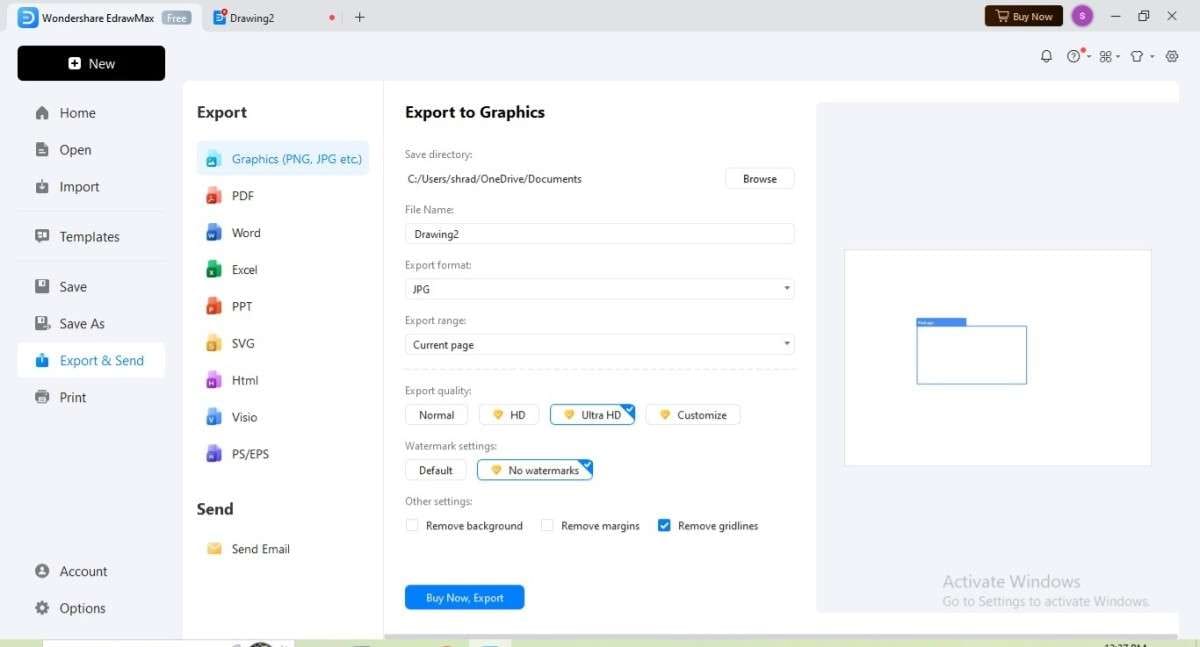
Once the customization is done, go back to the home page and click on the export and send option. You can export your diagram in any format, including PDF, Excel, Word, PPT, SVG, HTML, and more.
Step 7:
If you are a business professional, you can share your diagram with your team members or invite them to collaborate. To do this, return to the canvas page where you created your diagram. In the top right corner, click the "share" option, enter your team member's email, or share the link.
These steps can help beginners and professionals efficiently create a package diagram in EdrawMax. Due to its versatile functionality, EdrawMax can be a valuable asset for everyone.
Part 3: Package Diagram in EdrawMax
Package diagrams have a unique ability to simplify complex class and component diagrams. It can arrange cluttered components in an organized manner without disturbing the alignment of other elements. A package is used among developers, students, engineers, and others to simplify complex problems.
To make a creative, informed, and understandable package diagram, you can rely on software like EdrawMax, which offers an intuitive platform. Along with discovering how to create a package diagram in Visio, you can explore superior alternatives like EdrawMax and educate your colleagues.


