Can you imagine a tool so versatile that it transforms complex ideas into visual clarity, yet sometimes feels like solving a puzzle? UML diagrams, especially profile diagrams, play a pivotal role in software development and business processes, offering a clear visual representation of system structures and relationships. Microsoft Visio stands out as a powerful tool for creating these diagrams.
However, its complexity can be daunting. This article offers an excellent alternative: EdrawMax. We will guide you through how to create a profile diagram in Visio and explore the simpler, more intuitive EdrawMax. Let's get started and make diagramming easier and more efficient!
In this article
Introduction to Visio
Microsoft Visio is a powerful tool for creating profile diagrams. Many users choose Visio for its detailed templates and customization options. If you're wondering how to create a profile diagram, you're in the right place. Here are the steps to create a profile diagram in Visio effectively.
How to Create a Profile Diagram in Visio?
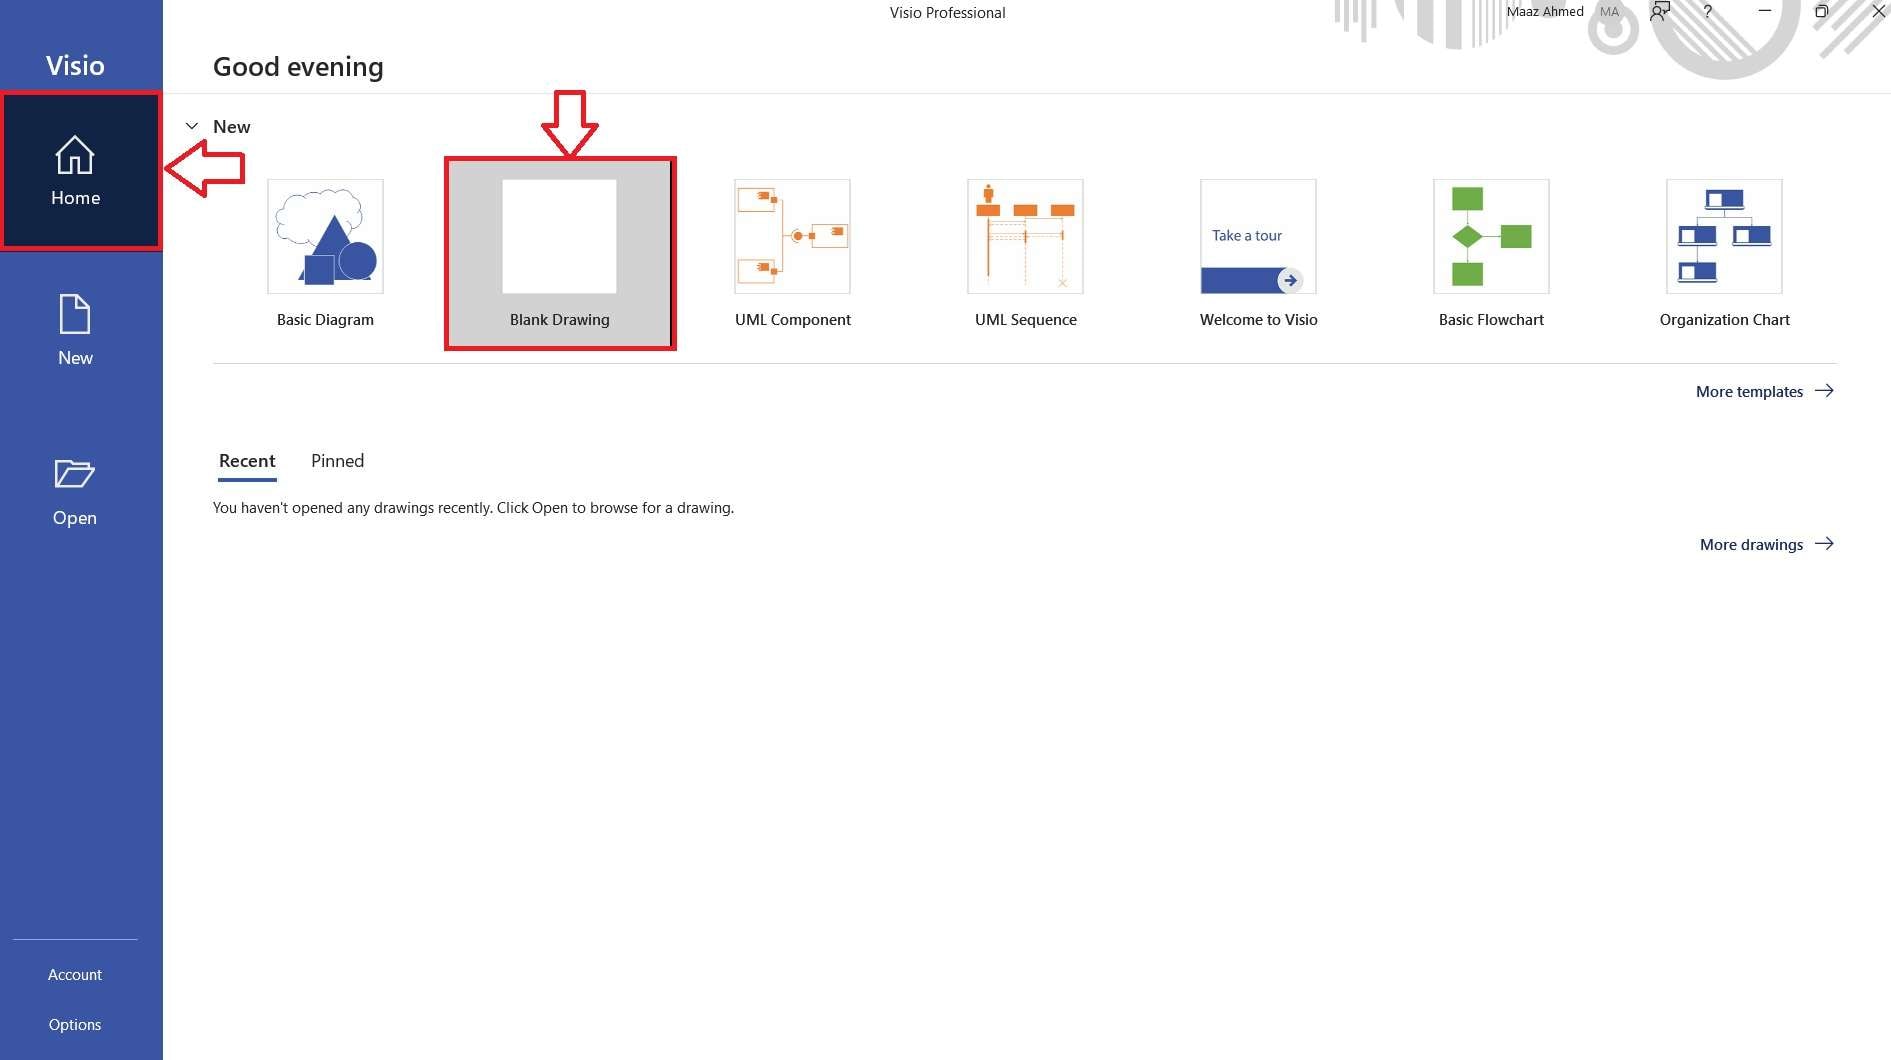
To start creating your profile diagram in Visio, open the application and go to the Home tab. From there, click on the Blank Drawing option. This will provide you with a clean slate to start your diagram. It's an essential first step to ensure that you have a clear workspace for your profile diagram.
Common Difficulties When Using Visio
Creating a profile diagram in Visio can present several challenges. One major difficulty is the lack of specific templates for profile diagrams. Users have to start from scratch, which can be time-consuming. The interface can be overwhelming for beginners, making it hard to find the right tools and shapes.
Additionally, mastering Visio’s features requires time and effort. These factors can make the process of creating a profile diagram more complex and frustrating, especially for those new to the software. This complexity often leads users to seek simpler alternatives.
Introduction to EdrawMax
EdrawMax is an excellent alternative to Visio for creating profile diagrams. Unlike Visio, EdrawMax offers ready-made templates specifically designed for profile diagrams. This feature saves time and effort. It allows you to focus more on refining your diagram rather than starting from scratch. The intuitive interface of EdrawMax makes it easier for beginners to navigate.
How to Make a Profile Diagram in EdrawMax?
Step 1. Start with a Blank Canvas
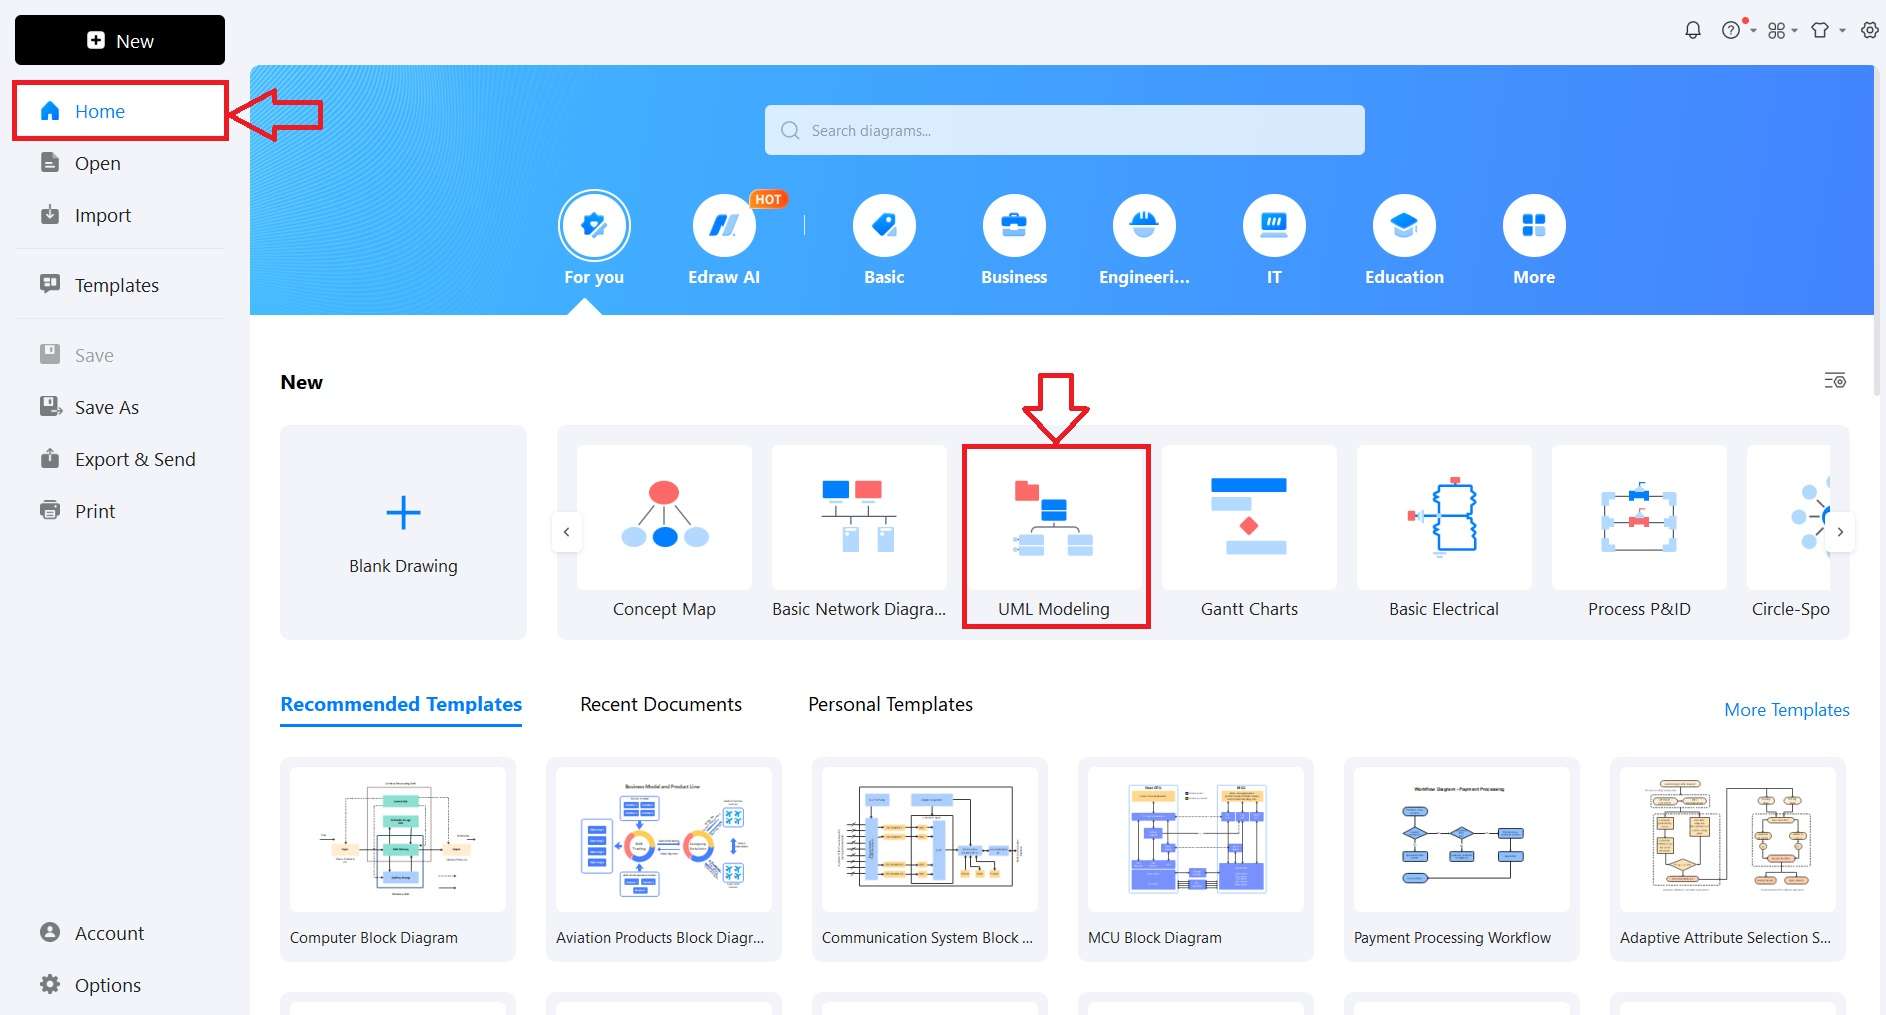
Launch EdrawMax and navigate to the Home tab. From there, select the UML Modeling option. This choice opens up the tools and templates required to create a profile diagram from scratch.
By starting here, you ensure you have all the necessary elements to build a comprehensive and accurate profile diagram effectively.
Step 2. Use Templates in EdrawMax
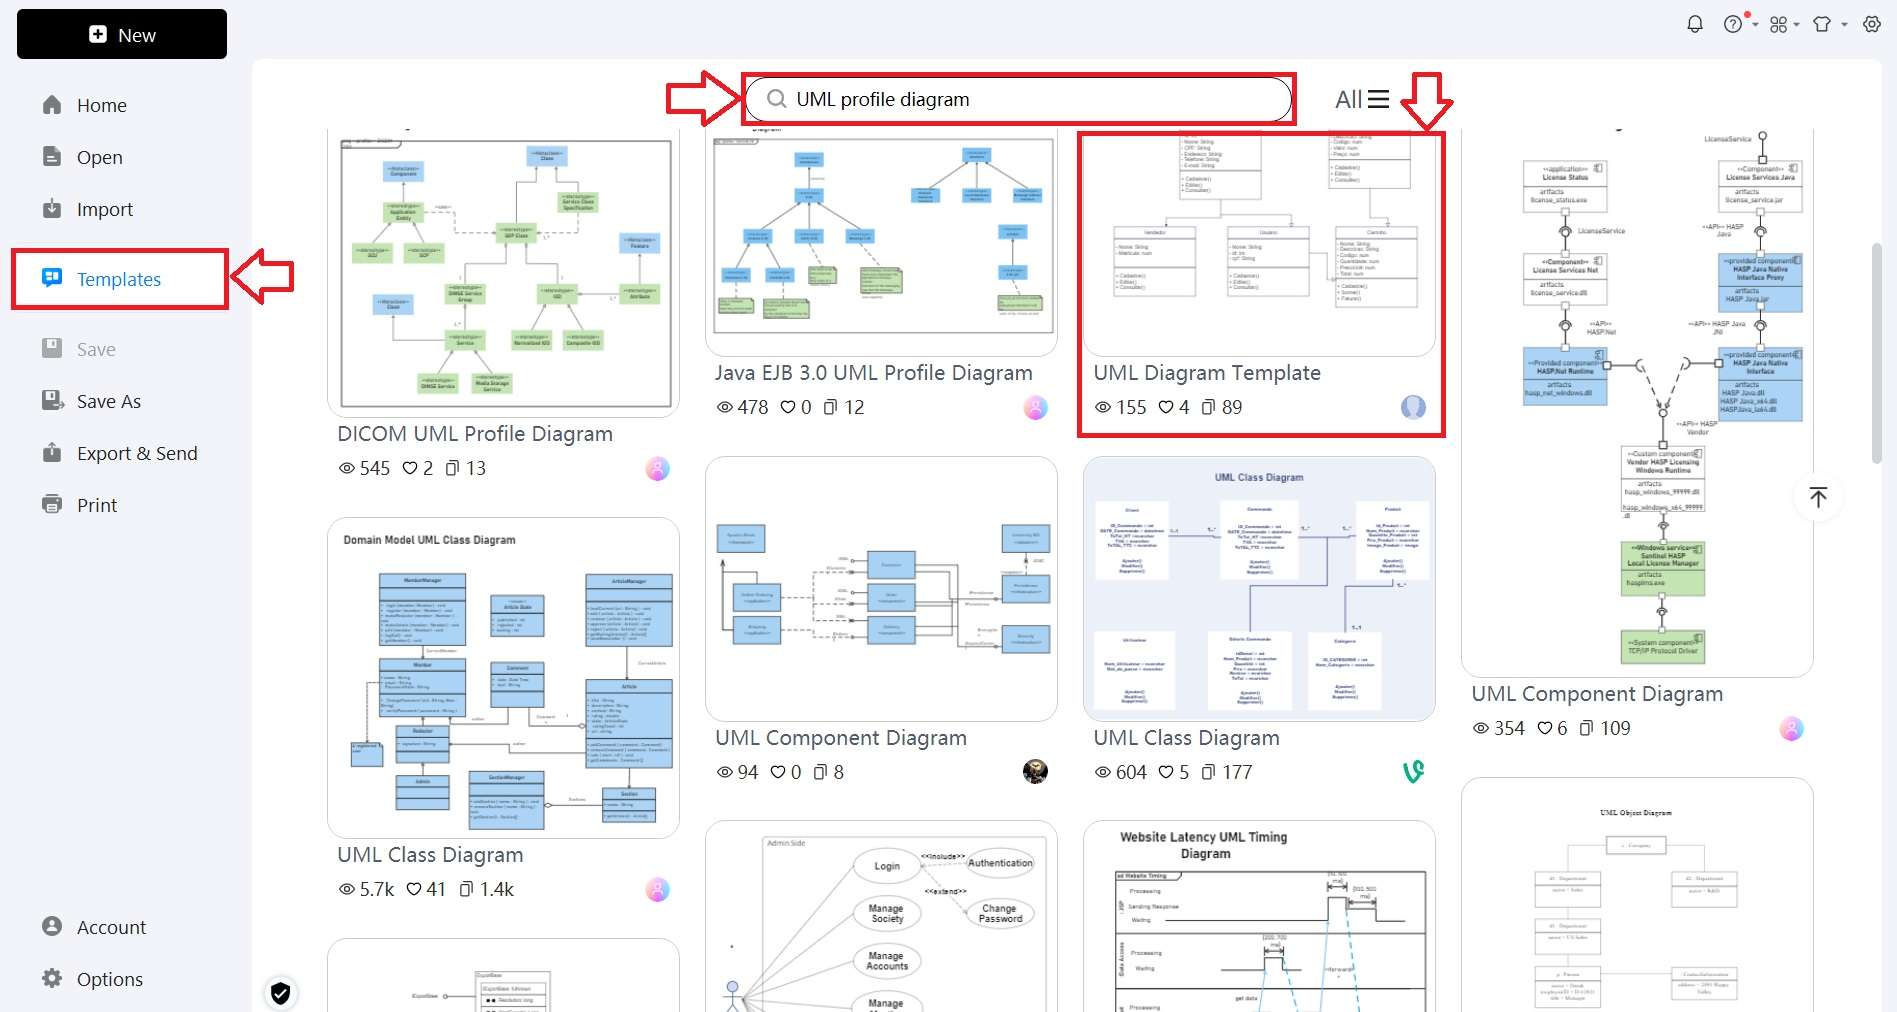
Visit the EdrawMax templates community and enter the UML Profile Diagram in the search bar.
Browse through the available templates and select the one that fits your needs. Click on Use Immediately to begin editing the chosen template. This method saves time and provides a professional foundation for your profile diagram, making the process efficient and straightforward.
Step 3. Customize Your Profile Diagram
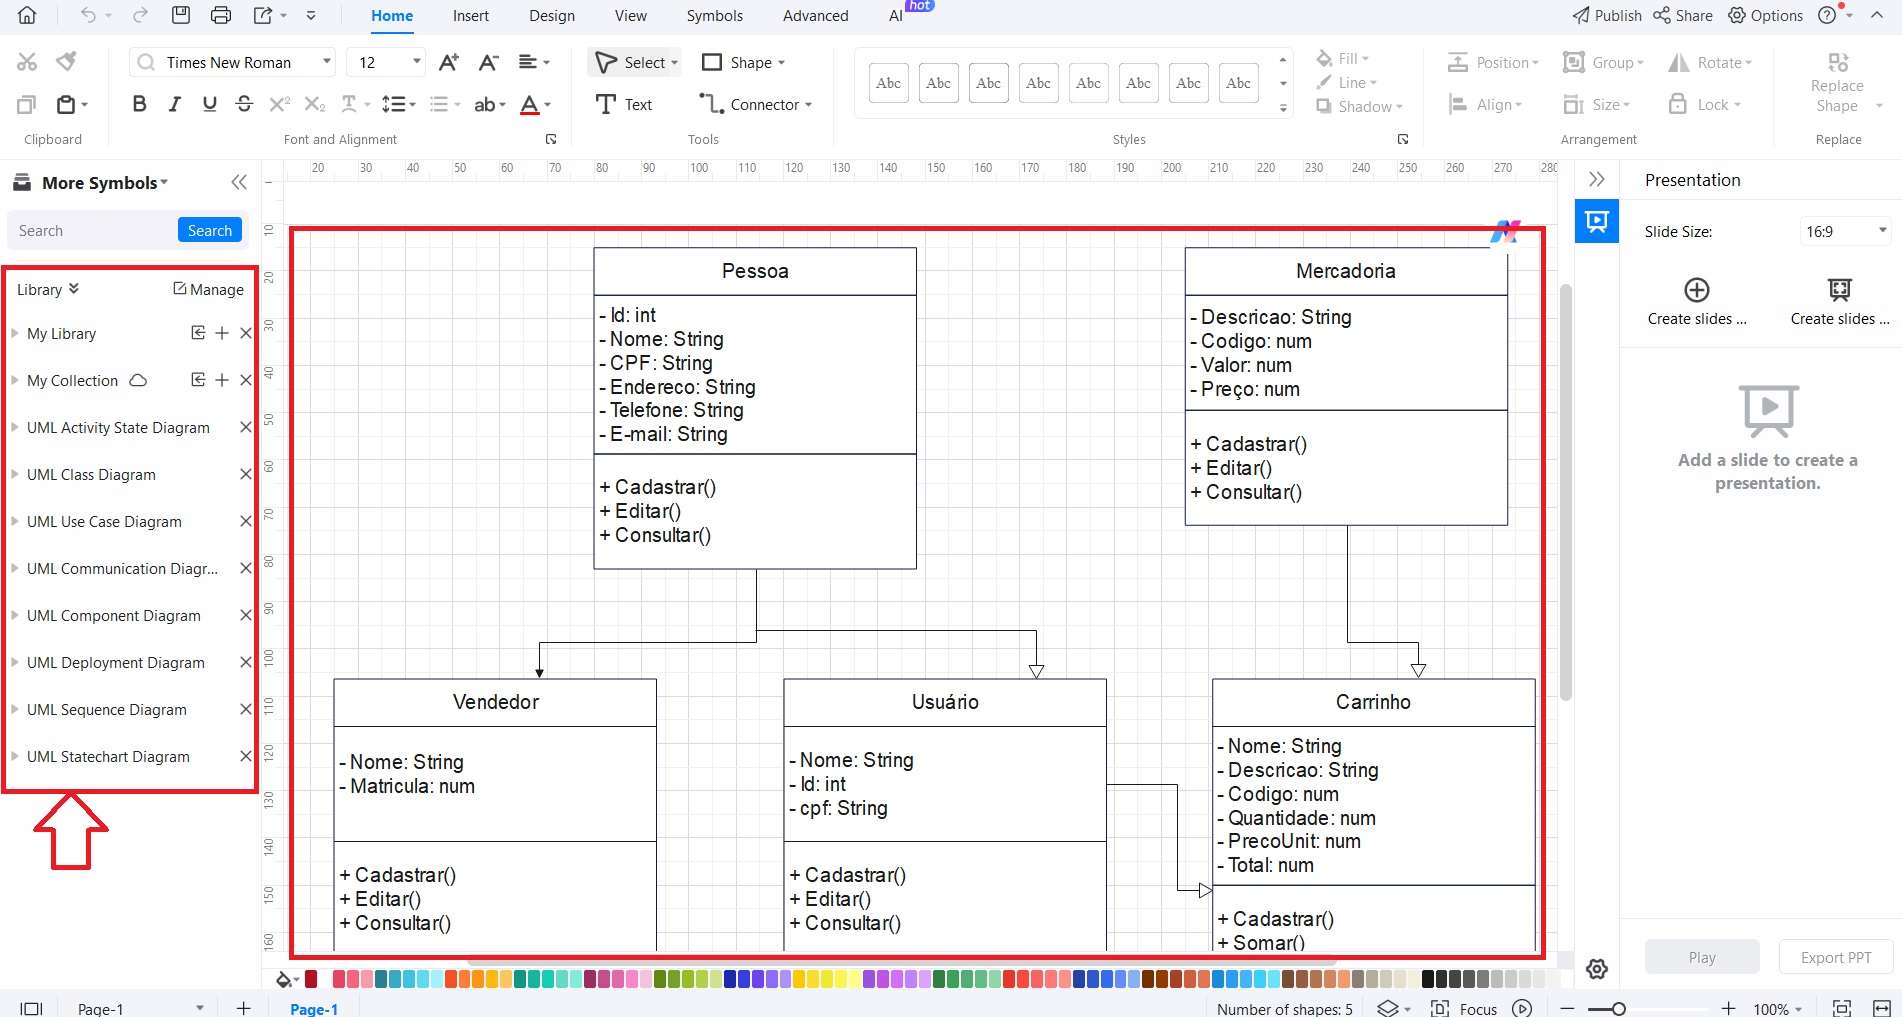
After selecting a suitable template, you can start customizing it by using the UML shapes provided. Modify the template according to your specific requirements.
Drag and drop the shapes from the left sidebar onto your canvas. Adjust the properties, labels, and connections to accurately represent your profile diagram.
Step 4. Use the Floating Bar
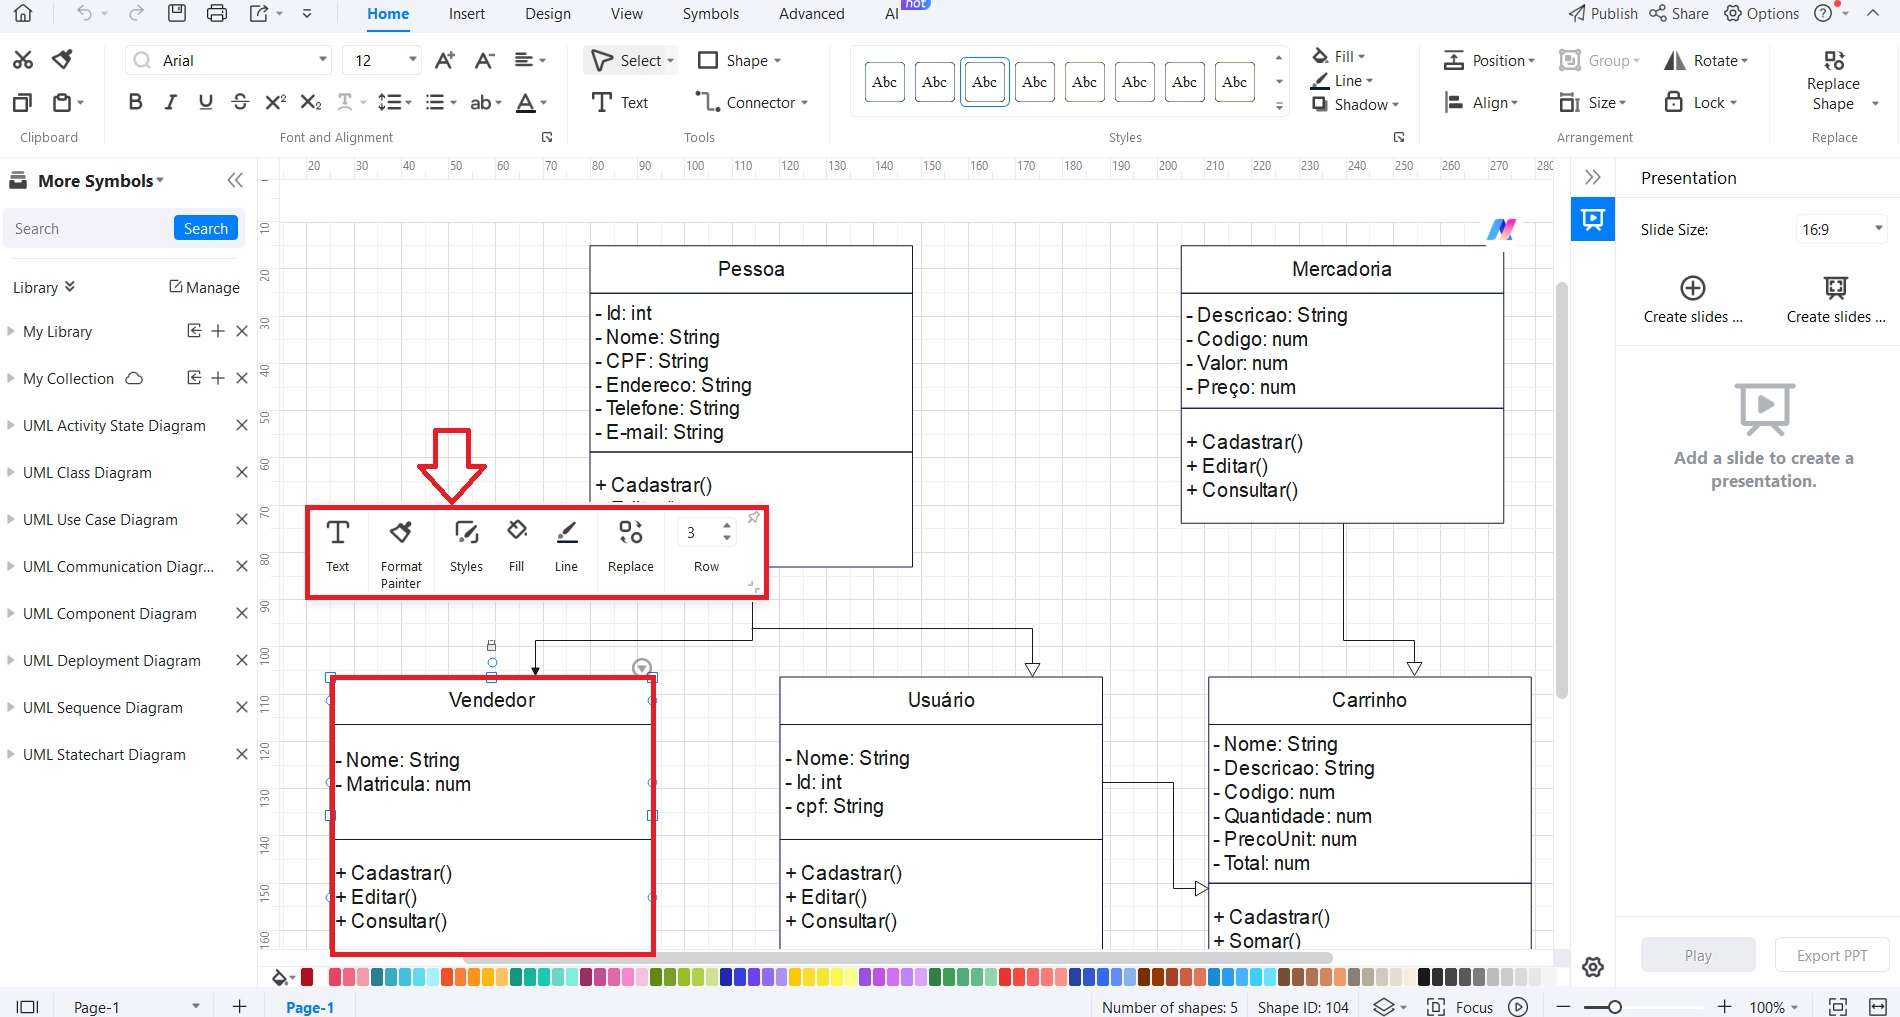
Make use of the floating bar features in EdrawMax to modify your profile diagram. The floating bar provides quick access to essential tools like text, format painter, and line options. These tools help you customize and enhance your diagram, making it more detailed and visually appealing. By using these features, you can ensure your profile diagram represents the required information.
Step 5. Finalize and Save Your Diagram
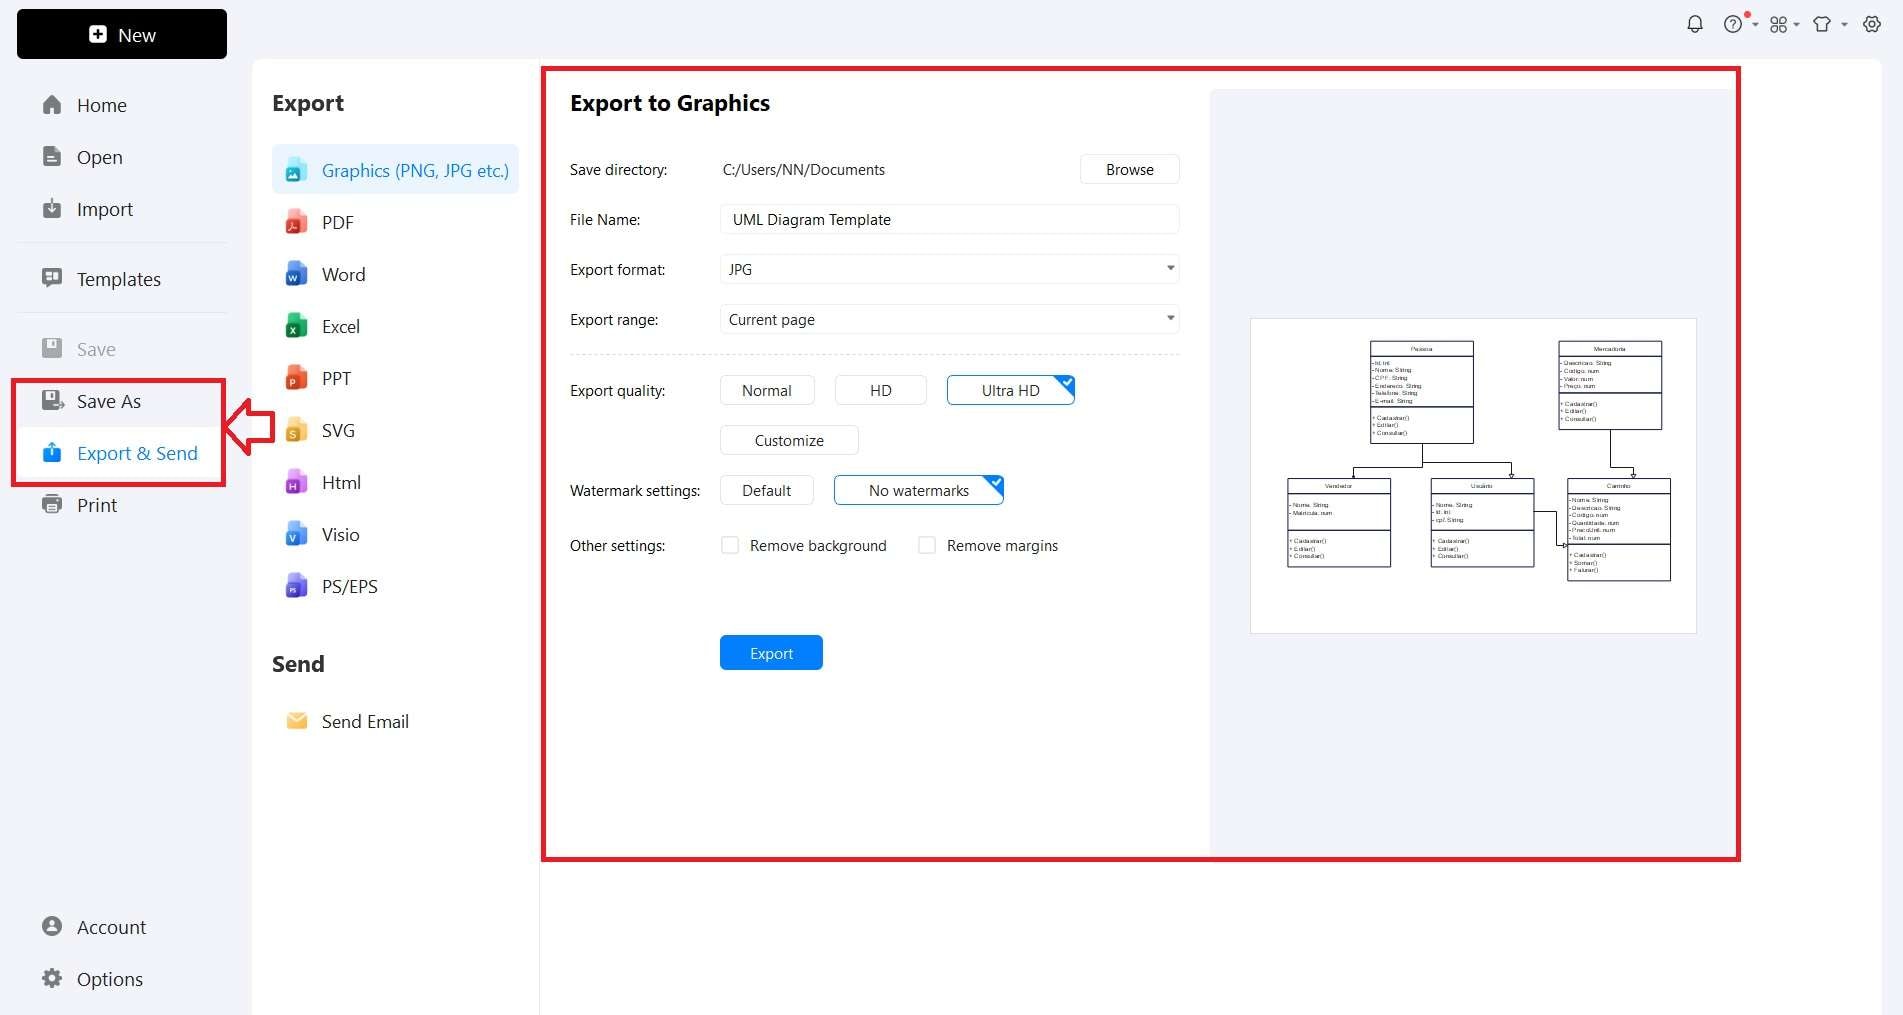
Ready to share your masterpiece? Once you've completed your profile diagram, head to the Export & Send option in the left menu. Select your preferred format, such as PNG, JPG, or PDF. Customize the export settings to fit your needs, then click Export. This step ensures your diagram is saved and ready to be shared or used in presentations and reports.
Tips for Creating Effective Profile Diagrams
Define Clear Objectives:
Start by establishing clear objectives for your profile diagram. Determine what you intend to accomplish and identify the specific needs of your domain. Having well-defined goals will guide your design process. It ensures that the diagram effectively meets its purpose. This clarity will help you create a more focused profile diagram.
Use Consistent Naming Conventions:
Use clear and consistent naming conventions for stereotypes, tagged values, and constraints. This practice helps prevent confusion and makes your diagram easier to understand. Consistency in naming also helps maintain uniformity across different diagrams and projects. By using a standardized naming system, you improve the readability of your profile diagram. This approach ensures everyone involved can easily comprehend the diagram.
Leverage Tagged Values:
Use tagged values to add specific details to your stereotypes. Make sure these tagged values are clear and relevant to your diagram's goals. By choosing the right properties, you can make your profile diagram more informative and easier to understand. This practice improves the detail and clarity of your diagram. It ensures that it communicates the necessary information effectively.
Keep it Simple:
When creating a profile diagram, keep it simple. Focus on the essential elements and avoid adding unnecessary details. A clear and straightforward diagram is easier to read and understand. This helps in better communication and analysis. Overcomplicating your diagram can make it hard to follow. By sticking to the basics, you ensure that the important information stands out.
Ensure Scalability:
Design your profile diagram so it can grow with your needs. Think about future changes and make sure your diagram can adapt. By planning for scalability, you avoid the need for a complete redesign later. This makes your diagram more flexible and useful over time. A scalable design means your diagram will stay relevant and helpful as your project.
Test the Profile:
Use the profile in real-world scenarios to check its effectiveness. This practical application helps you see if the profile works as intended. Collect feedback and make necessary adjustments to improve it. Testing in real situations ensures the profile is functional and meets actual needs. Regular testing and tweaking based on feedback keep your profile relevant and useful.
Conclusion
Mastering the art of creating profile diagrams can greatly enhance your software development and business processes. Using tools like Visio and EdrawMax, you can create detailed and professional diagrams. While Visio offers powerful features, it can be complex for beginners. EdrawMax provides a superb alternative with ready-made templates. It is a perfect starting point to create effective profile diagrams.
By following the steps outlined, you can efficiently create profile diagrams in Visio and EdrawMax. Remember, keep your diagrams simple, consistent, and scalable. Testing your profile diagrams in real-world scenarios ensures their effectiveness. Now, you are well-equipped to create profile diagrams that meet your needs.


