Swimlane diagrams in Visio serve multiple functions, such as facilitating clear communication, documenting processes effectively, and promoting collaboration and analysis. These diagrams provide a visual representation of complex processes, allowing stakeholders to understand roles, responsibilities, and dependencies if they insert swimlane in Visio. Visio's customizable features enable users to create swimlane diagrams that accurately reflect their organization's processes. In this article, you will learn everything you need to know about swimlane diagrams in Visio.
In this article
Functions of Swimlane Diagrams in Visio
There are several functions of Swimlane diagrams in Visio. Some of the main functions are discussed below:
1) Communication
Swimlane diagrams in Visio facilitate clear communication by visually representing complex processes or workflows in a simple and intuitive manner. The visual nature of swimlane diagrams enables stakeholders to quickly grasp the structure of a process, identifying roles, responsibilities, and dependencies.
2) Process Documentation
Another significant function of swimlane diagrams is their ability to document processes effectively. By breaking down complex workflows into manageable steps, if you add swimlane in Visio, you can provide a comprehensive overview of the entire process.
3) Collaboration and Analysis
Swimlane diagrams in Visio promote collaboration among team members by providing a central visual representation that encourages participation and discussion. With the ability to assign activities to specific individuals or departments, team members can clearly understand their roles and responsibilities within the context of the overall process.
How to create a swim lane diagram in Visio?
Creating a swim lane diagram in Visio can help you visualize and organize processes, responsibilities, and interactions within a team or organization. Follow these steps to create swim lanes in Visio:
Step 1: Select a flowchart type
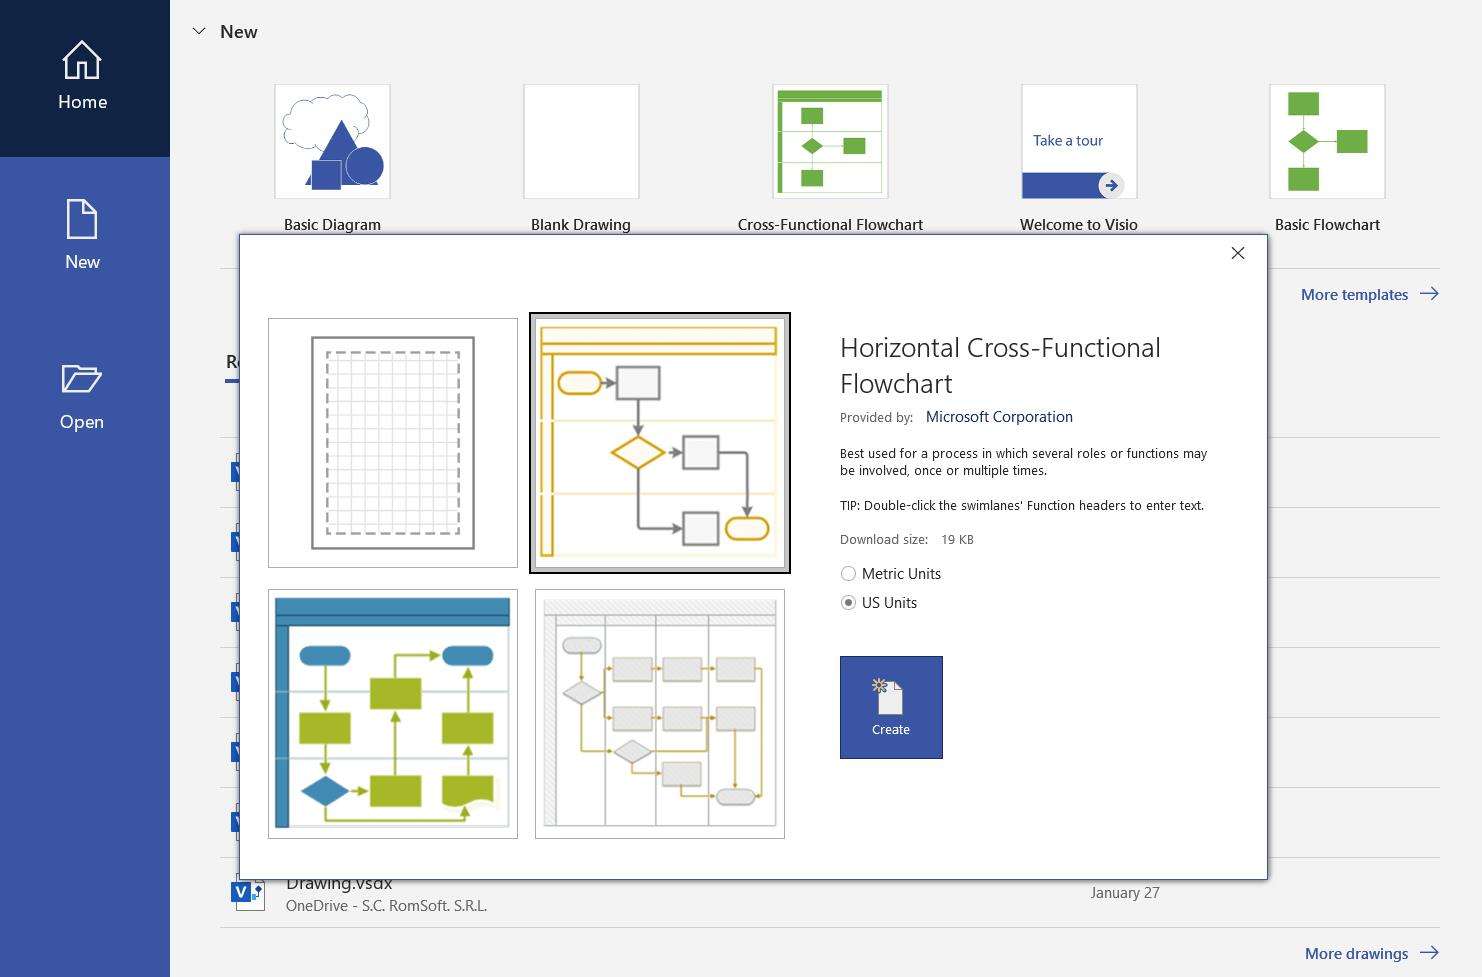
Open Visio and choose the appropriate flowchart template that suits your needs. You can find various flowchart templates under the "Flowchart" category.
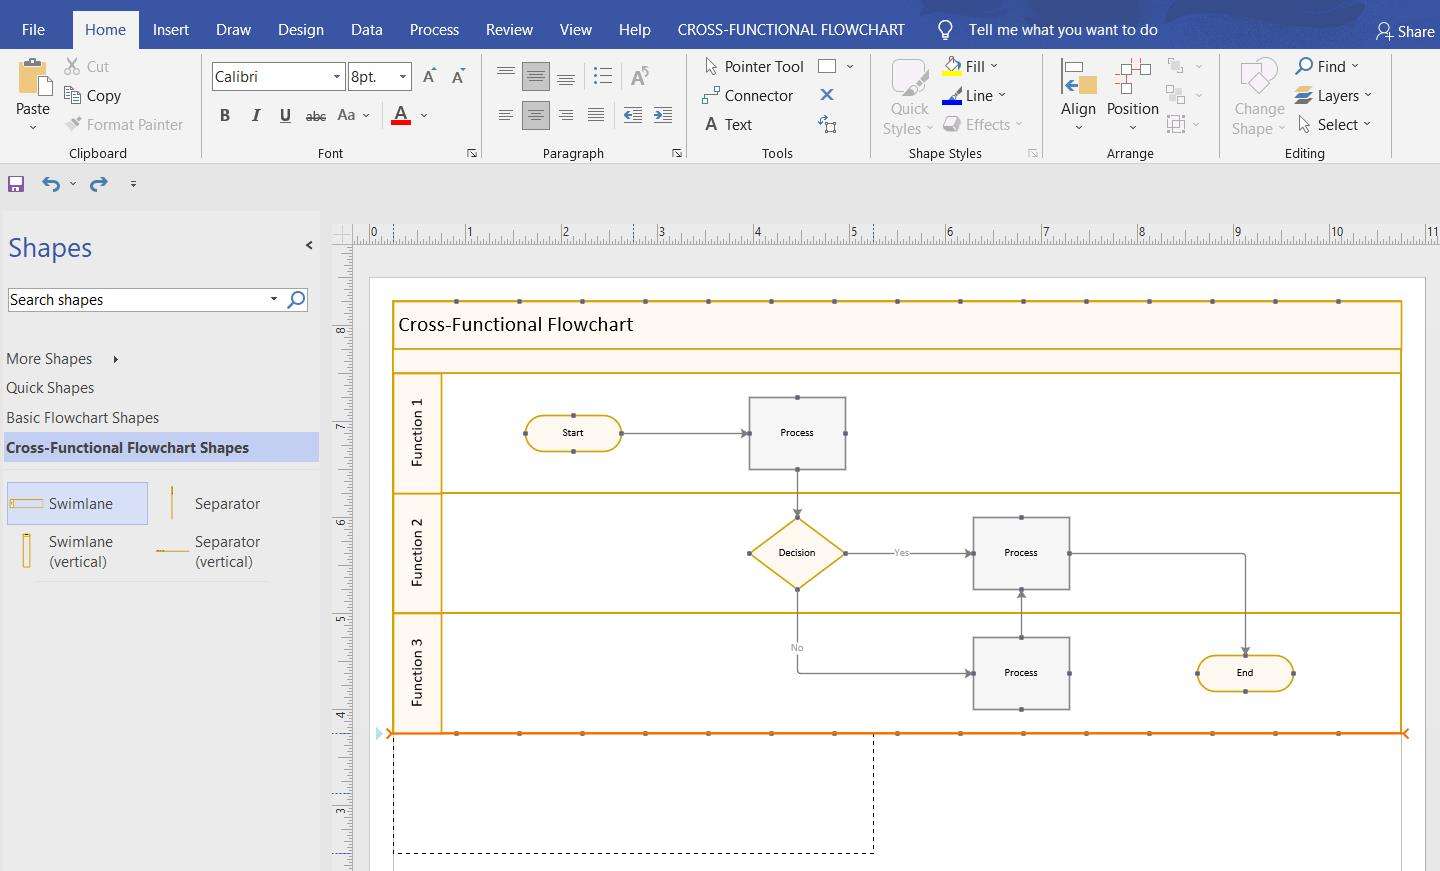
Step 2: Add a swim lane
Once you have selected the Visio swimlane template, you will see a blank canvas. To add a swim lane, go to the "Home" tab and click on the "Swimlane" option in the "Diagram" group. Choose the type of swim lane you want to add, such as horizontal or vertical. You can also find a lot of visio swimlane template free.
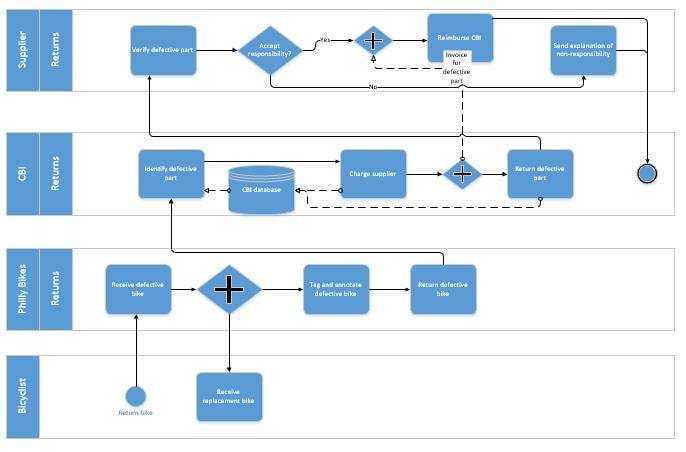
Step 3: Mark lanes
After adding a swim lane, you need to mark each lane with a name or title. Double-click on the lane header and enter the appropriate text. You can also format the lane header by changing its font, size, and color.
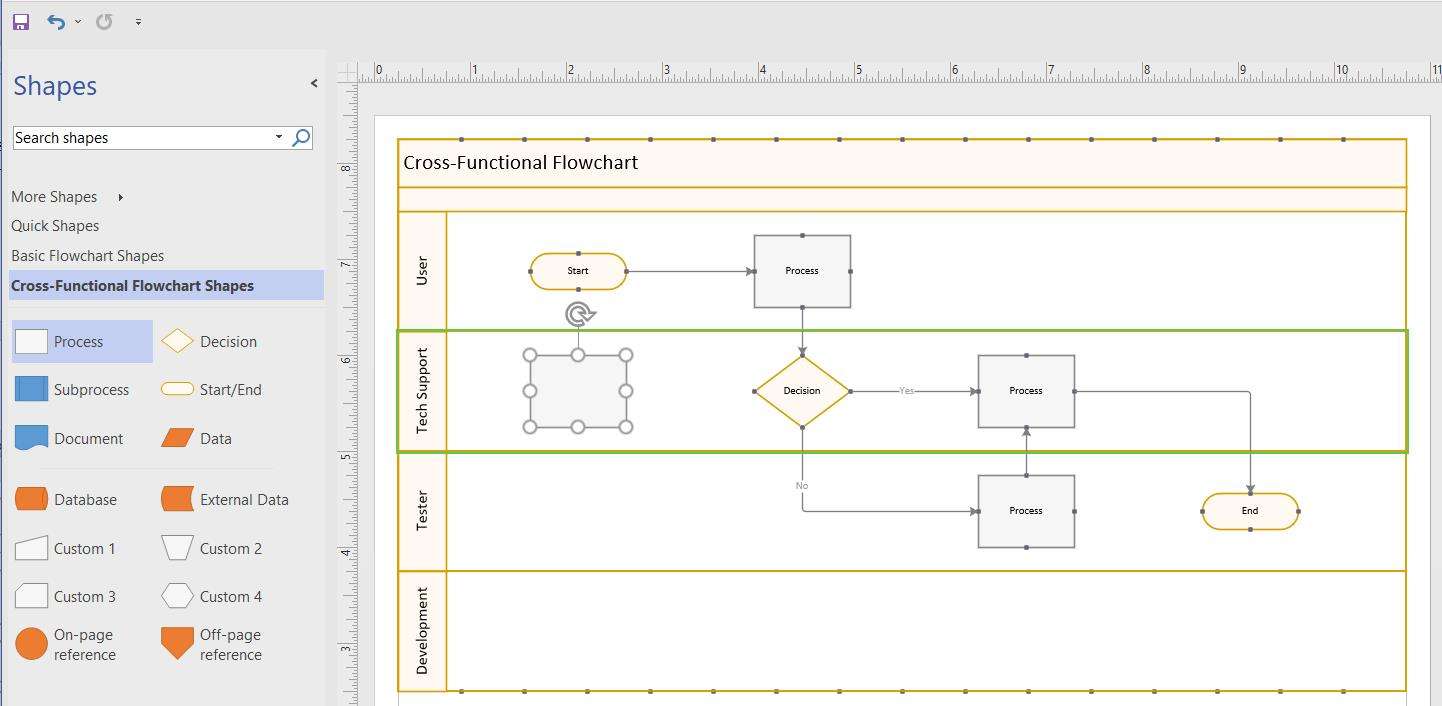
Step 4: Add shapes to your swimlane
Add shapes to your swimlane by selecting the "Shapes" pane on the left side of the Visio window. Expand the "Flowchart" or "Basic Flowchart" category and drag and drop the desired shapes onto the canvas within the respective swim lanes.
Step 5: Add connectors to create flows
Connect the shapes to create the flow of activities. Go to the "Home" tab and click on the "Connector" option in the "Tools" group. Choose the type of connector (straight or curved) and click on the starting point of a shape. Drag the connector to the next shape in the flow and release the mouse button to connect them.
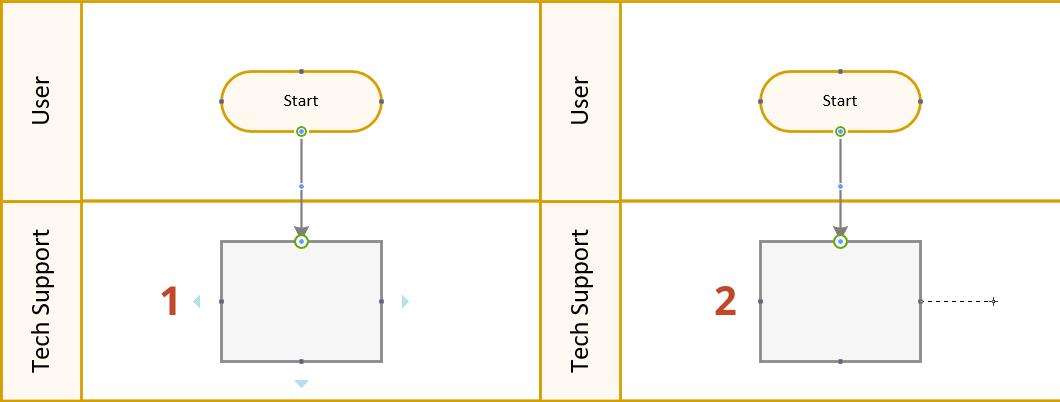
Step 6: Customize your swim lane diagram
To enhance the visual appearance and clarity of your swim lane diagram, you can customize various elements. You can change the color, size, and style of the shapes, connectors, and text. You can also add labels, titles, or explanatory text to provide additional information.
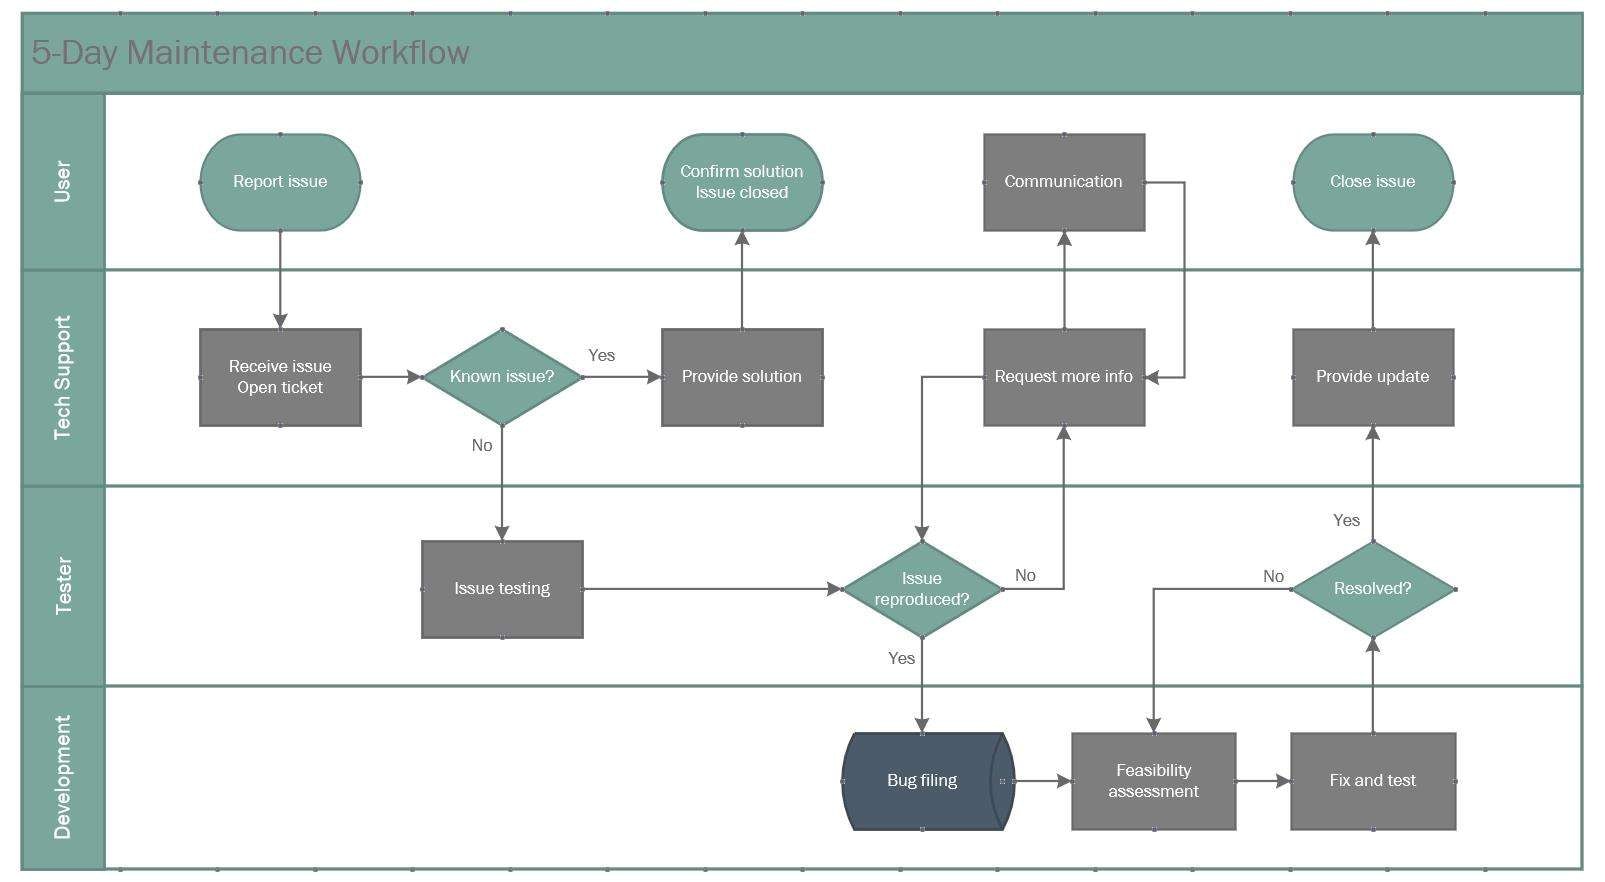
Best tools for creating swim lane diagrams
There are numerous tools available for creating swimlane diagrams. These tools help in creating swimlane diagrams effectively and efficiently without any hassle. These tools are widely used in a variety of industries. Let us discuss a few of them here:
Wondershare EdrawMax provides a user-friendly platform for creating and visualizing diagrams, including swimlane diagrams. With its wide range of templates and customization options, creating swimlane diagrams using the tool is quick and easy. Follow these simple steps to learn how to create a swimlane diagram in EdrawMax:
Step 1: Open Edrawmax
Launch the Edrawmax software on your computer. If you don't have it, you can download and install it from the official website.
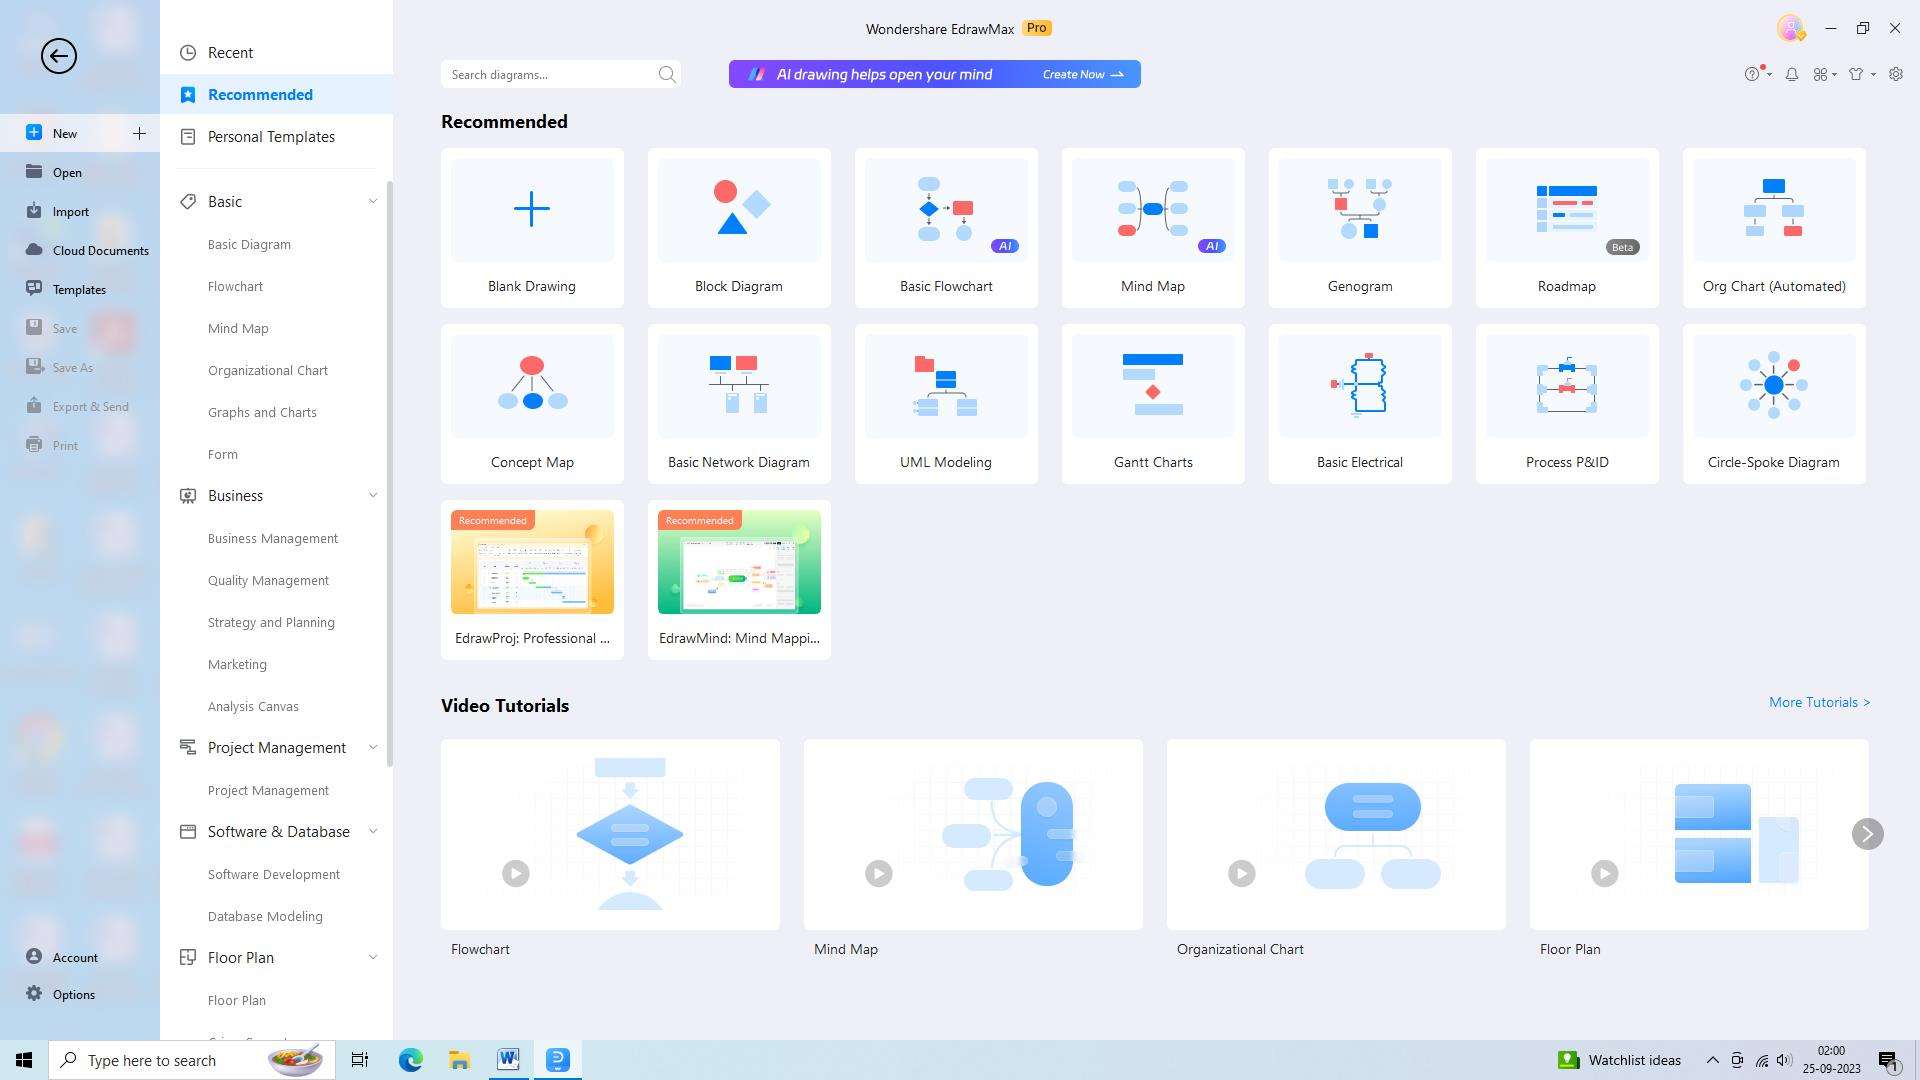
Step 2: Choose a swimlane template
Edrawmax provides a variety of pre-designed swimlane templates. Browse through the template library and select the one that best fits your needs. You can also start with a blank canvas if you prefer to create your swimlane diagram from scratch.
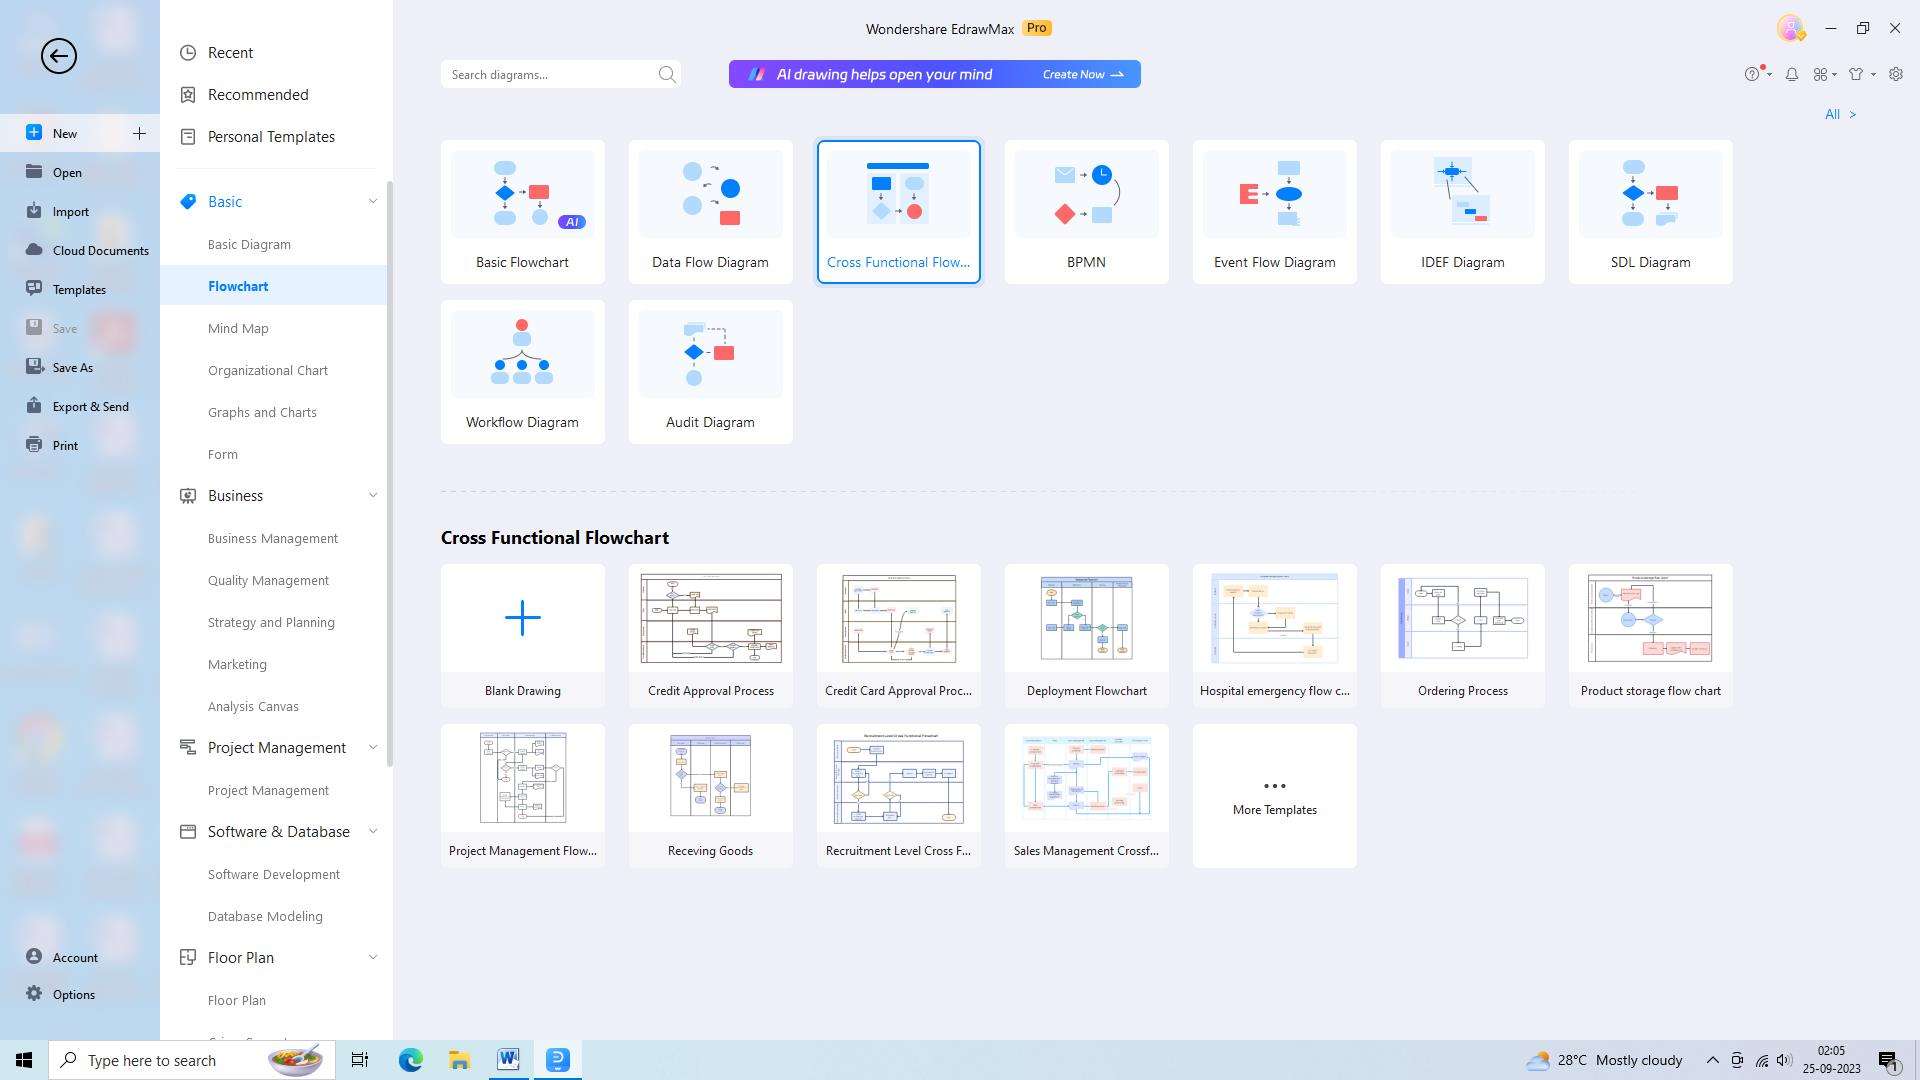
Step 3: Add swimlanes
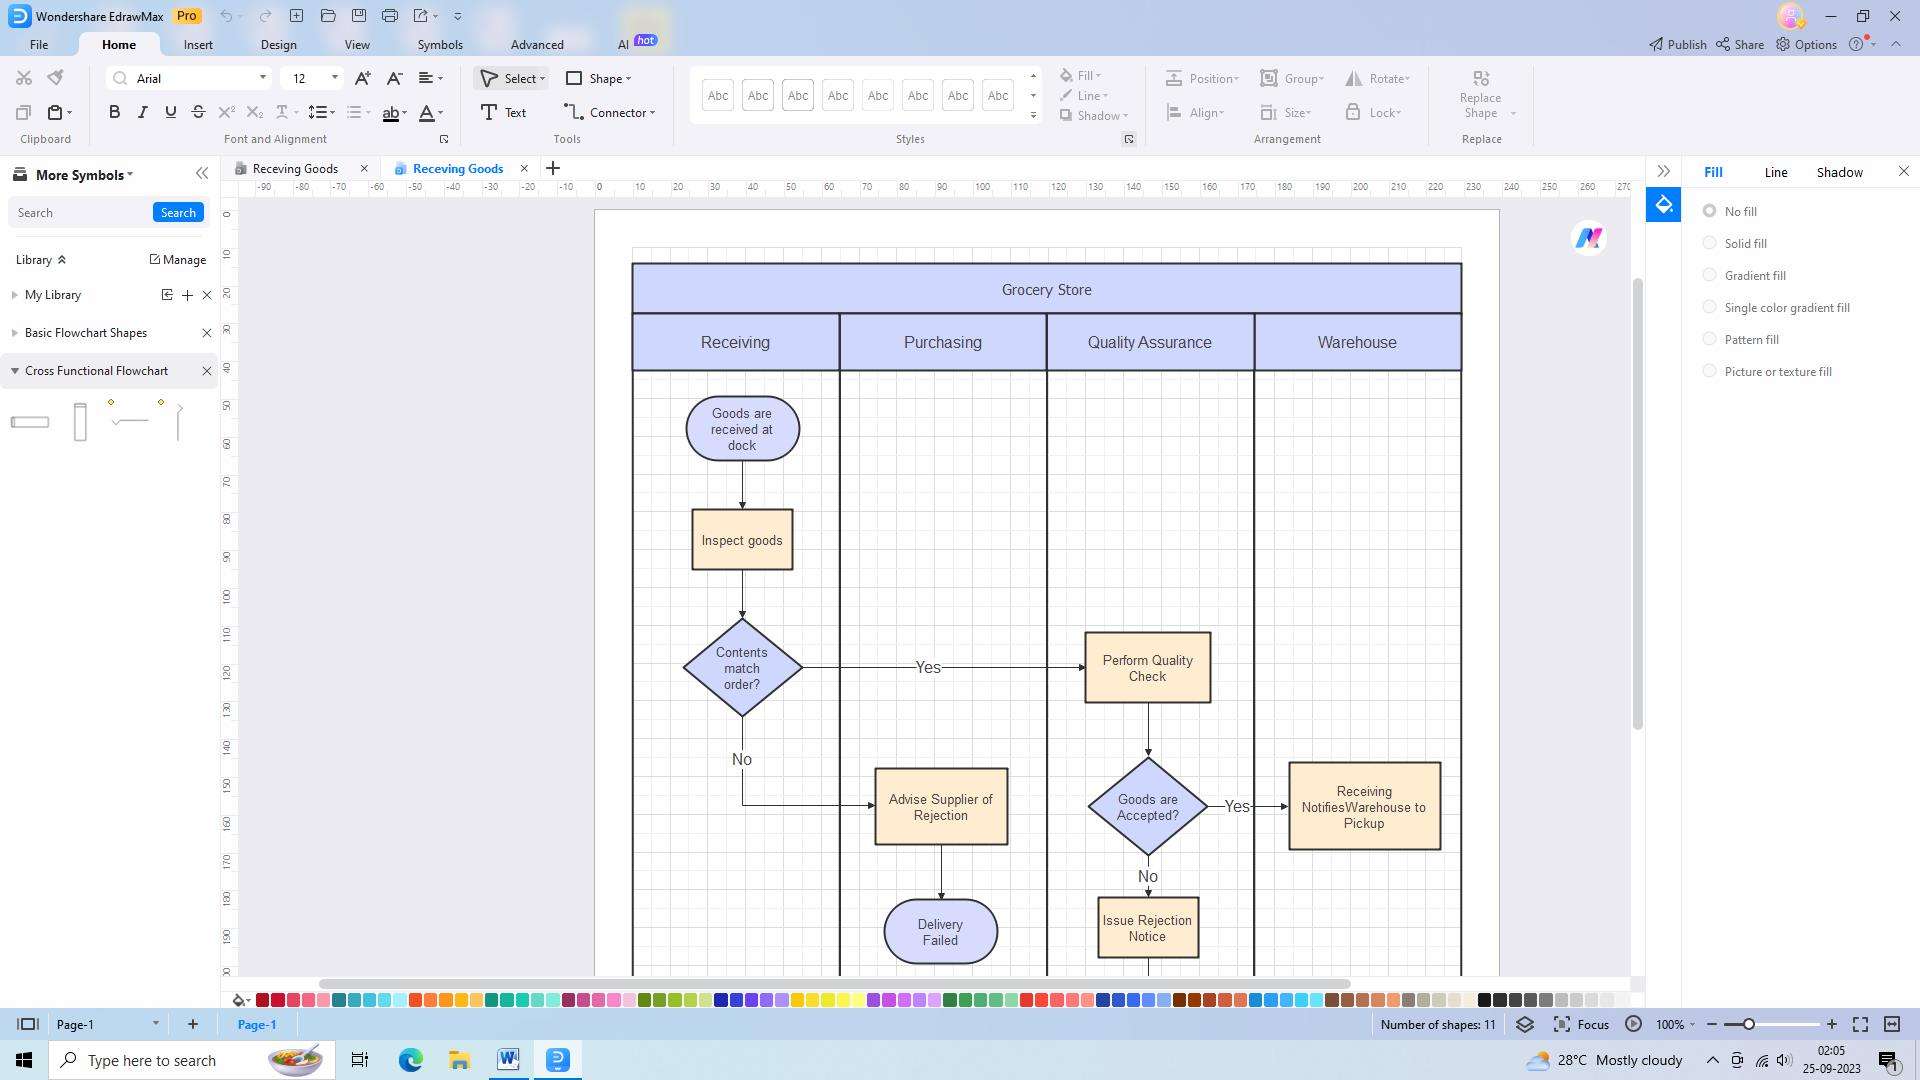
Once you have selected a template or a blank canvas, it's time to add swimlanes. Swimlanes represent different participants or departments involved in the process. Use the tools provided in Edrawmax to add and customize the swimlanes according to your requirements.
Step 4: Add process steps
After adding the swimlanes, you can start adding the process steps to your swimlane diagram. Use the shapes and symbols available in Edrawmax to visually represent the process steps.

Step 5: Customize
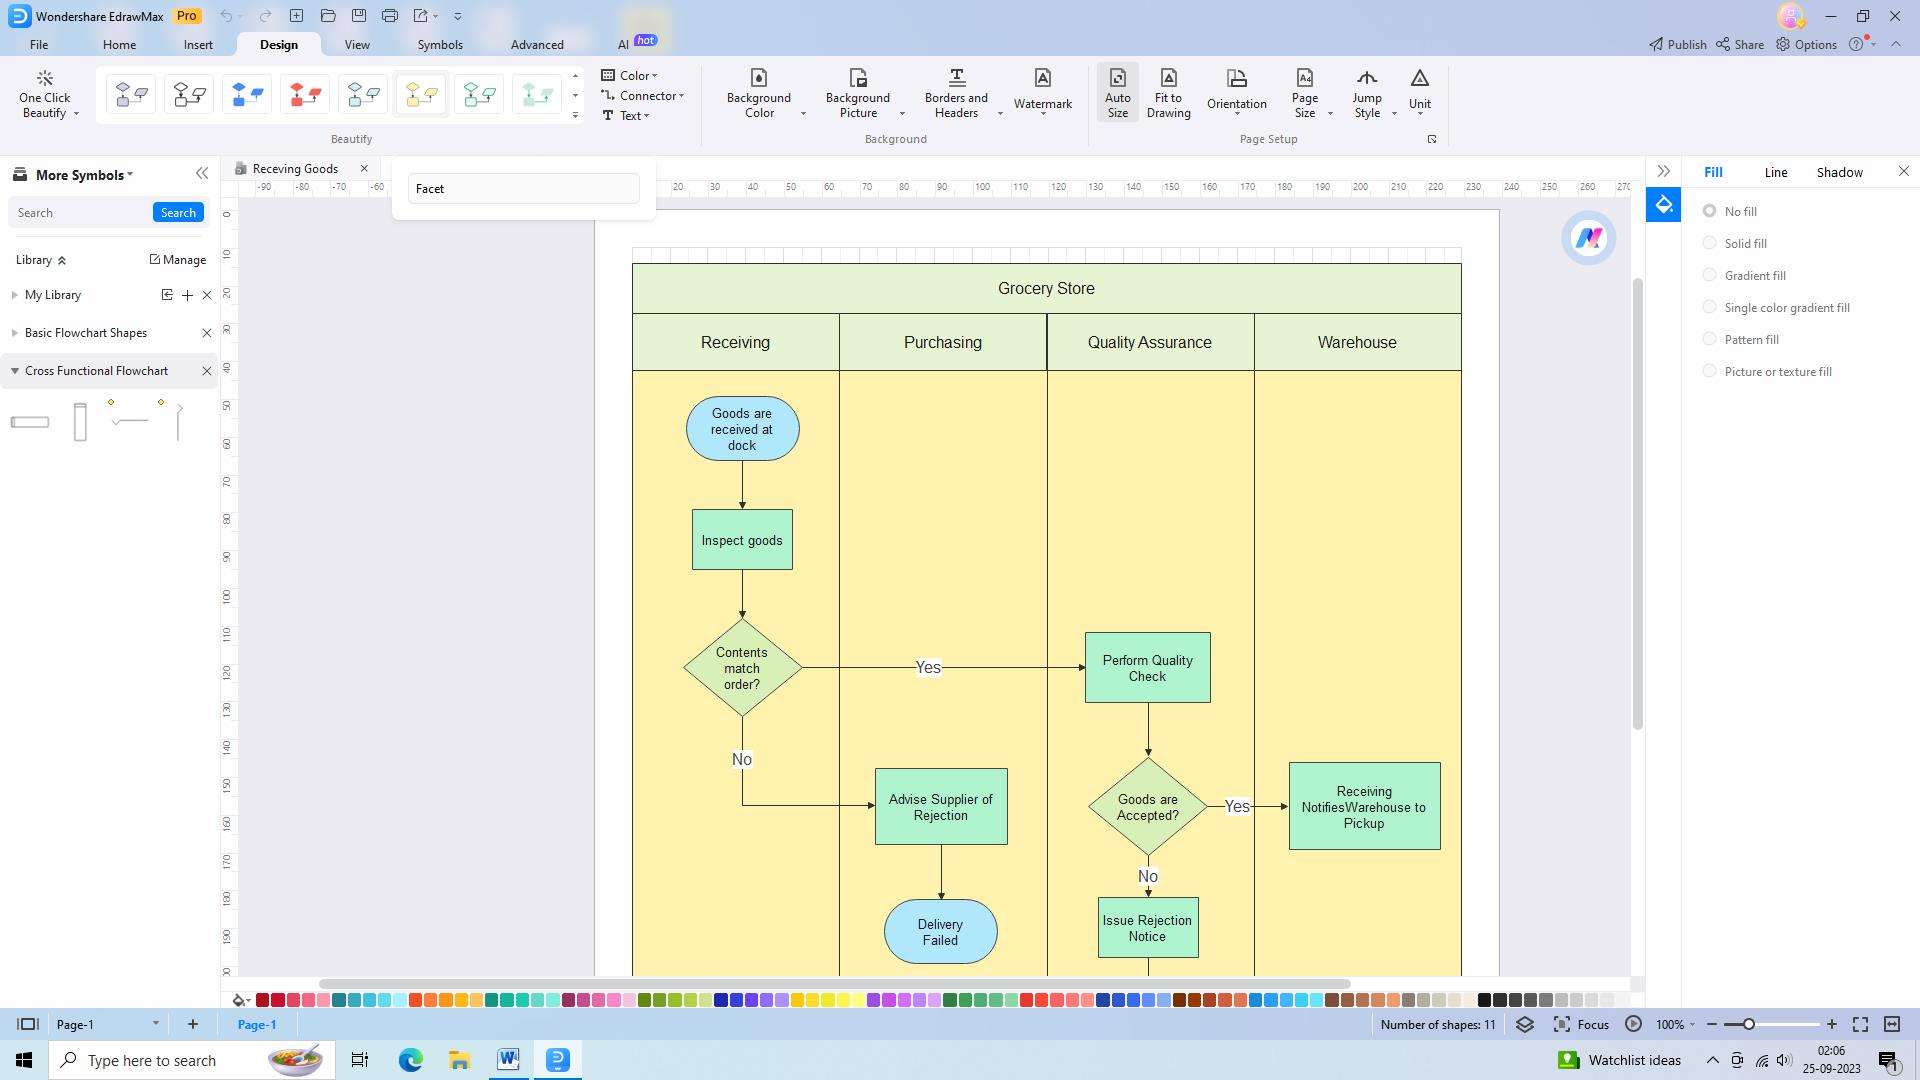
Once you have added all the necessary swimlanes and process steps, it's time to customize your swimlane diagram. You can change the colors, fonts, and styles to make it visually appealing.
Step 6: Save and export
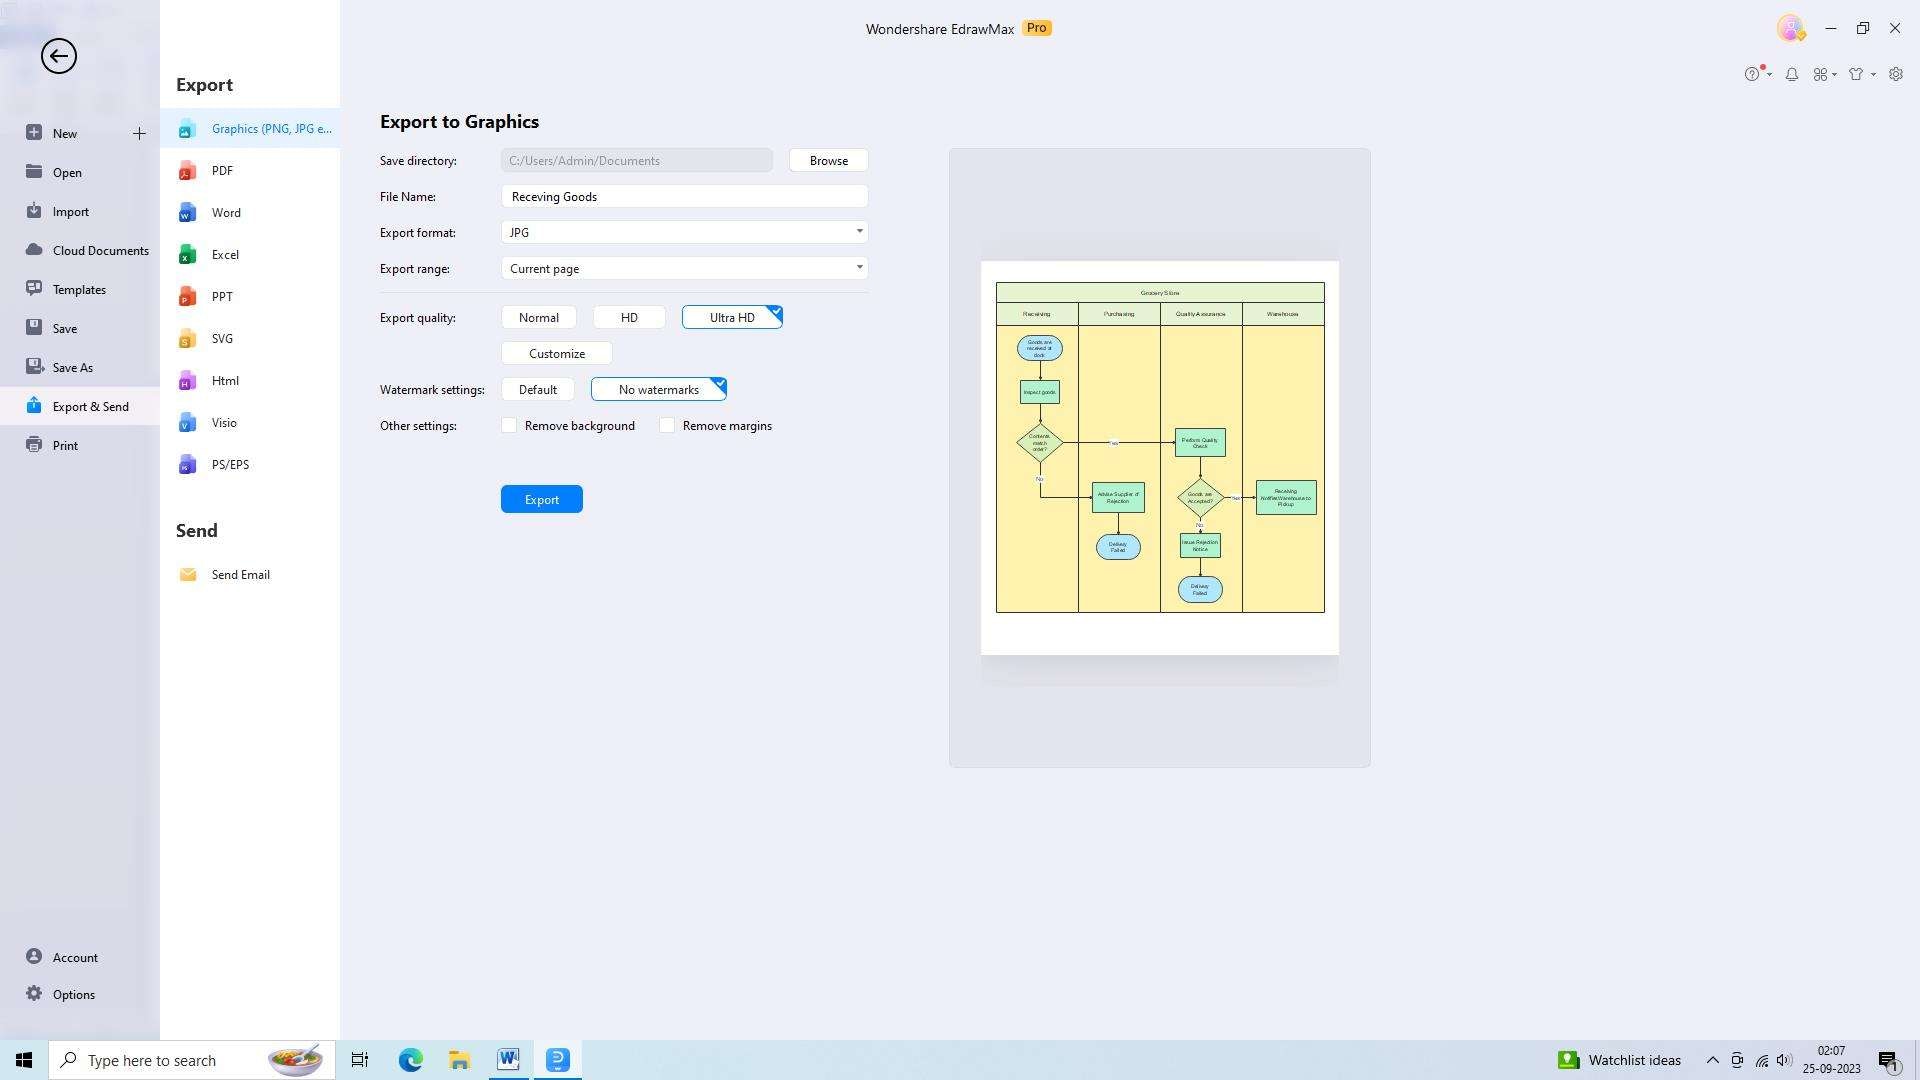
Finally, review your swimlane diagram, make any necessary adjustments, and save and export it in your desired format.
2) Miro
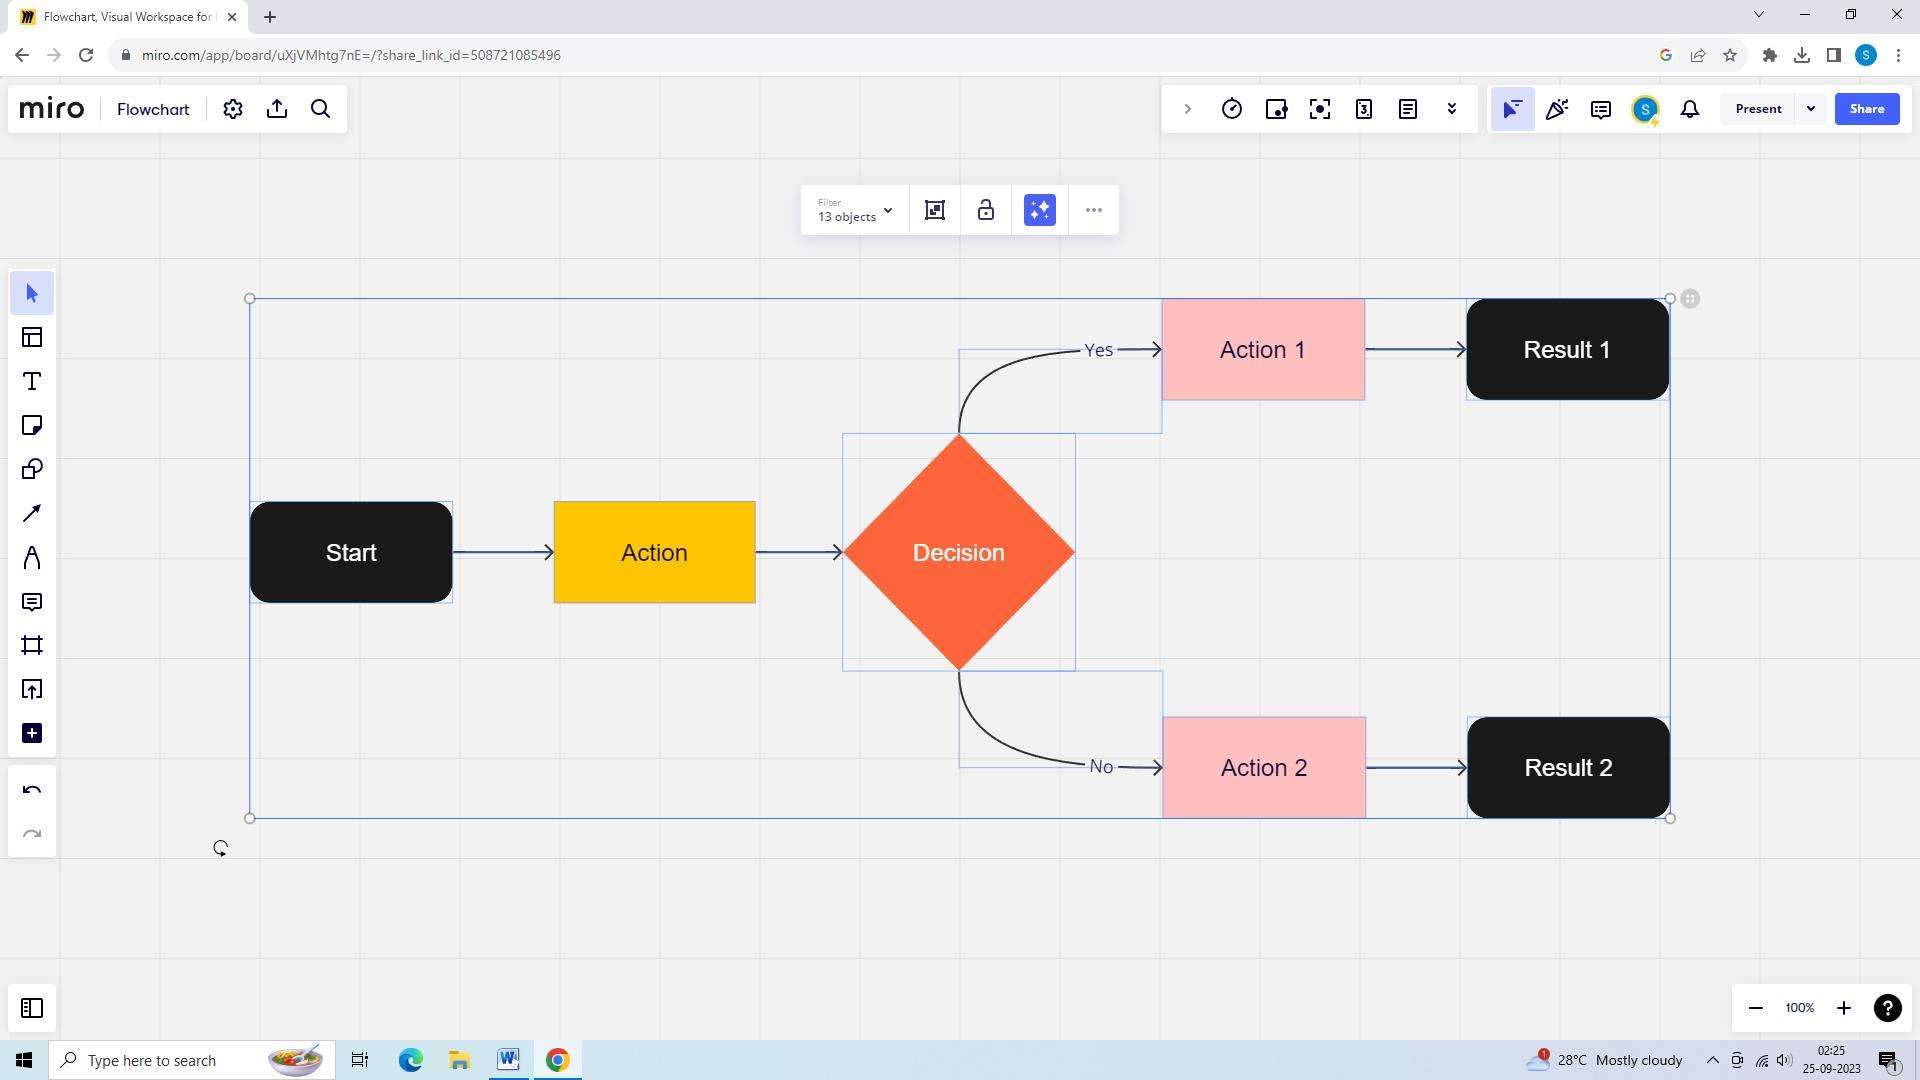
Miro is a user-friendly online collaborative platform that offers a range of tools for creating swim lane diagrams. With its intuitive interface and extensive features, Miro makes it easy for teams to collaborate and visualize their processes. It provides pre-built swim lane templates, real-time collaboration, integration with popular tools, and a vast library of shapes and icons.
Features:
- Intuitive and user-friendly interface
- Versatile and flexible diagramming capabilities
- Real-time collaboration for seamless teamwork
- Wide range of pre-built swim lane templates
- Integration with popular tools like Jira and Slack
Pros:
- Multiple board views for different diagramming needs
- Ability to add external links and references to diagrams
- Integration with cloud storage services like Google Drive and Dropbox
- Ability to embed diagrams in websites or presentations
Cons:
- Limited formatting options compared to dedicated diagramming tools
- Steeper learning curve for advanced features
- Occasional lags or performance issues
3) FigJam
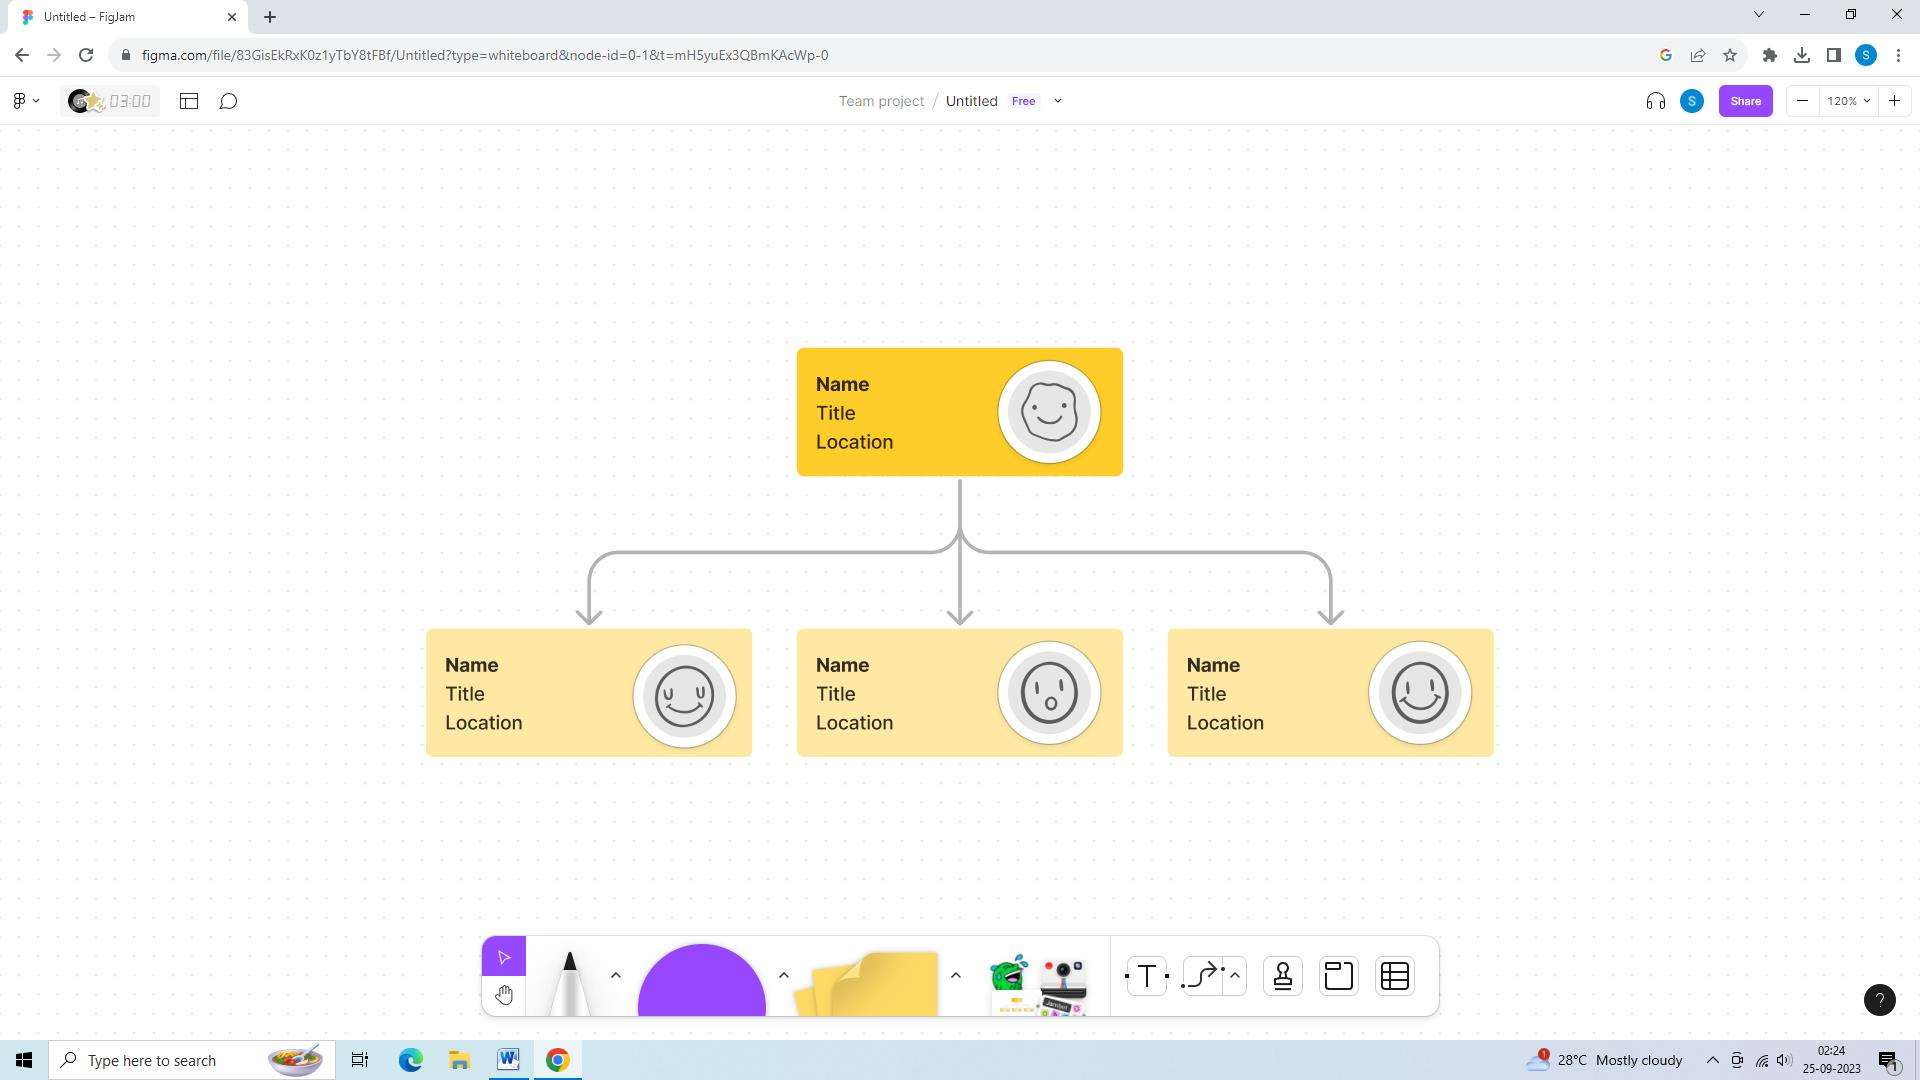
FigJam is a collaborative online platform provided by Figma that allows teams to create swim lane diagrams effortlessly. With its simple drag-and-drop interface and real-time collaboration capabilities, FigJam makes the diagramming process seamless. It offers integration with Figma design tool, sticky notes, connectors, and a wide range of shapes and icons.
Features:
- Export options to share or print diagrams
- Excellent customer support and resources
- Mobile app for on-the-go access
- Multiple user roles and permissions for secure collaboration
Pros:
- Robust offline mode for working without an internet connection
- Cross-device synchronization for seamless transitions
- Scalable diagramming capabilities for small to large projects
- Continuous updates and improvements based on user feedback
Cons:
- Limited integration options with non-compatible tools
- Exported diagrams often require additional formatting adjustments
- Limited support for creating swim lane diagrams with complex rules
Conclusion
Creating swimlane diagrams in Visio helps visualize and organize processes, responsibilities, and interactions within a team or organization. If teams create swim lanes in Visio, they can communicate effectively, document processes, and collaborate efficiently. With the availability of a tool like EdrawMax, creating swimlane diagrams has become more accessible and user-friendly. The tool offers customizable templates and extensive libraries, making the diagram creation process seamless.


