EdrawMax User Guide for Desktop
-
Get Started with EdrawMax
-
User Interface
-
Basic Operations
-
Advanced Operations
-
Shape Operations
-
Drawing Tools
-
Formatting and Styling
-
Text Operations
-
Symbol and Library
-
Insert/Add Objects
-
Page Settings
-
Presentation Mode
-
AI Features
- How to Make a Diagram with Edraw AI
- AI Slides
- AI Infographics Generator
- AI Copywriting
- AI Stickers
- AI Symbols
- AI Analysis
- AI Drawing
- AI OCR
- EdrawMax Quotation Tool
- AI Diagram Generator
- AI Framework Generator
- EdrawMax AI Copilot
- AI Chatbot
- AI Flowchart
- AI Mind Map
- AI Timeline
- AI Table
- AI List
- AI SWOT Analysis, PEST Analysis, and Lean Canvas
- AI User Profile
-
How to Make a Flowchart
-
How to make an Org Chart
-
How to make a Gantt Chart
-
How to Make a Mind Map
-
More examples
AI Table
Wondershare EdrawMax provides an AI table generator in its diagram software, web version, or apps.
Enter text and let AI make a table or chart in seconds. Not satisfied? Ask AI to generate a new one. No limits for text and content. You can make a 100-column or 100-row table or chart with EdrawMax AI table maker. Let's use it now!


Besides an AI table maker, EdrawMax AI is available to generate other content including diagrams, flowcharts, timelines, mind maps, and more. If you're interested, try to make any diagrams, charts, or maps with EdrawMax AI.
Steps to make a table with AI table maker
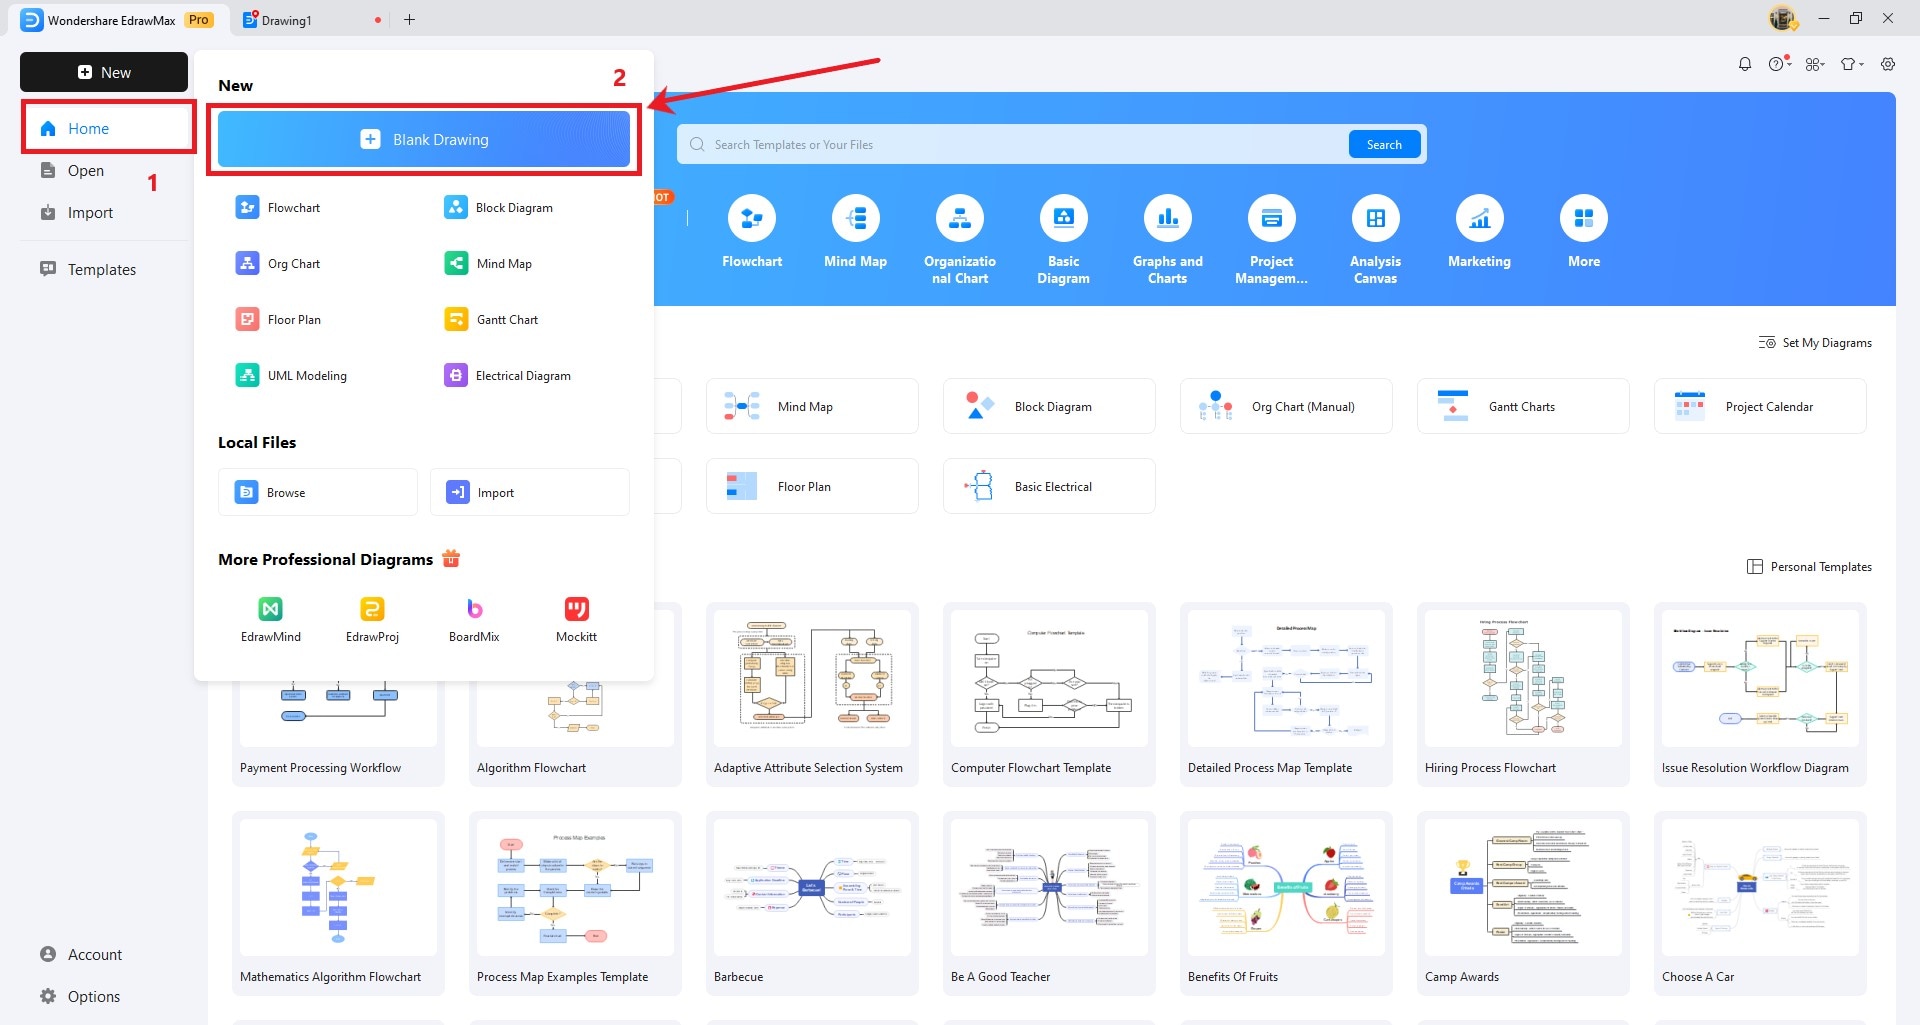
Step 1: Launch EdrawMax
Launch the EdrawMax application on your computer. Or you can try the AI diagram maker web version.
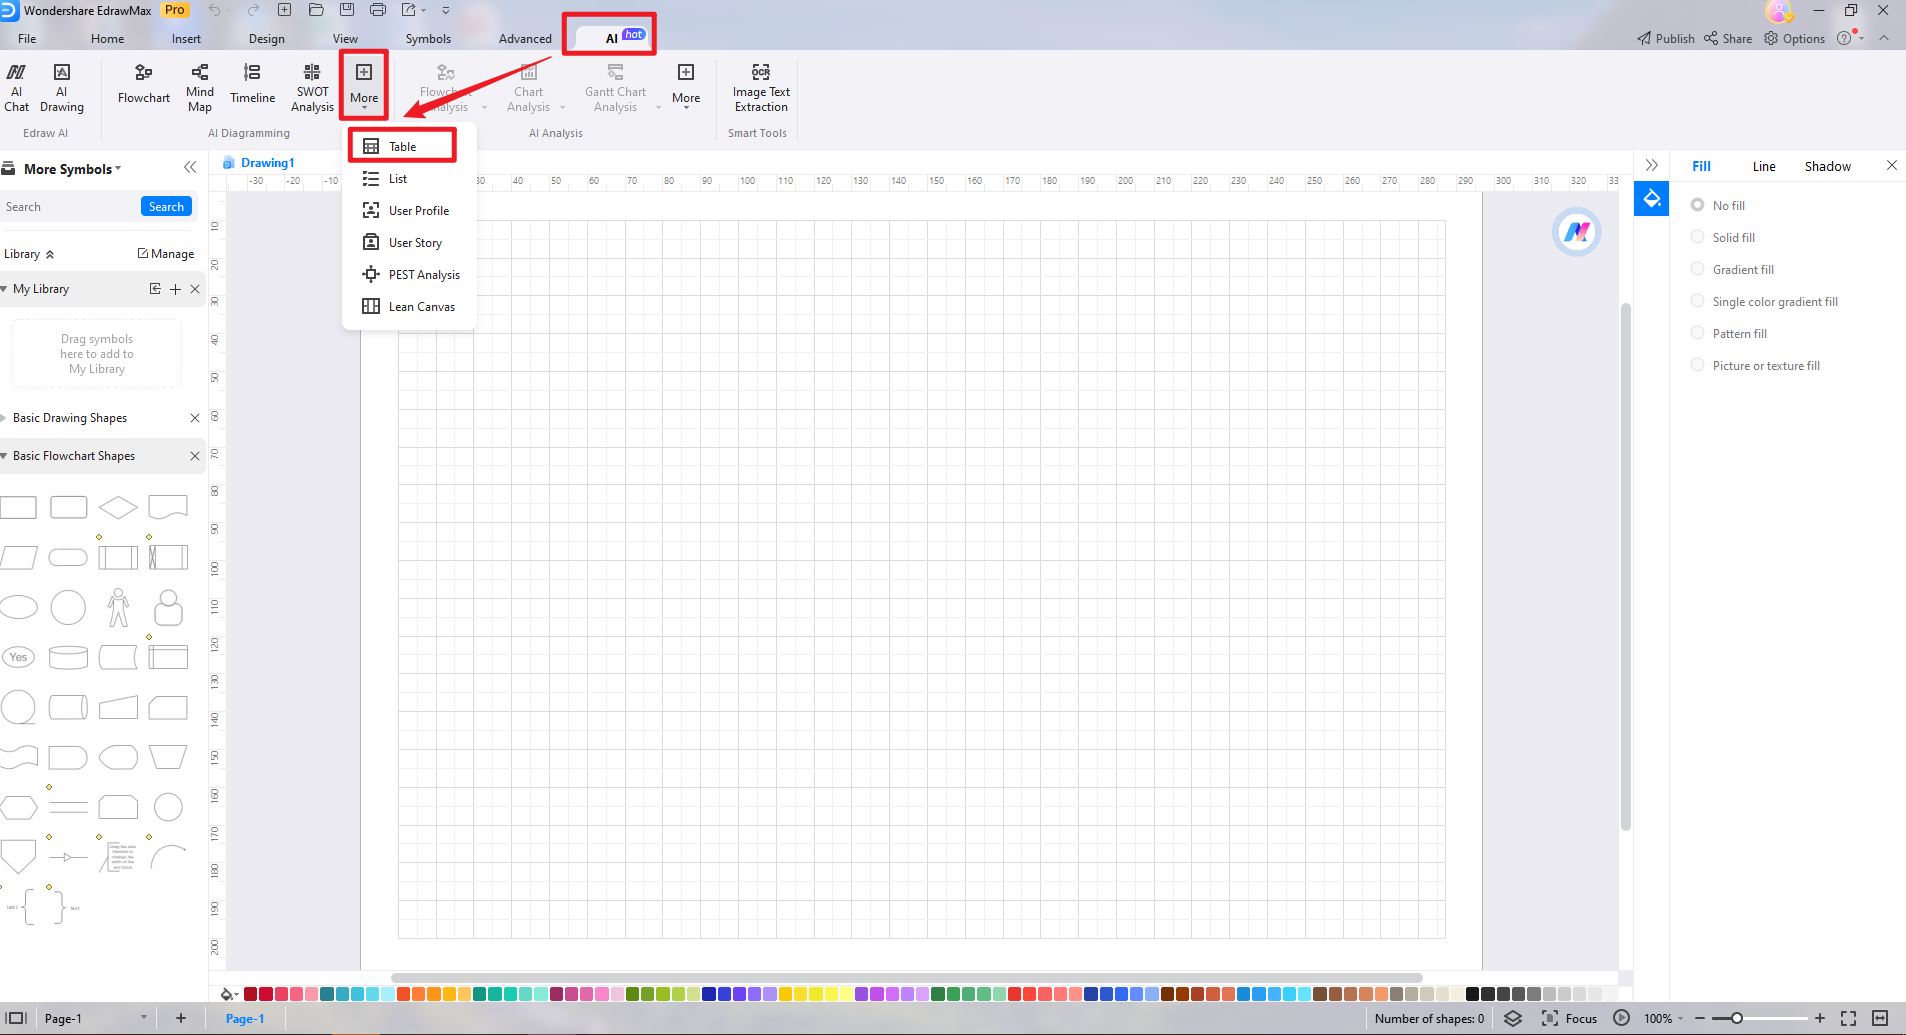
Step 2: Find the AI table
Find the AI tab on the top menu bar. Click on More and there's this drop-down menu. Select Table.
This is where we can make a table or chart with AI.
Step 3: Enter the prompt
After you can Table, the Edraw AI is on. Look at the right of the software.
In the lower right corner, find the AI dialog box. There, enter the type of chart you want to generate in the dialog box. Except the type of table, you'd better add more information like:
- the number of rows and columns,
- the metrics and dimensions,
- and other details information.
Besides, you can add your requirements like colors, types, font sizes and styles, line weights, and more.

Step 4: Generate a table
Click Send after you've entered all information and requirements., click Send. Wait for 10 seconds. Edraw AI will follow your prompt and draw a table for you.
If you are not satisfied with the results generated this time, you can click the "Regenerate" button to make a new table. At the same time, you can also evaluate whether you are satisfied or dissatisfied with the generated chart.

Step 5: Edit the table
If you want to add your own unique ideas to the AI-generated charts, don’t worry at all. You can click anywhere to modify it at will.

Step 6: Export the table
Once you're satisfied with your table, you can export it in various formats (e.g., PNG, PDF) or share it directly from EdrawMax.
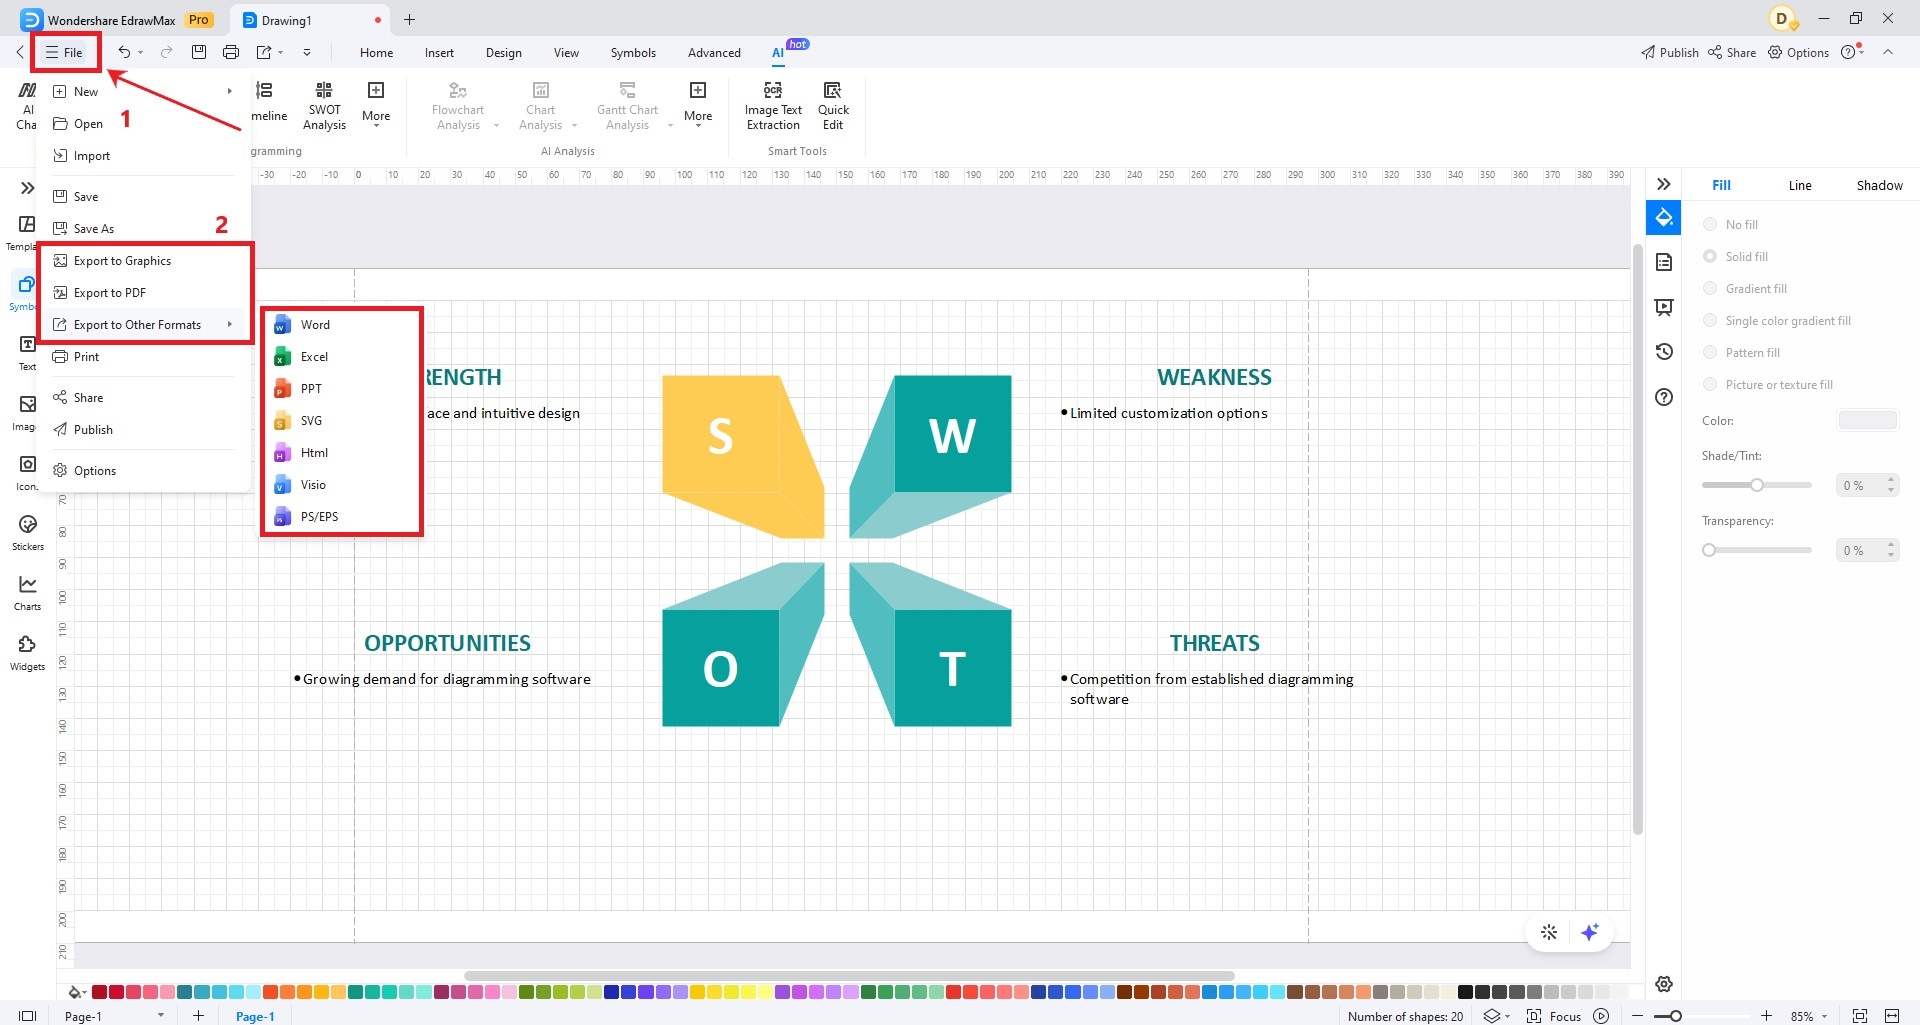
Click the File button at the top-left corner. Now, navigate to the Export format you want for your document.