EdrawMax User Guide for Desktop
User Guide for Desktop
-
Get Started with EdrawMax
-
User Interface
-
Basic Operations
-
Advanced Operations
-
Shape Operations
-
Drawing Tools
-
Formatting and Styling
-
Text Operations
-
Symbol and Library
-
Insert/Add Objects
-
Page Settings
-
Presentation Mode
-
AI Features
- How to Make a Diagram with Edraw AI
- AI Slides
- AI Infographics Generator
- AI Copywriting
- AI Stickers
- AI Symbols
- AI Analysis
- AI Drawing
- AI OCR
- EdrawMax Quotation Tool
- AI Diagram Generator
- AI Framework Generator
- EdrawMax AI Copilot
- AI Chatbot
- AI Flowchart
- AI Mind Map
- AI Timeline
- AI Table
- AI List
- AI SWOT Analysis, PEST Analysis, and Lean Canvas
- AI User Profile
-
How to Make a Flowchart
-
How to make an Org Chart
-
How to make a Gantt Chart
-
How to Make a Mind Map
-
More examples
For Desktop
For Mobile
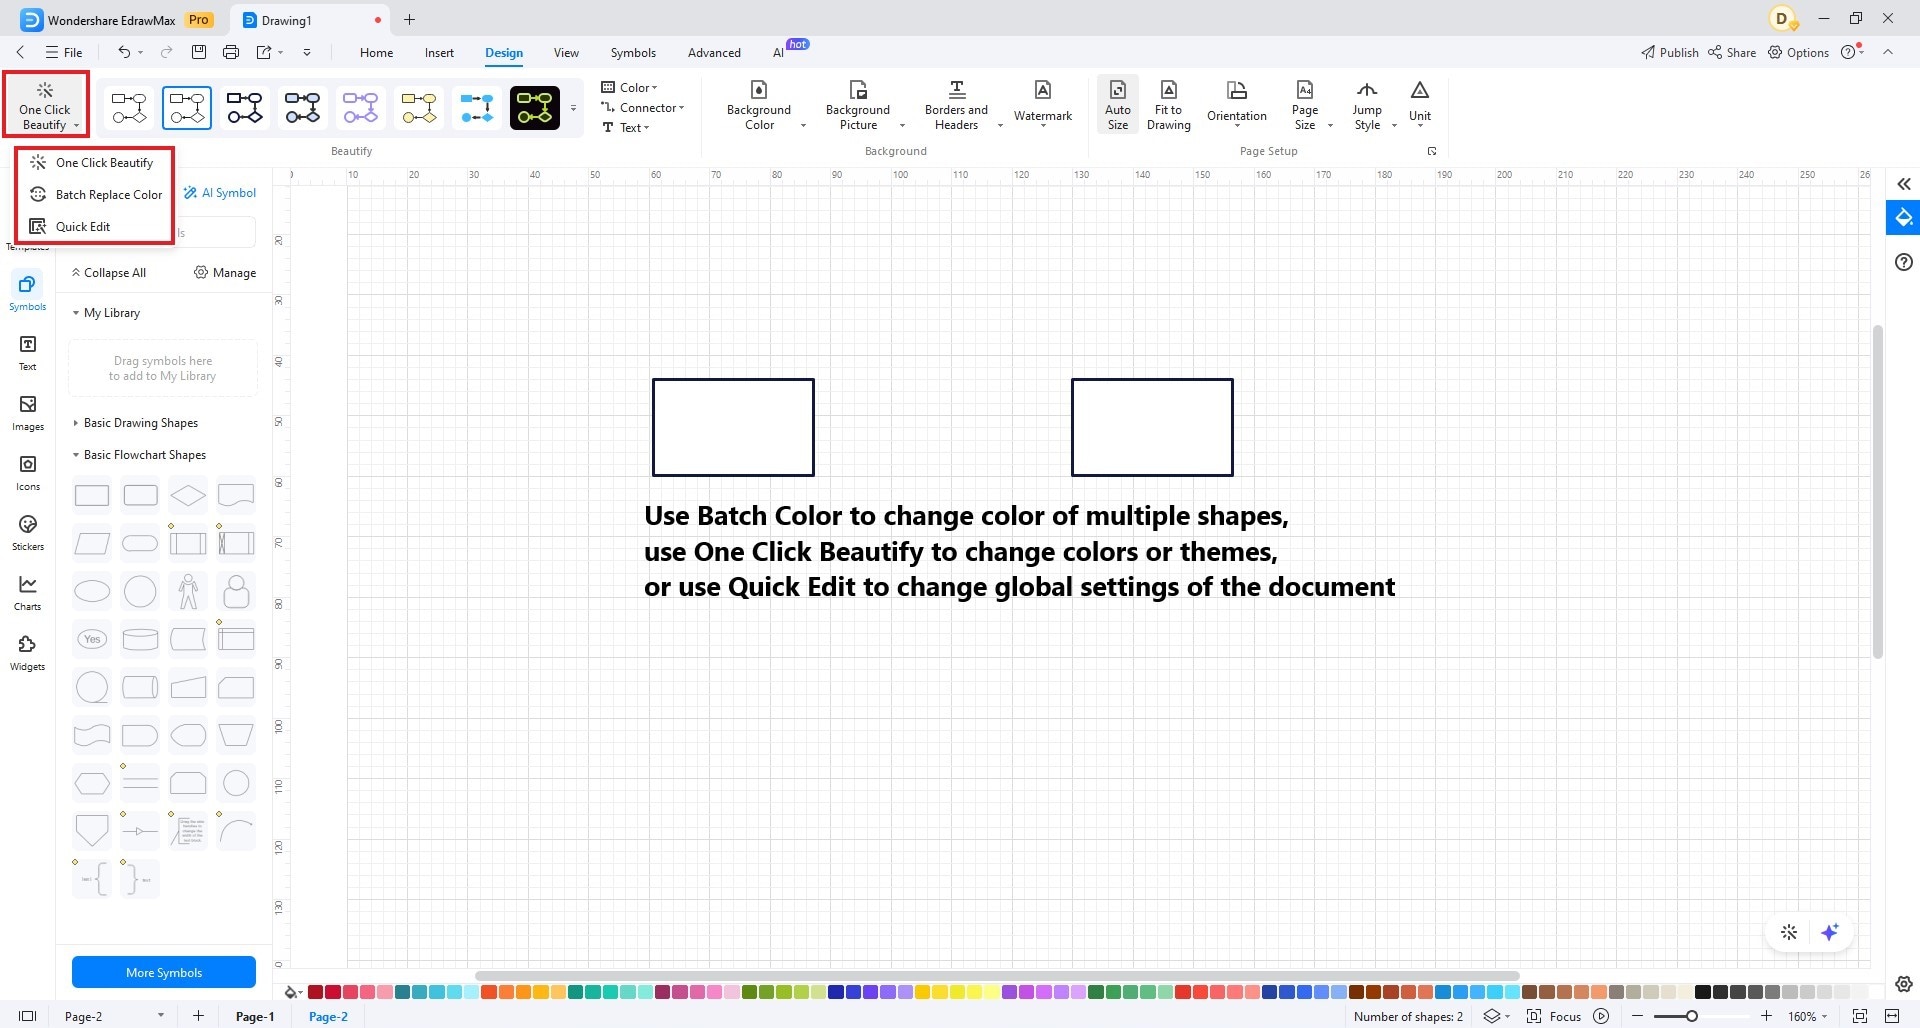
1. Beautify Tools
Beautify tools in EdrawMax allow you to enhance the visual appearance of your diagrams by applying one-click formatting changes or batch-replacing colors, themes, connectors, and text styles.
One Click Beautify:
- Select the element (e.g., diagram, shape, text) you want to beautify.
- Click on the "One Click Beautify" tool.
- EdrawMax will automatically apply formatting improvements based on the selected element's type.
Batch Replace Colour, Theme, Connector, or Text:
- Access the "Beautify" menu.
- Choose "Batch Replace Colour."
- Select the target element type (e.g., shape, text, connector) and the source and destination colours, themes, or styles.
- Click "OK" to execute the batch replacement across your diagram.
Quick Edit:
- Open the Beautify menu.
- Select the Quick Edit option from the menu.
- Now, you can change the global settings for your document. That includes styles, fonts, colors, and paragraphs.
- Click "OK" to execute the batch replacement across your diagram.
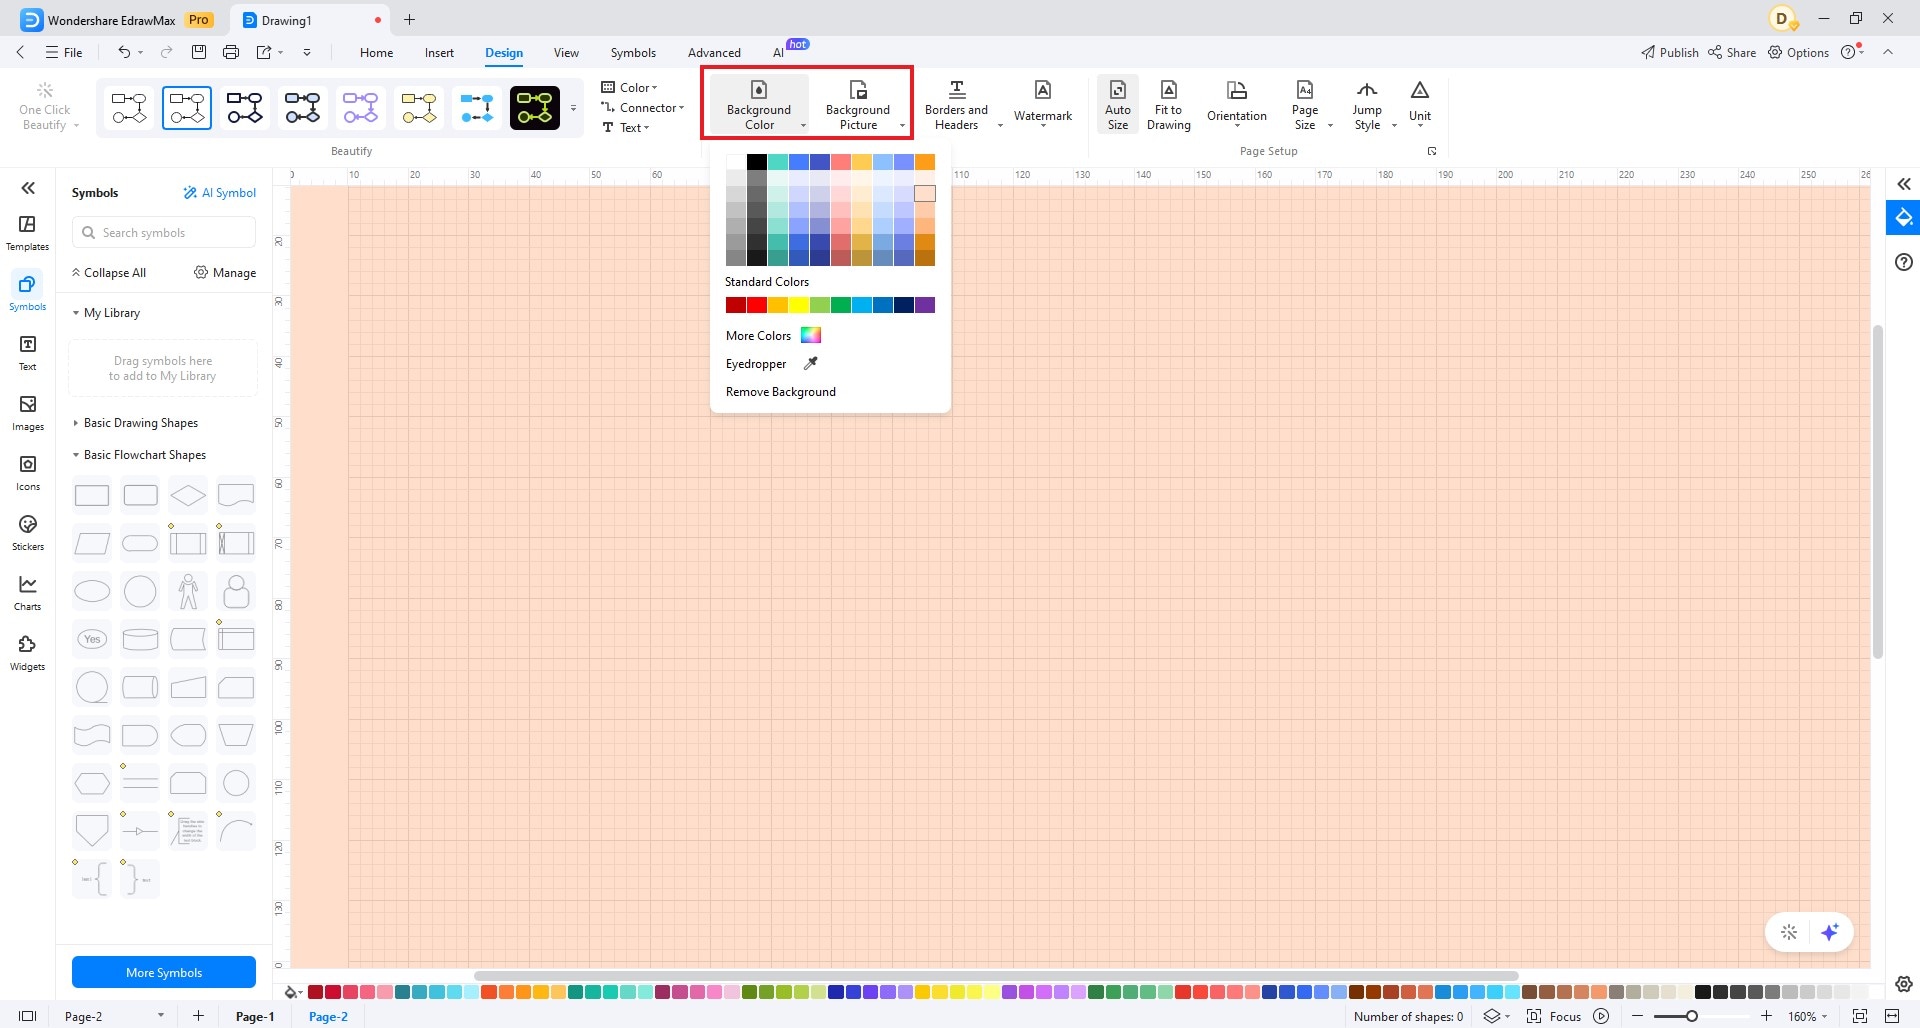
2. Background Tools
Background tools in EdrawMax enable you to customize the appearance of your diagram's background with colour, pictures, borders, headers, and watermarks.
To Set Background Colour:
- Go to the "Background" panel.
- Choose "Background Colour."
- Select a colour or customize it according to your preferences.
To Add a Background Picture:
- Access the "Background" panel.
- Choose "Background Picture."
- Choose a ready-made picture. Click "Remove background" if you want to cancel the operation.
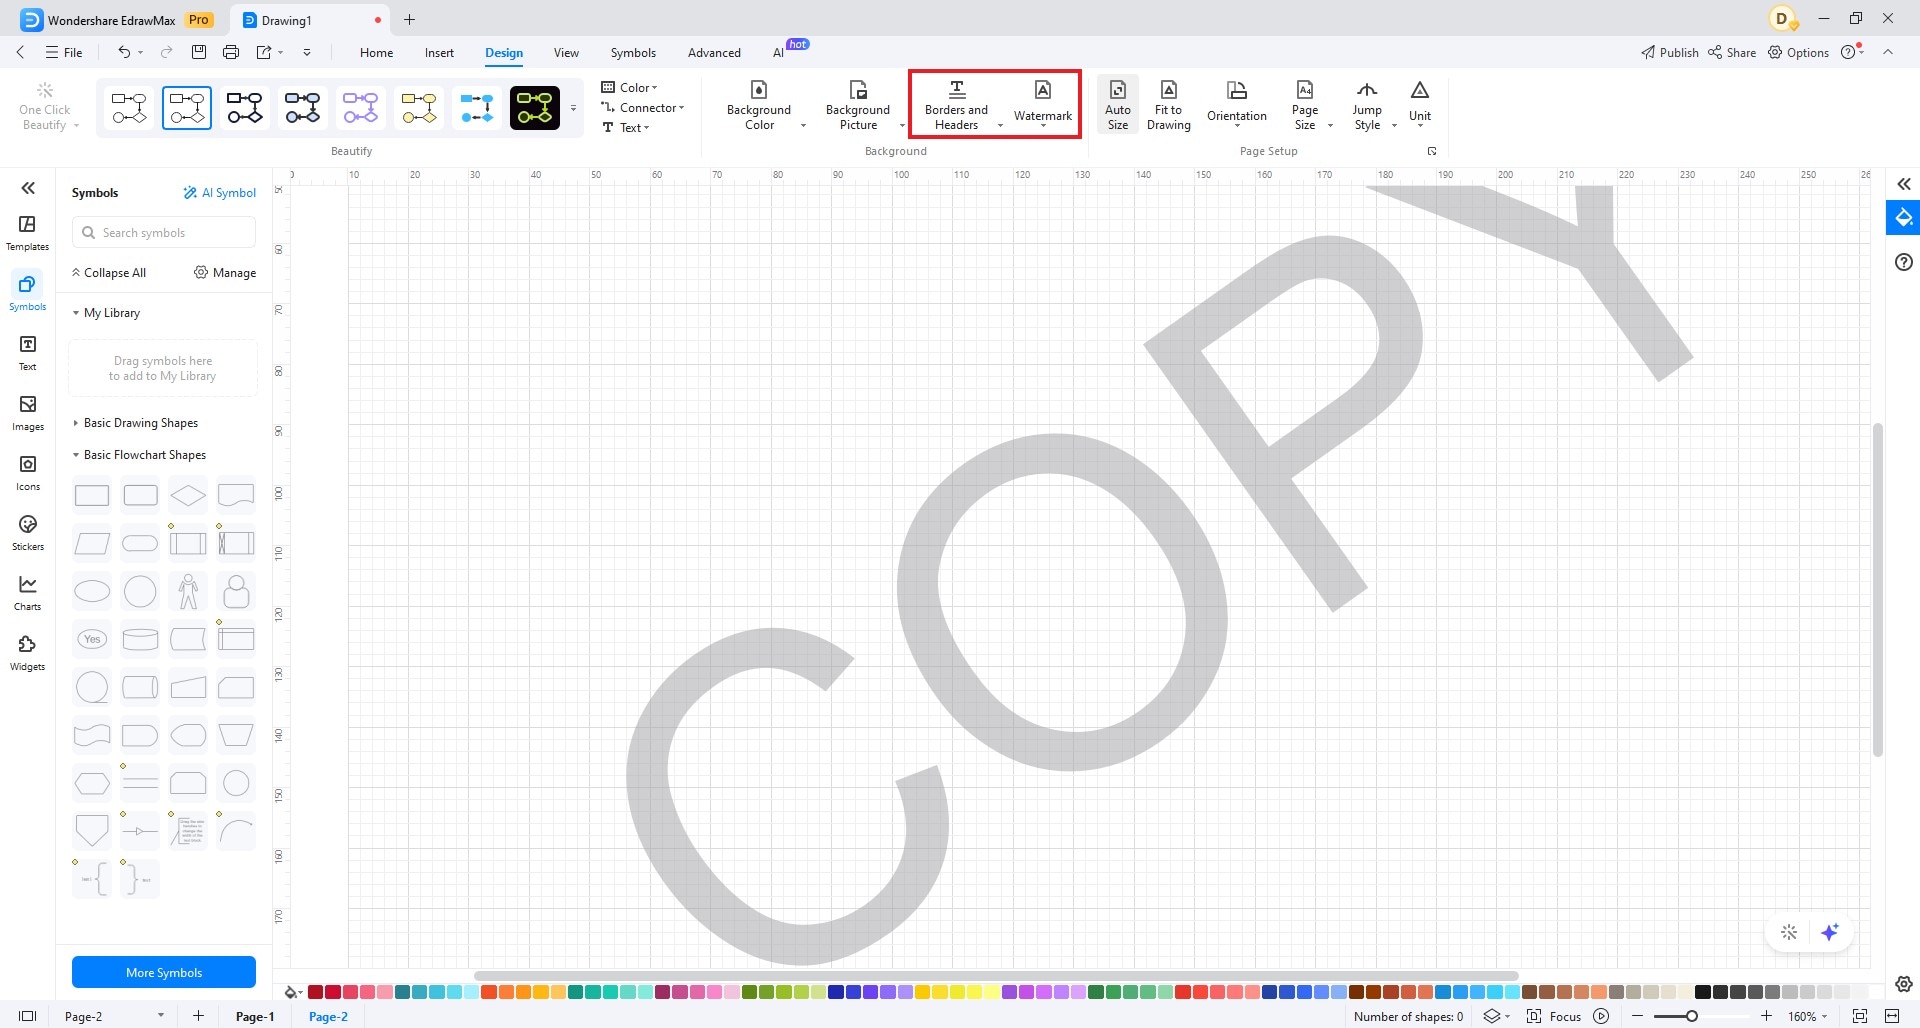
To Set Border and Header:
- Choose "Border and Header."
- Customize the border style, thickness, and header content (e.g., title, date).
To Add a Watermark:
- Access the "Background" panel.
- Select "Watermark."
- Enter the watermark text and adjust its appearance, such as font, size, and transparency.
- Specify the watermark position (e.g., centre, diagonal).
- You can also apply a built-in watermark instead of making a custom one.
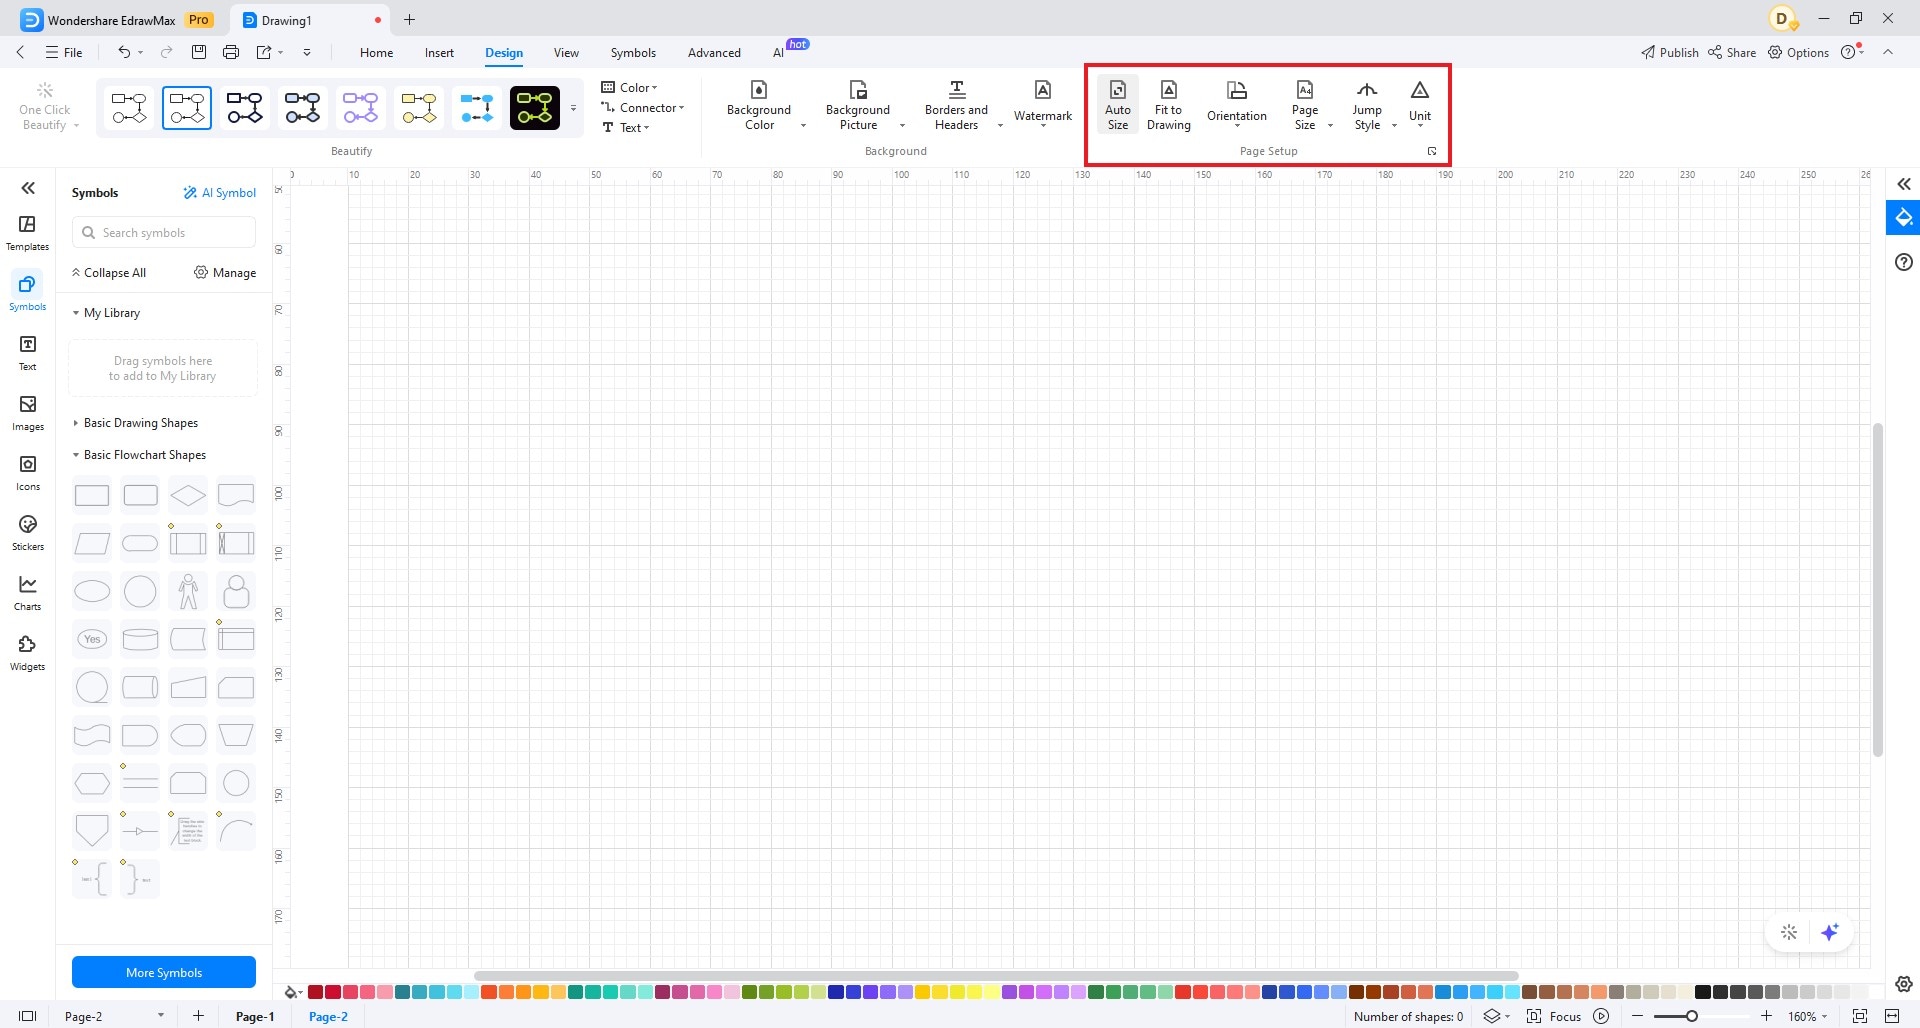
3. Page Setup
The Page Setup feature in EdrawMax allows you to configure various page settings such as size, orientation, margins, and paper type for your diagrams.
To Configure Page Settings:
- Choose "Page Setup."
- Adjust page attributes such as page size, orientation (portrait or landscape), and paper type (e.g., letter, A4).
- Modify page margins and set the print area if necessary.