EdrawMax User Guide for Desktop
-
Get Started with EdrawMax
-
User Interface
-
Basic Operations
-
Advanced Operations
-
Shape Operations
-
Drawing Tools
-
Formatting and Styling
-
Text Operations
-
Symbol and Library
-
Insert/Add Objects
-
Page Settings
-
Presentation Mode
-
AI Features
- How to Make a Diagram with Edraw AI
- AI Slides
- AI Infographics Generator
- AI Copywriting
- AI Stickers
- AI Symbols
- AI Analysis
- AI Drawing
- AI OCR
- EdrawMax Quotation Tool
- AI Diagram Generator
- AI Framework Generator
- EdrawMax AI Copilot
- AI Chatbot
- AI Flowchart
- AI Mind Map
- AI Timeline
- AI Table
- AI List
- AI SWOT Analysis, PEST Analysis, and Lean Canvas
- AI User Profile
-
How to Make a Flowchart
-
How to make an Org Chart
-
How to make a Gantt Chart
-
How to Make a Mind Map
-
More examples
Insert Table
EdrawMax offers an Insert Table feature that allows you to incorporate tabular data into your diagrams or documents. It can be used to present information such as statistics, research findings, or timelines in an organized manner. Follow the steps below to learn how to use this feature.
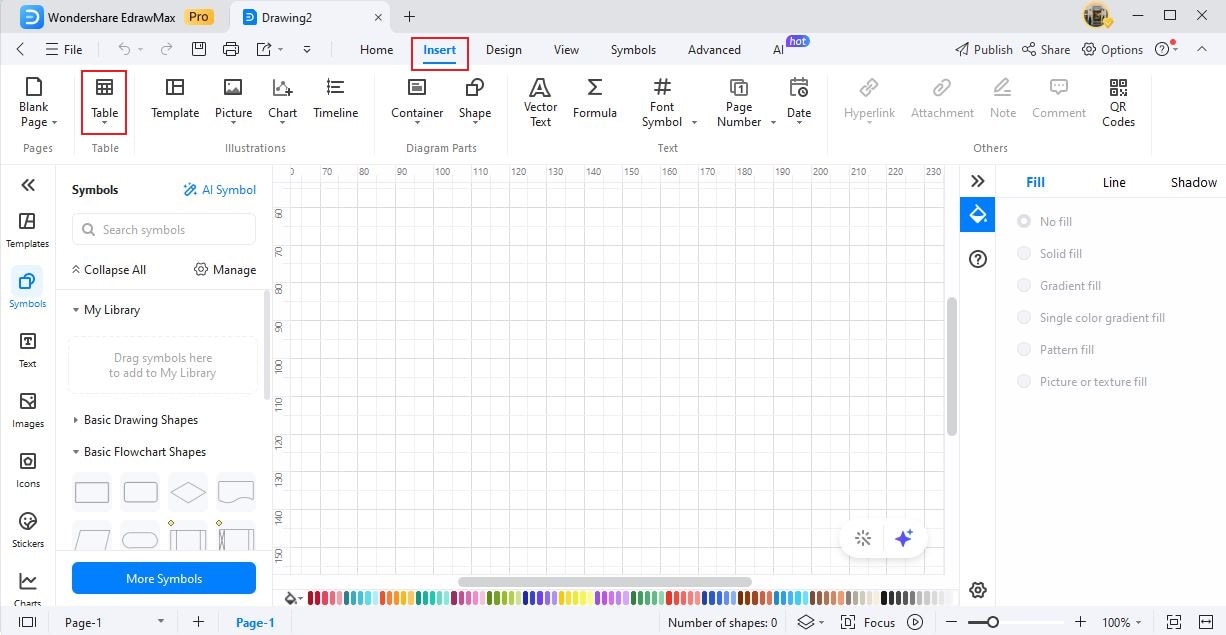
Step 1: Go to the Insert tab and click the Table button.
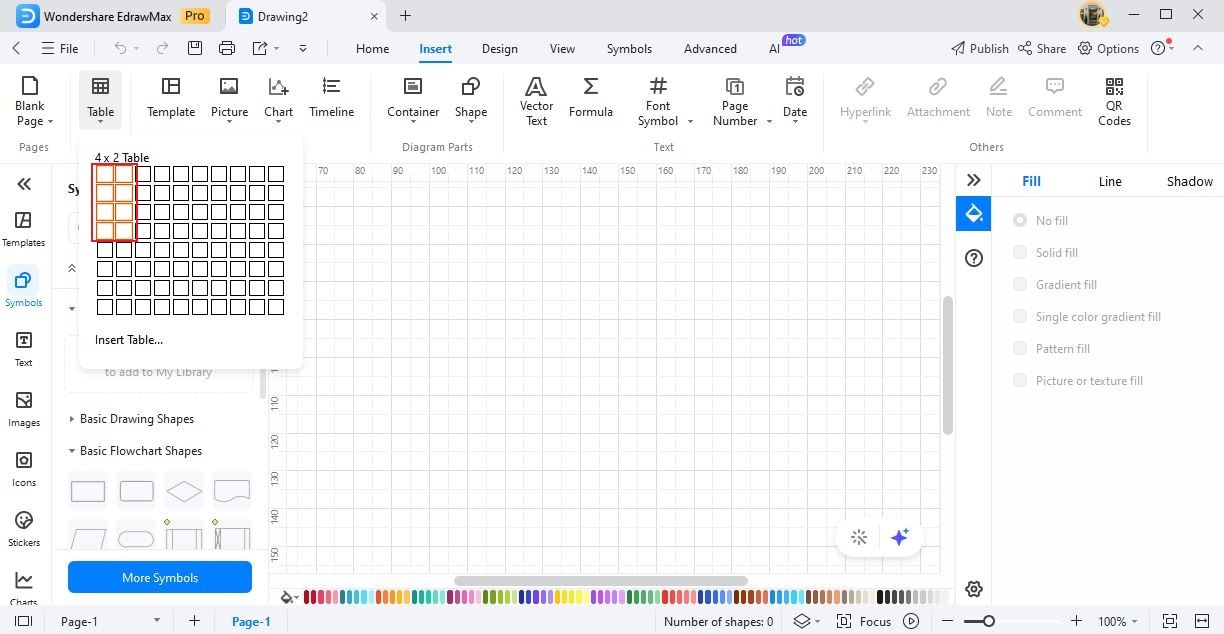
Step 2: Move the cursor to select the desired rows and columns, then click. Alternatively, you can also use Ctrl + Alt + T. Enter the number of rows or columns you want and click OK.
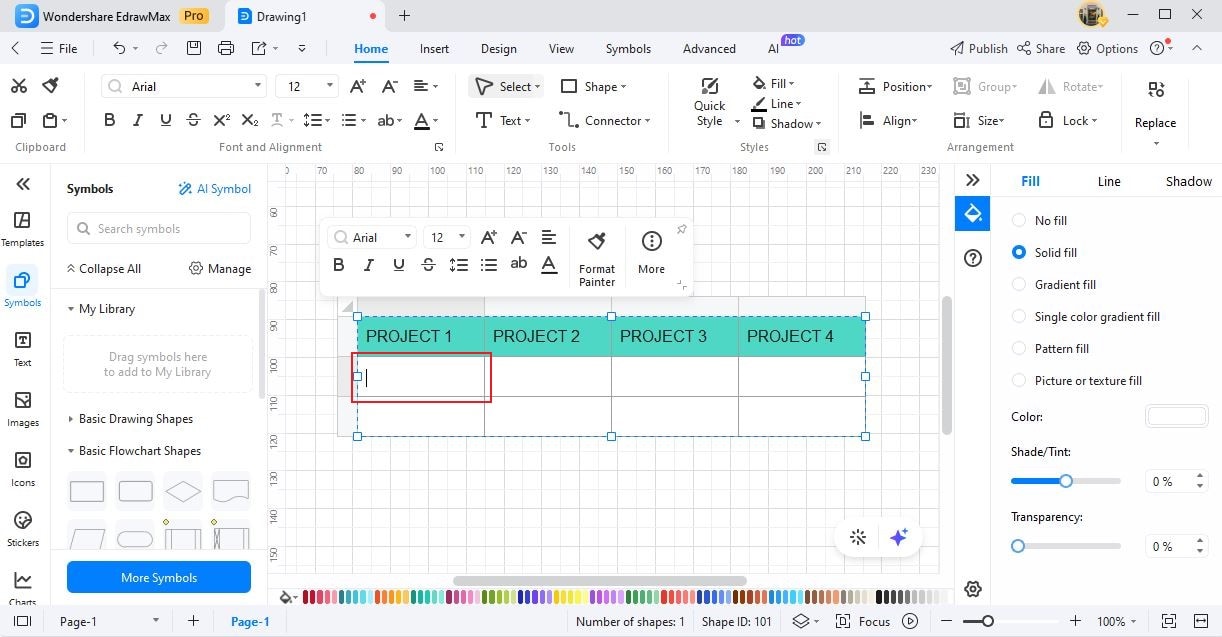
Step 3: To insert text into a table cell, simply click on the cell and type your text. Once you've entered your text, click anywhere outside the table.
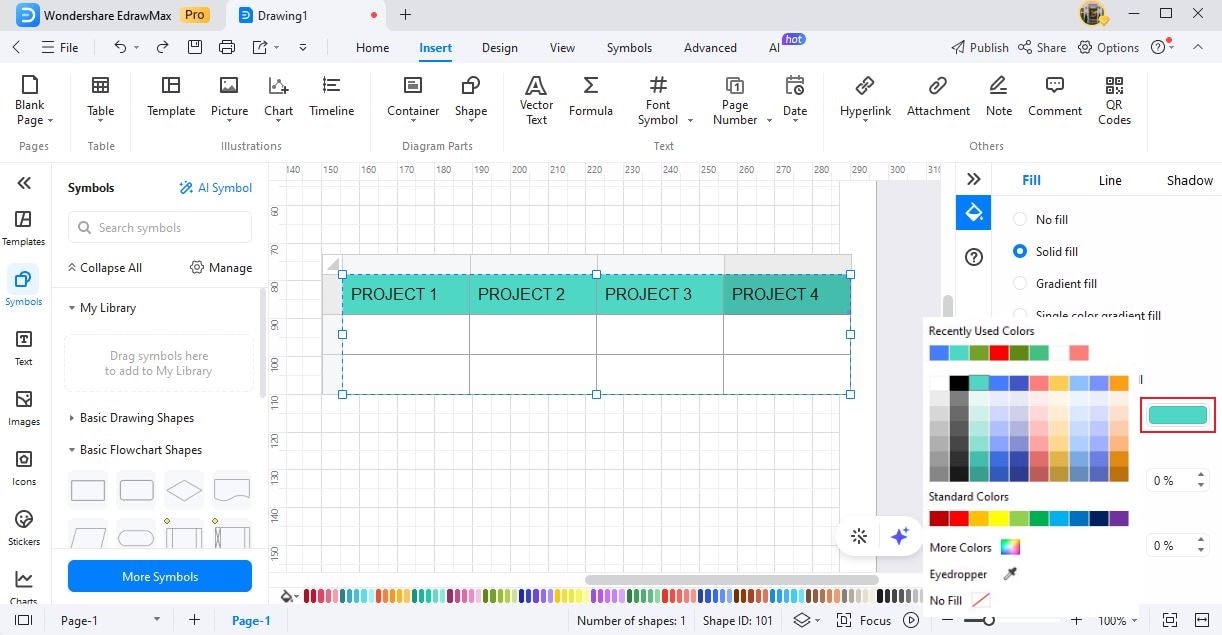
Step 4: To change the colors of the rows and columns, just select the cell and click the Select Fill Color icon under the Fill tab on the right-side panel. Select colors from the menu.