EdrawMax User Guide for Desktop
-
Get Started with EdrawMax
-
User Interface
-
Basic Operations
-
Advanced Operations
-
Shape Operations
-
Drawing Tools
-
Formatting and Styling
-
Text Operations
-
Symbol and Library
-
Insert/Add Objects
-
Page Settings
-
Presentation Mode
-
AI Features
- How to Make a Diagram with Edraw AI
- AI Slides
- AI Infographics Generator
- AI Copywriting
- AI Stickers
- AI Symbols
- AI Analysis
- AI Drawing
- AI OCR
- EdrawMax Quotation Tool
- AI Diagram Generator
- AI Framework Generator
- EdrawMax AI Copilot
- AI Chatbot
- AI Flowchart
- AI Mind Map
- AI Timeline
- AI Table
- AI List
- AI SWOT Analysis, PEST Analysis, and Lean Canvas
- AI User Profile
-
How to Make a Flowchart
-
How to make an Org Chart
-
How to make a Gantt Chart
-
How to Make a Mind Map
-
More examples
Create an Organizational Chart with a Template
EdrawMax’s Organizational Chart Template provides users with a ready-made and customizable visual representation of hierarchical structure and relationships within an organization. Here are the steps to create an organizational chart with a template:
Step 1: Go to the Home window of your EdrawMax start page. Select Org Chart from the For You tab and pick a template from the Local Templates section.
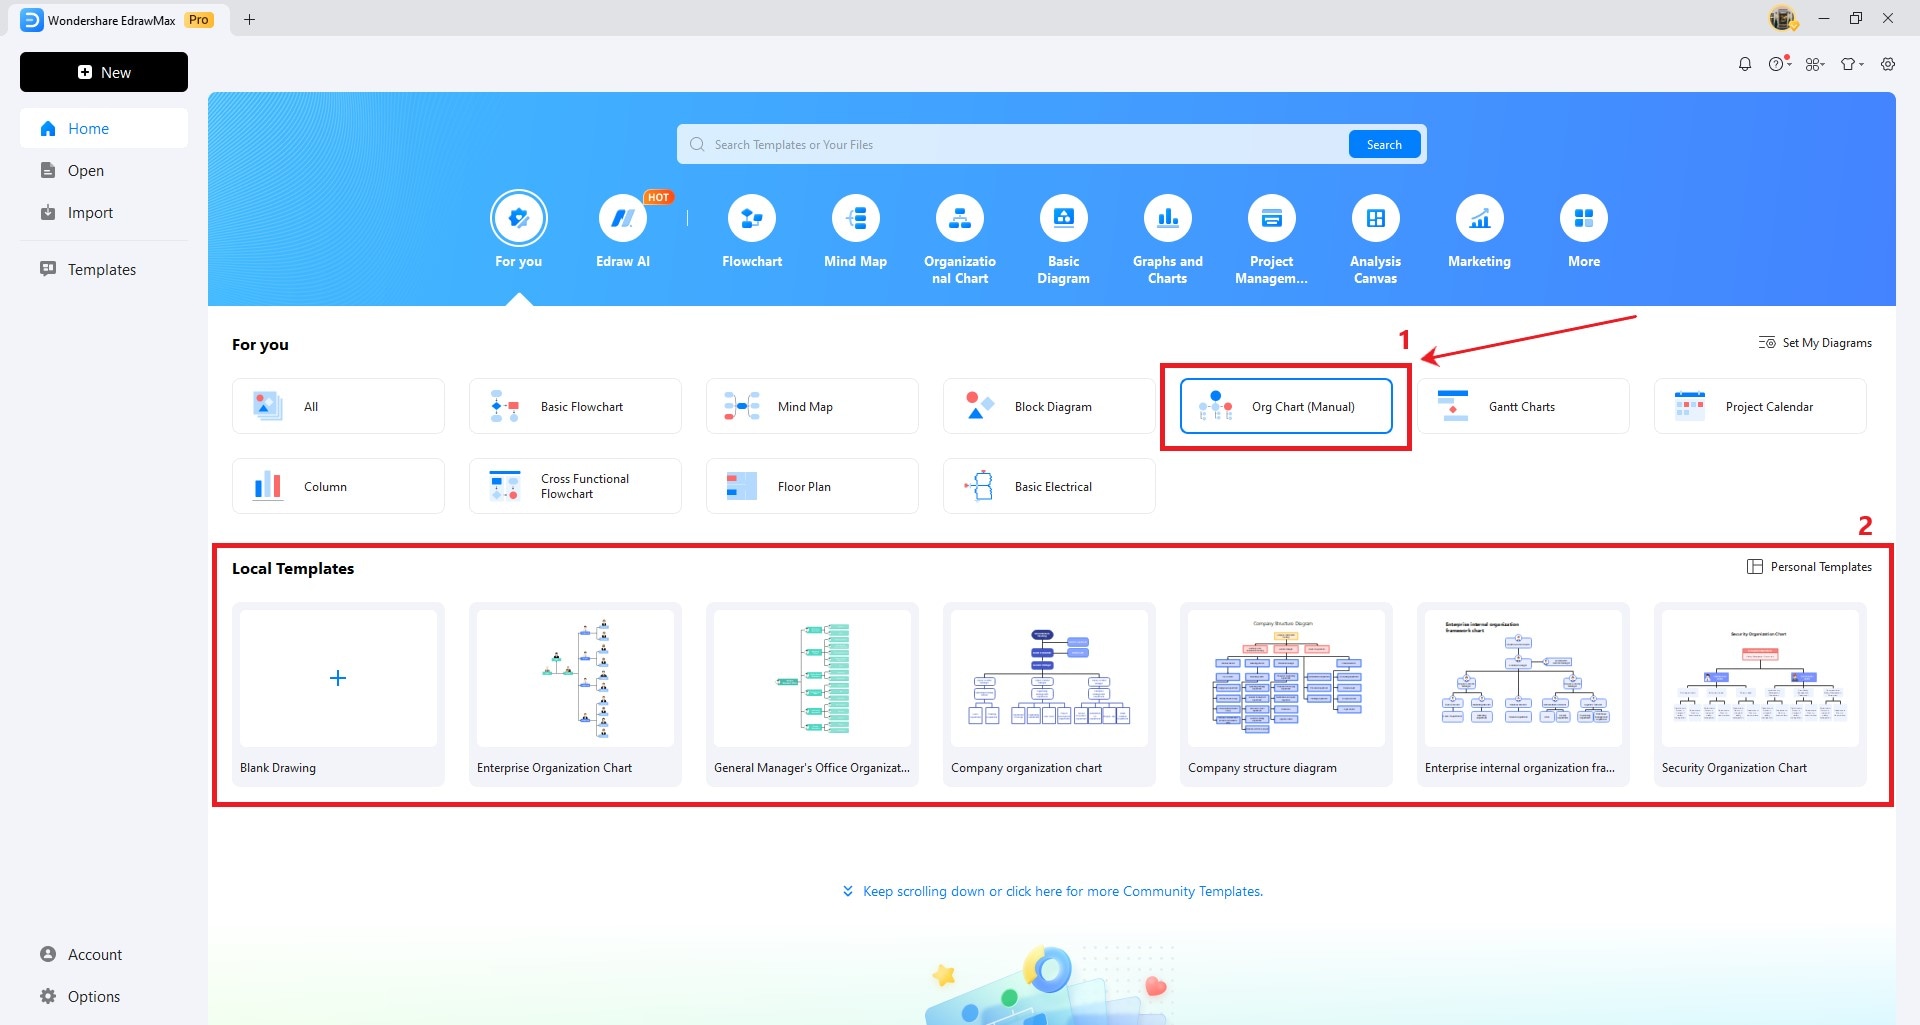
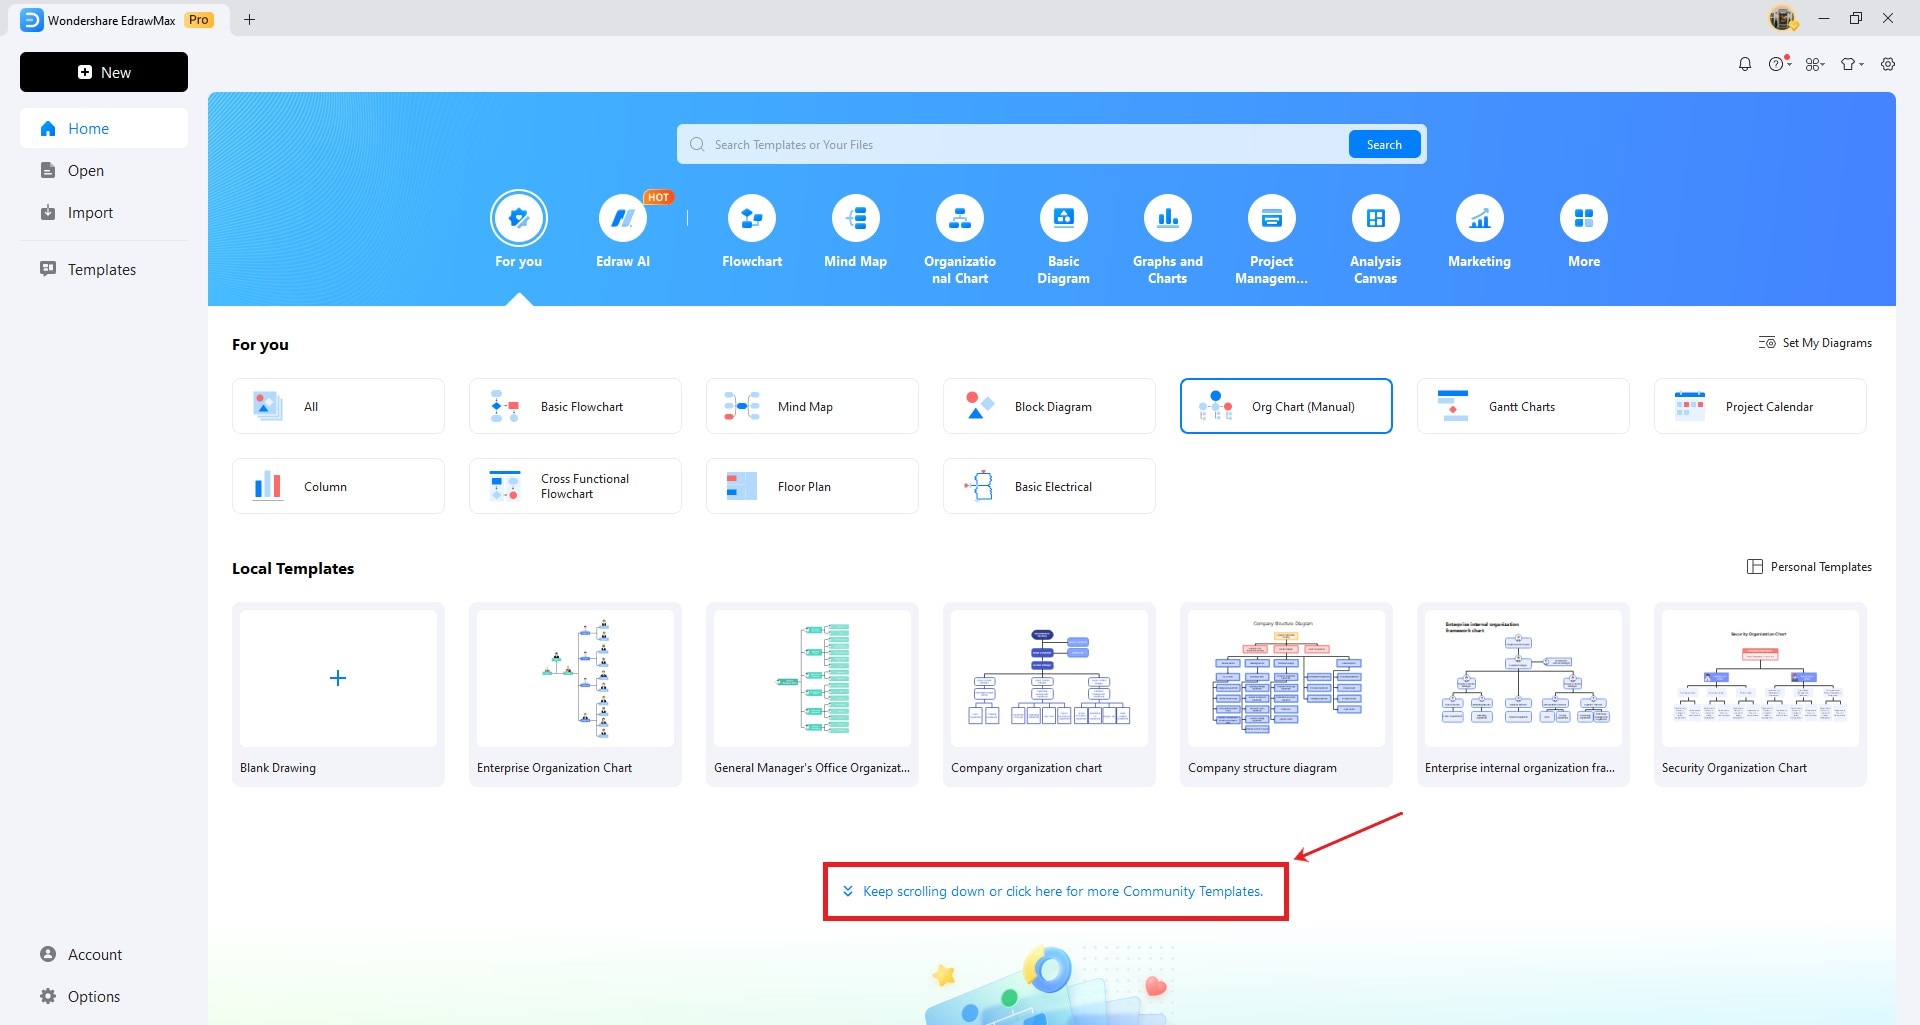
Step 2: Select one of the available pre-designed templates below. Continue scrolling down to see more templates.
Step 3: Customize your organizational chart to suit your preferences. You can alter the shape, size, and style of each symbol as needed.
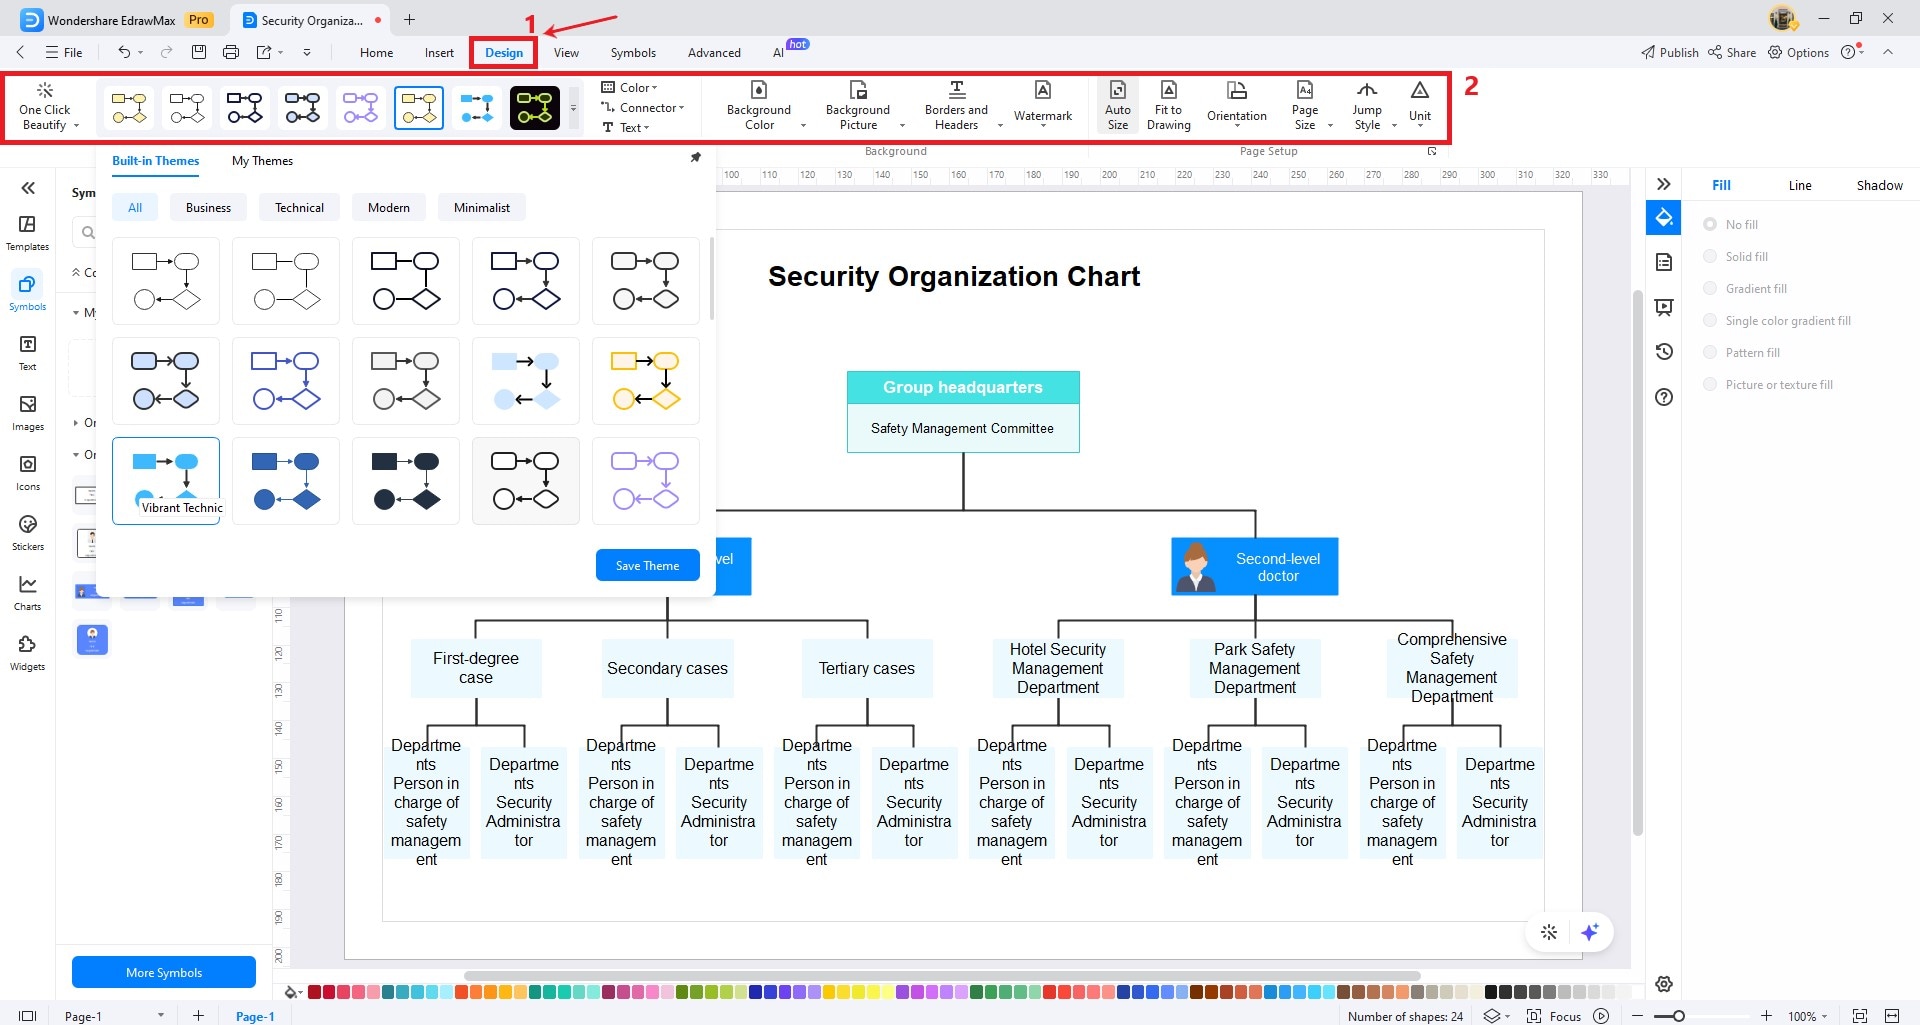
Step 4: To design your organizational chart, go to the Design tab to apply colors and font changes that match your needs.
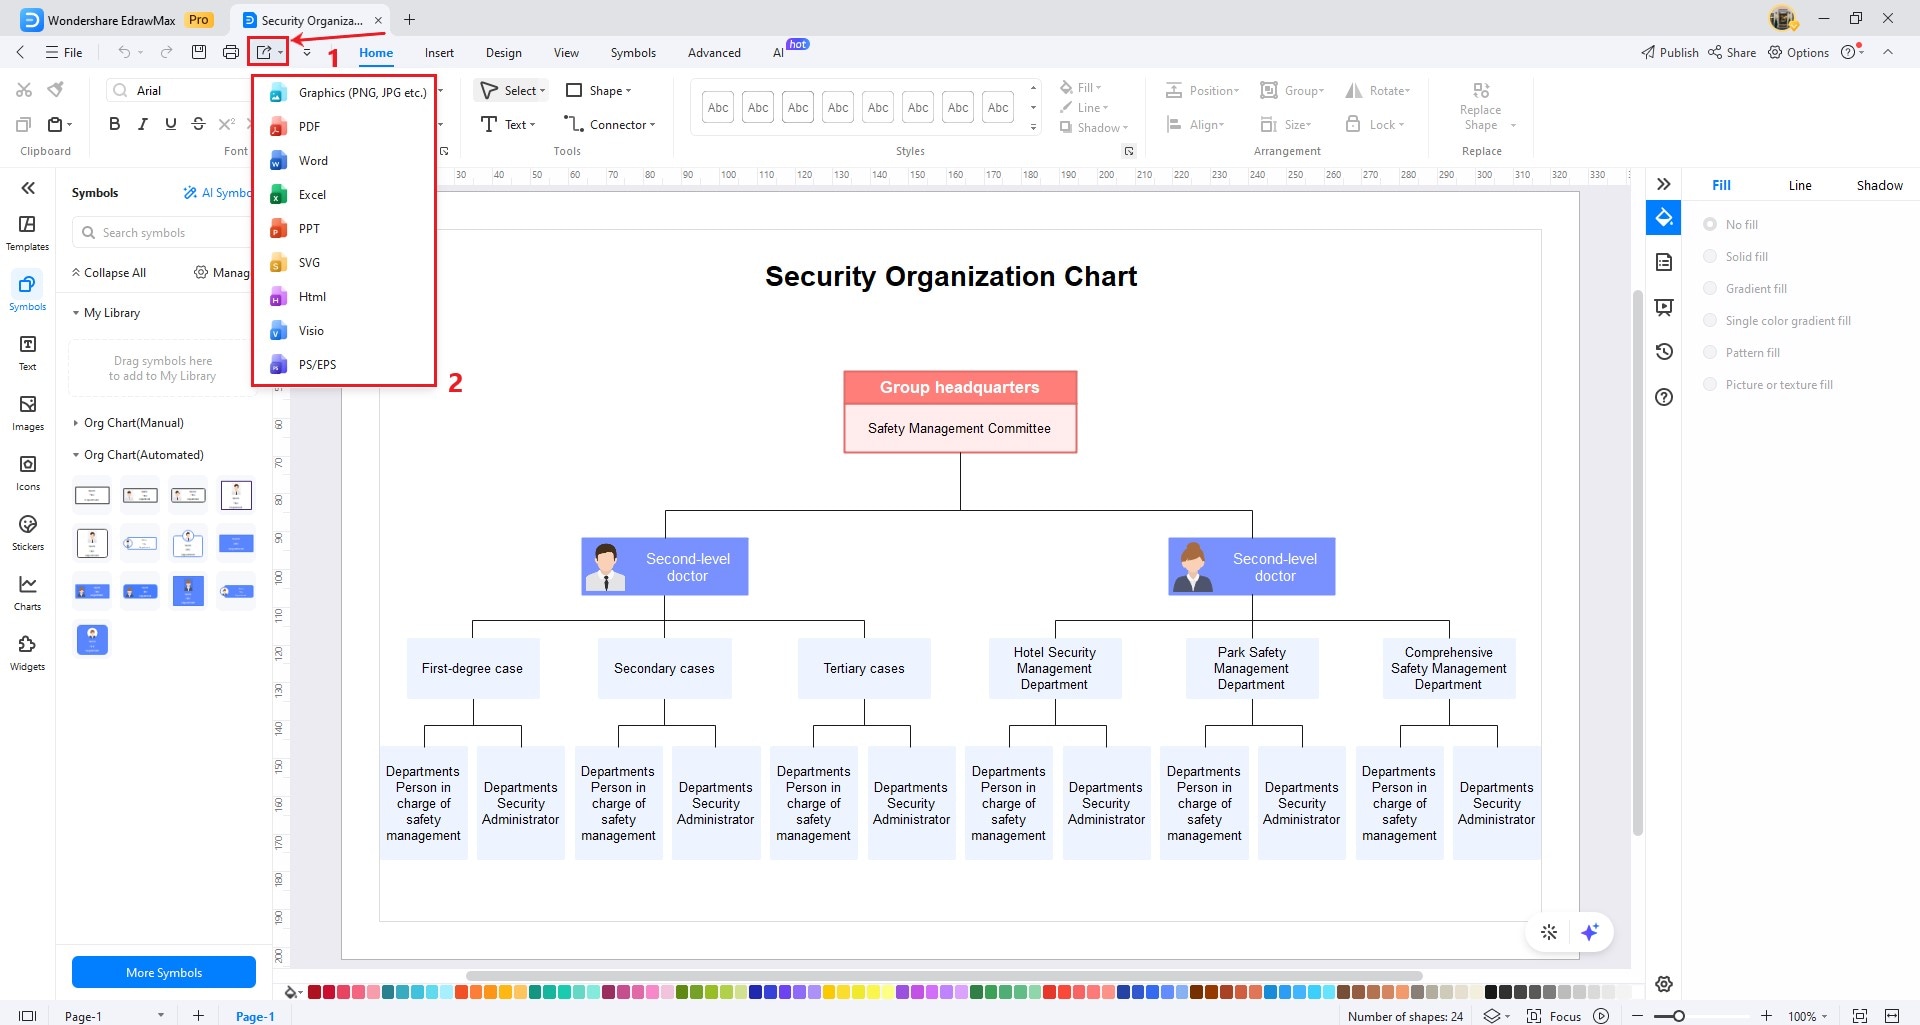
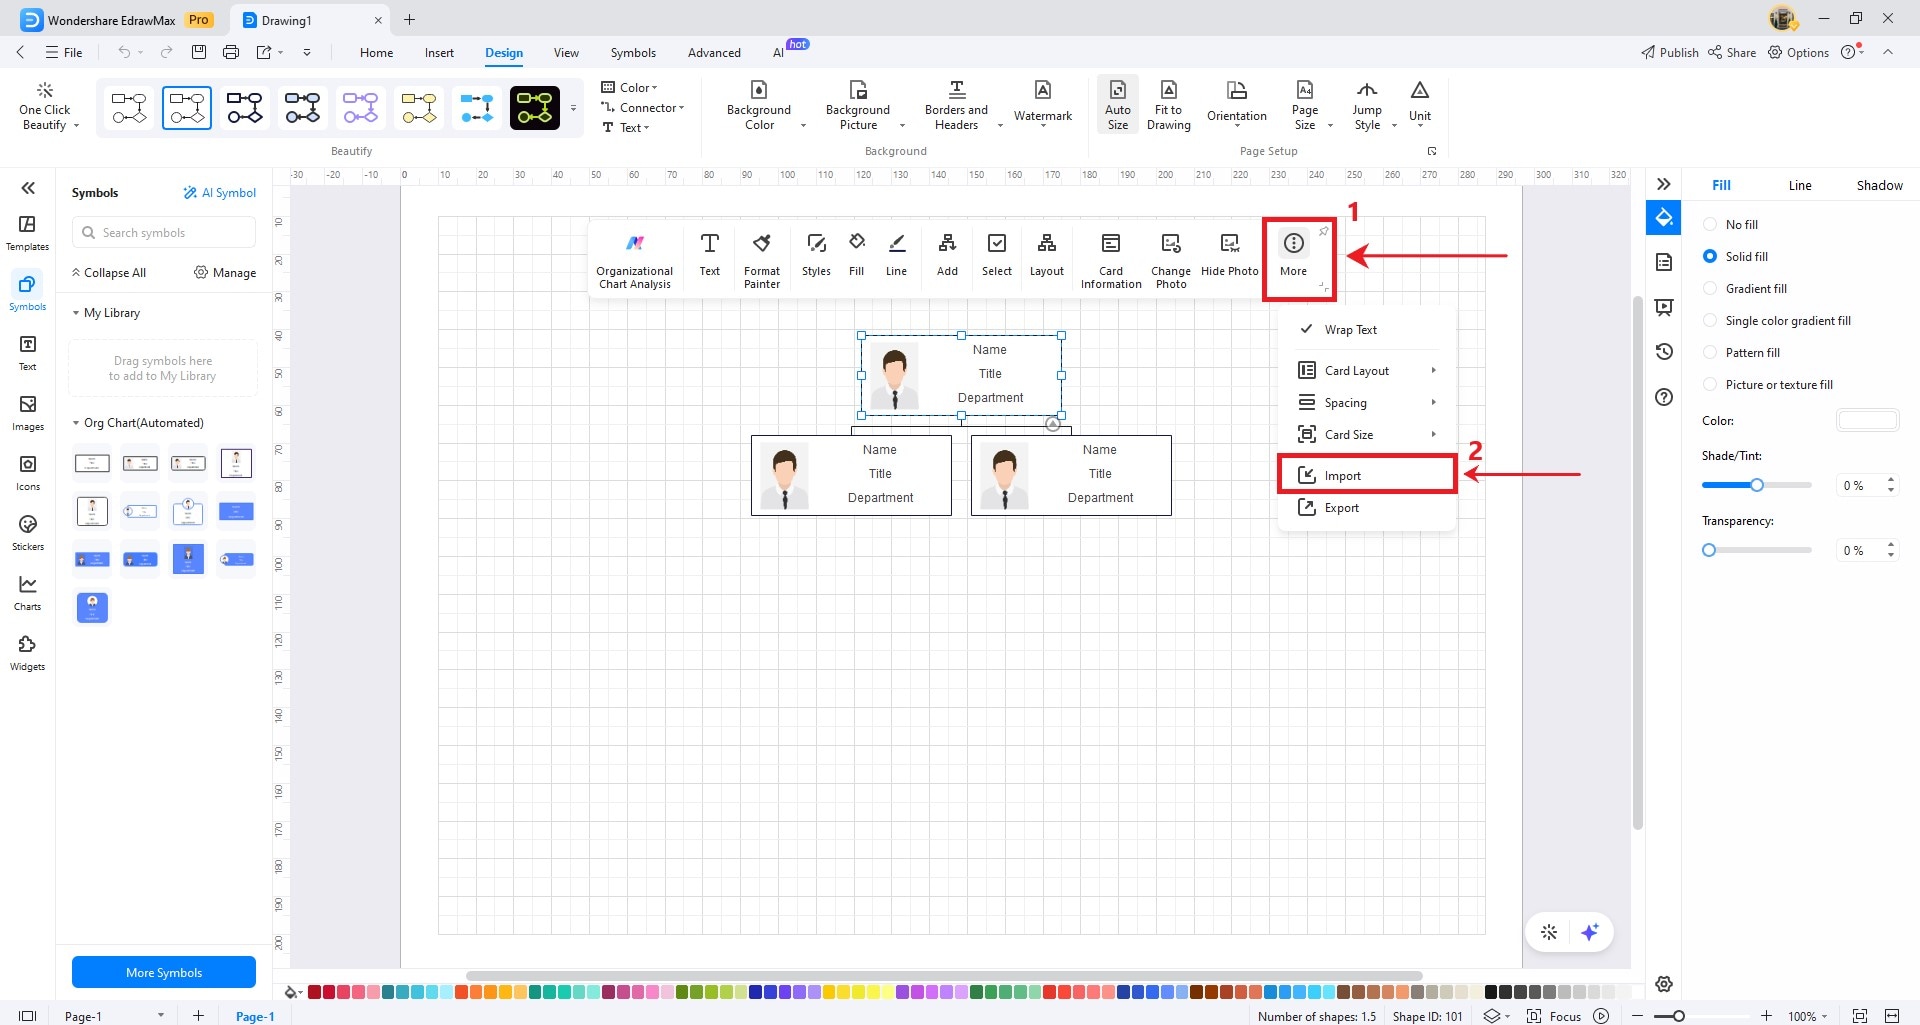
Step 5: To fill in the org chart, select the shape, and you will notice a floating toolbar. Click More from the options, and click Import.
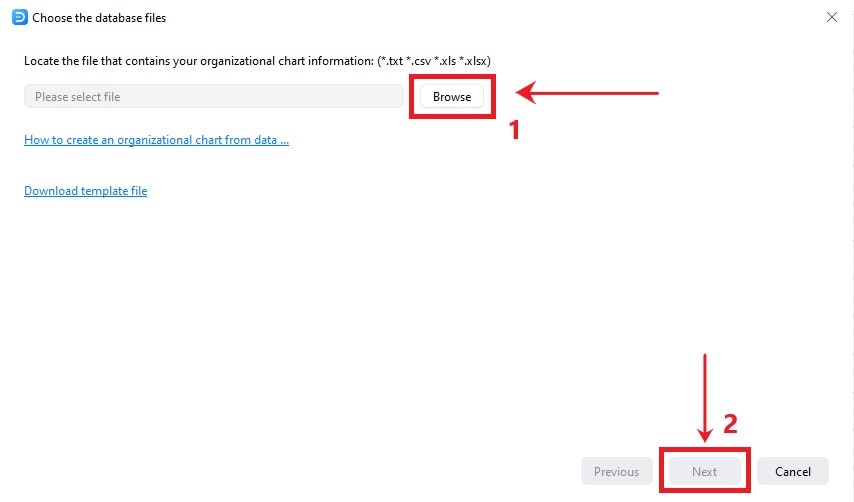
Step 7: To locate your file, click Browse. Find the data file that contains employee information from your local storage and click Next.
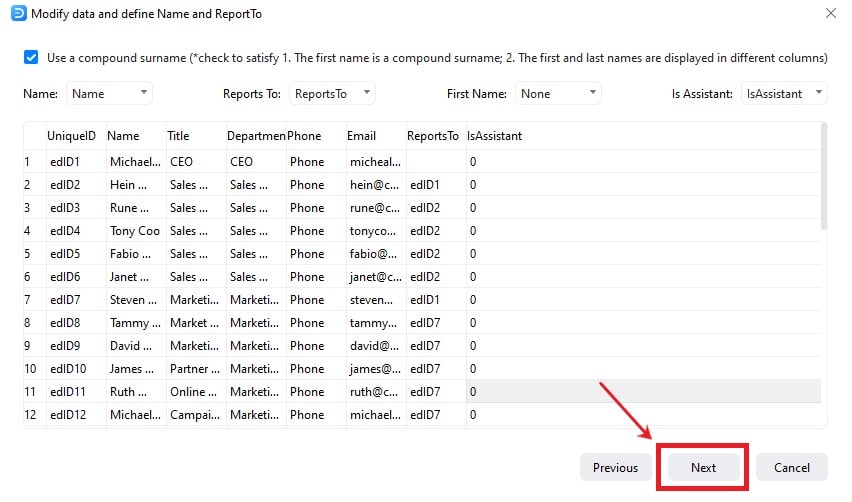
Step 8: On this window, you will see how your worksheet data aligns with the data import window. If you are already done with the data, click Next.
Step 9: Customize employee information and photo display preferences on the form, then click Finish. You can now change the shape’s color based on your needs. Save your edits and export them in multiple file formats.