EdrawMax User Guide for Desktop
-
Get Started with EdrawMax
-
User Interface
-
Basic Operations
-
Advanced Operations
-
Shape Operations
-
Drawing Tools
-
Formatting and Styling
-
Text Operations
-
Symbol and Library
-
Insert/Add Objects
-
Page Settings
-
Presentation Mode
-
AI Features
- How to Make a Diagram with Edraw AI
- AI Slides
- AI Infographics Generator
- AI Copywriting
- AI Stickers
- AI Symbols
- AI Analysis
- AI Drawing
- AI OCR
- EdrawMax Quotation Tool
- AI Diagram Generator
- AI Framework Generator
- EdrawMax AI Copilot
- AI Chatbot
- AI Flowchart
- AI Mind Map
- AI Timeline
- AI Table
- AI List
- AI SWOT Analysis, PEST Analysis, and Lean Canvas
- AI User Profile
-
How to Make a Flowchart
-
How to make an Org Chart
-
How to make a Gantt Chart
-
How to Make a Mind Map
-
More examples
Insert Picture
EdrawMax offers an Insert Picture feature that simplifies incorporating images into documents and diagrams. This elevates the visual appeal and communicative power of the content being created. Follow the steps below to learn how to use this feature.
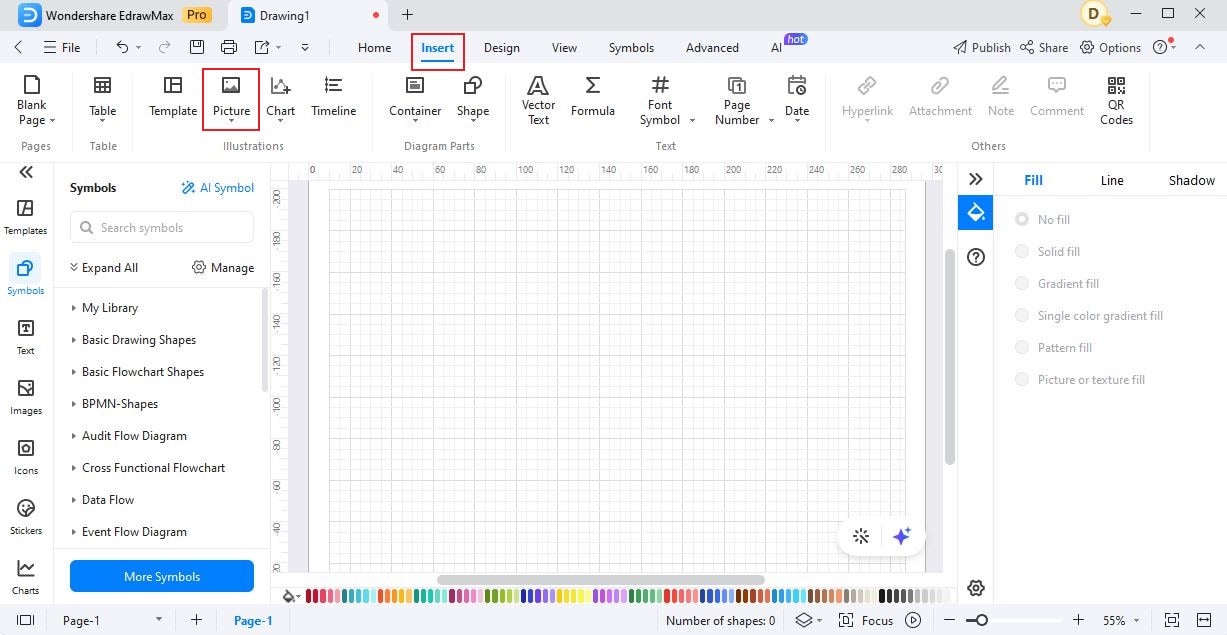
Step 1: Go to the Insert tab and click Picture. You can also use Ctrl + Alt + I keyboard shortcut.
Step 2: You can insert images in three ways. Find out how from the guide below:
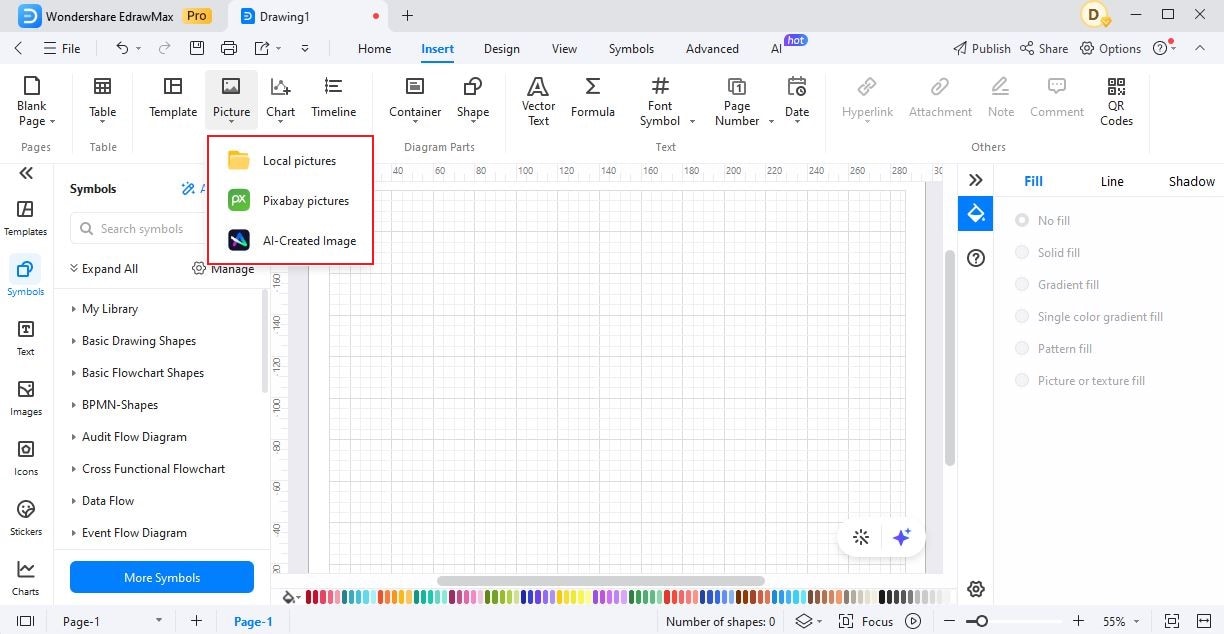
- Click Local Pictures to select and insert images from the local files.
- Click Pixabay Pictures and enter the search keyword in the search bar, then choose your desired images to insert into the page.
- Click AI-Created Image and describe the image you want to create in the blank bar to start generating.
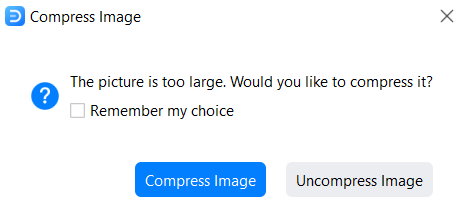
Step 3: If the image is oversized, there will be a small window for a reminder to let you decide whether to compress it or not.
Step 4: To customize an image, click the picture and view a series of options on the floating toolbar that will appear.

In the Floating Toolbar, there are a series of options that can be used to customize an image:
- Click AI Drawing to change the style of your image based on your preferences.
- Click Bring to Front to control the visibility and arrangement of the image. It ensures that a specific picture appears in front of a text or other images.
- Click Send to Back to change the layering order of the image within the document. It ensures that a specific image appears behind a text or other images.
- Click Replace to swap an existing image with a different one while maintaining its position and size.
- Click Crop to trim or cut a portion of an inserted image.
- Click Crop to Shape to crop an inserted image into a predefined shape.
- Click Adjust to make various adjustments to the appearance and properties of an inserted image.
- Click Frame to add decorative frames or borders around an inserted image.
In the Adjust feature, there are four options provided to enhance an image.
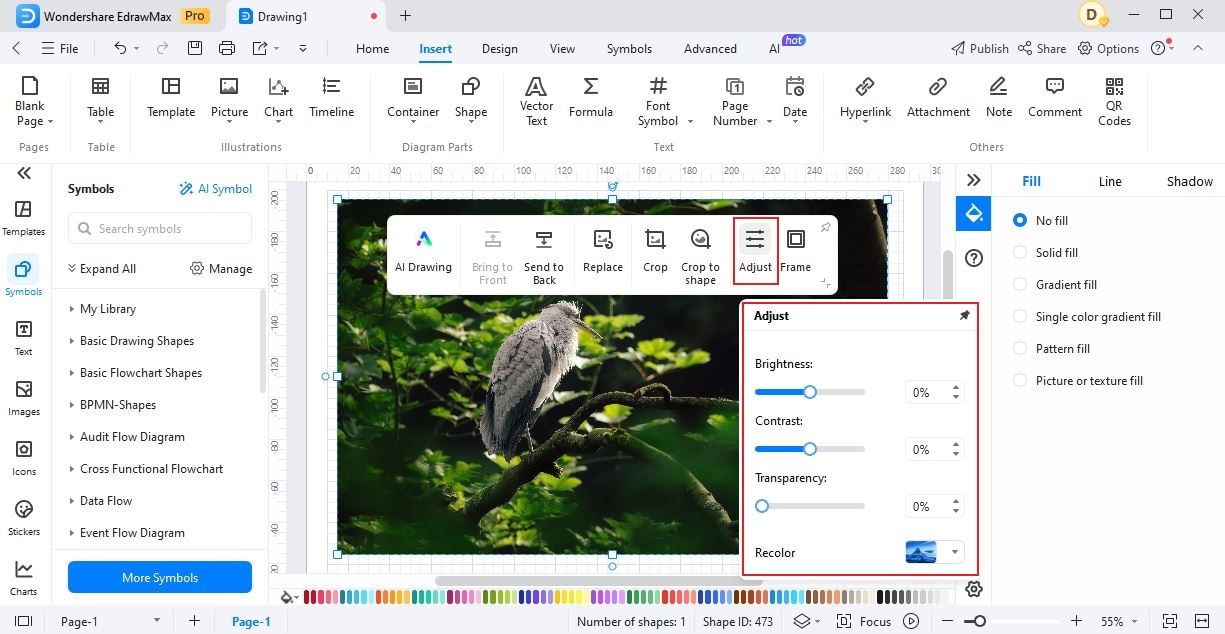
- Click Brightness to adjust the overall lightness or darkness of the inserted image.
- Click Contrast to adjust the contrast level of the inserted image. It can improve the overall clarity and sharpness of a picture to make it more visually appealing.
- Click Transparency to control the opacity or see-through on an inserted image. It enables you to blend pictures with backgrounds and add various visual effects.
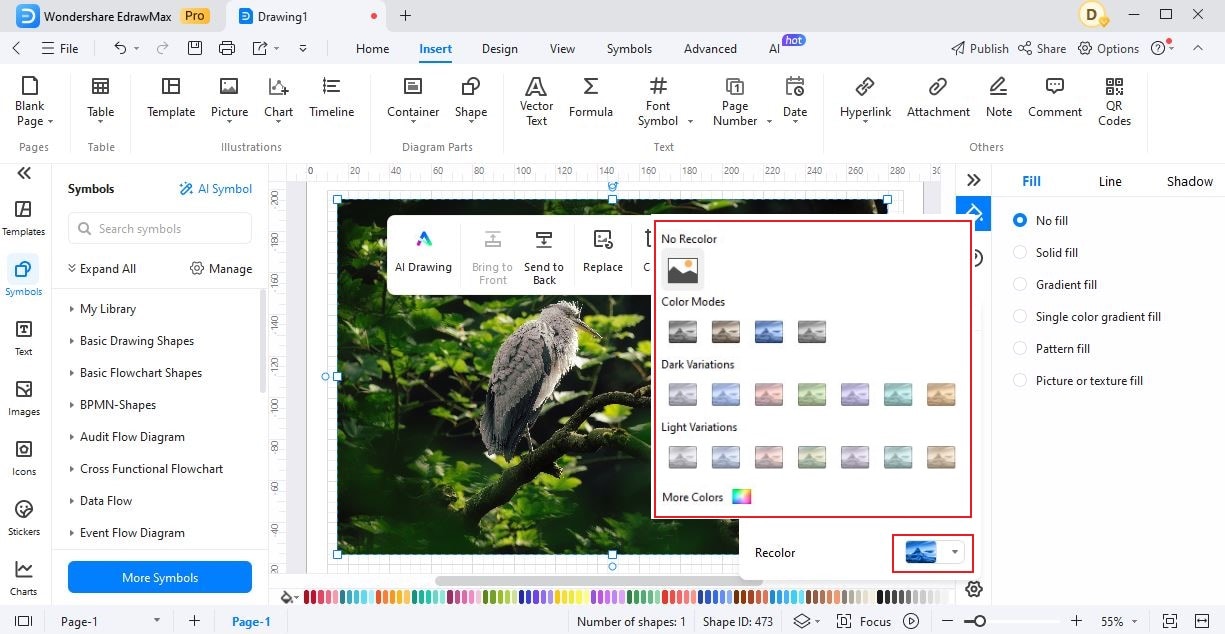
- Click Recolor to modify the color scheme of an image to match your design or achieve a specific artistic effect.
The Recolor feature offers five color variations: No Recolor, Color Modes, Dark Variations, Light Variations, and More Colors. It can help you to correct color balance and ensure the consistency of the image.