EdrawMax User Guide for Desktop
-
Get Started with EdrawMax
-
User Interface
-
Basic Operations
-
Advanced Operations
-
Shape Operations
-
Drawing Tools
-
Formatting and Styling
-
Text Operations
-
Symbol and Library
-
Insert/Add Objects
-
Page Settings
-
Presentation Mode
-
AI Features
- How to Make a Diagram with Edraw AI
- AI Slides
- AI Infographics Generator
- AI Copywriting
- AI Stickers
- AI Symbols
- AI Analysis
- AI Drawing
- AI OCR
- EdrawMax Quotation Tool
- AI Diagram Generator
- AI Framework Generator
- EdrawMax AI Copilot
- AI Chatbot
- AI Flowchart
- AI Mind Map
- AI Timeline
- AI Table
- AI List
- AI SWOT Analysis, PEST Analysis, and Lean Canvas
- AI User Profile
-
How to Make a Flowchart
-
How to make an Org Chart
-
How to make a Gantt Chart
-
How to Make a Mind Map
-
More examples
Create a Gantt Chart
EdrawMax’s Gantt Chart feature is designed to assist users in planning and scheduling their projects. It helps in organizing tasks in the proper order. To create a Gantt Chart, follow the steps outlined below:
Step 1: Click New from the top-left corner of the EdrawMax home page. Then, select Gantt Chart from the drop-down menu. Alternatively, click Gantt Charts from the home page under the For You category to access Local Templates that align with your needs.

Step 2: To customize it, select the Gantt Chart, and you will notice a floating toolbar.

In the Gantt Chart options found in the floating toolbar, you can:
- Click Overview to provide a holistic view of your project’s timeline and task structure.
- Click Add Task to insert new tasks into your Gantt Chart.
- Click Add Subtask to break down large tasks into small ones and organize your project hierarchy.
- Click Delete to remove tasks or subtasks that are no longer relevant or necessary in your project plan.
- Click Task Dependencies to define the order in which tasks should be completed.
- Click Task Information to input and store essential details about each task.
- Click Theme to customize the visual appearance of your Gantt Chart.
- Click Task Hierarchy to create a task structure using indents and outdents in your Gantt chart.
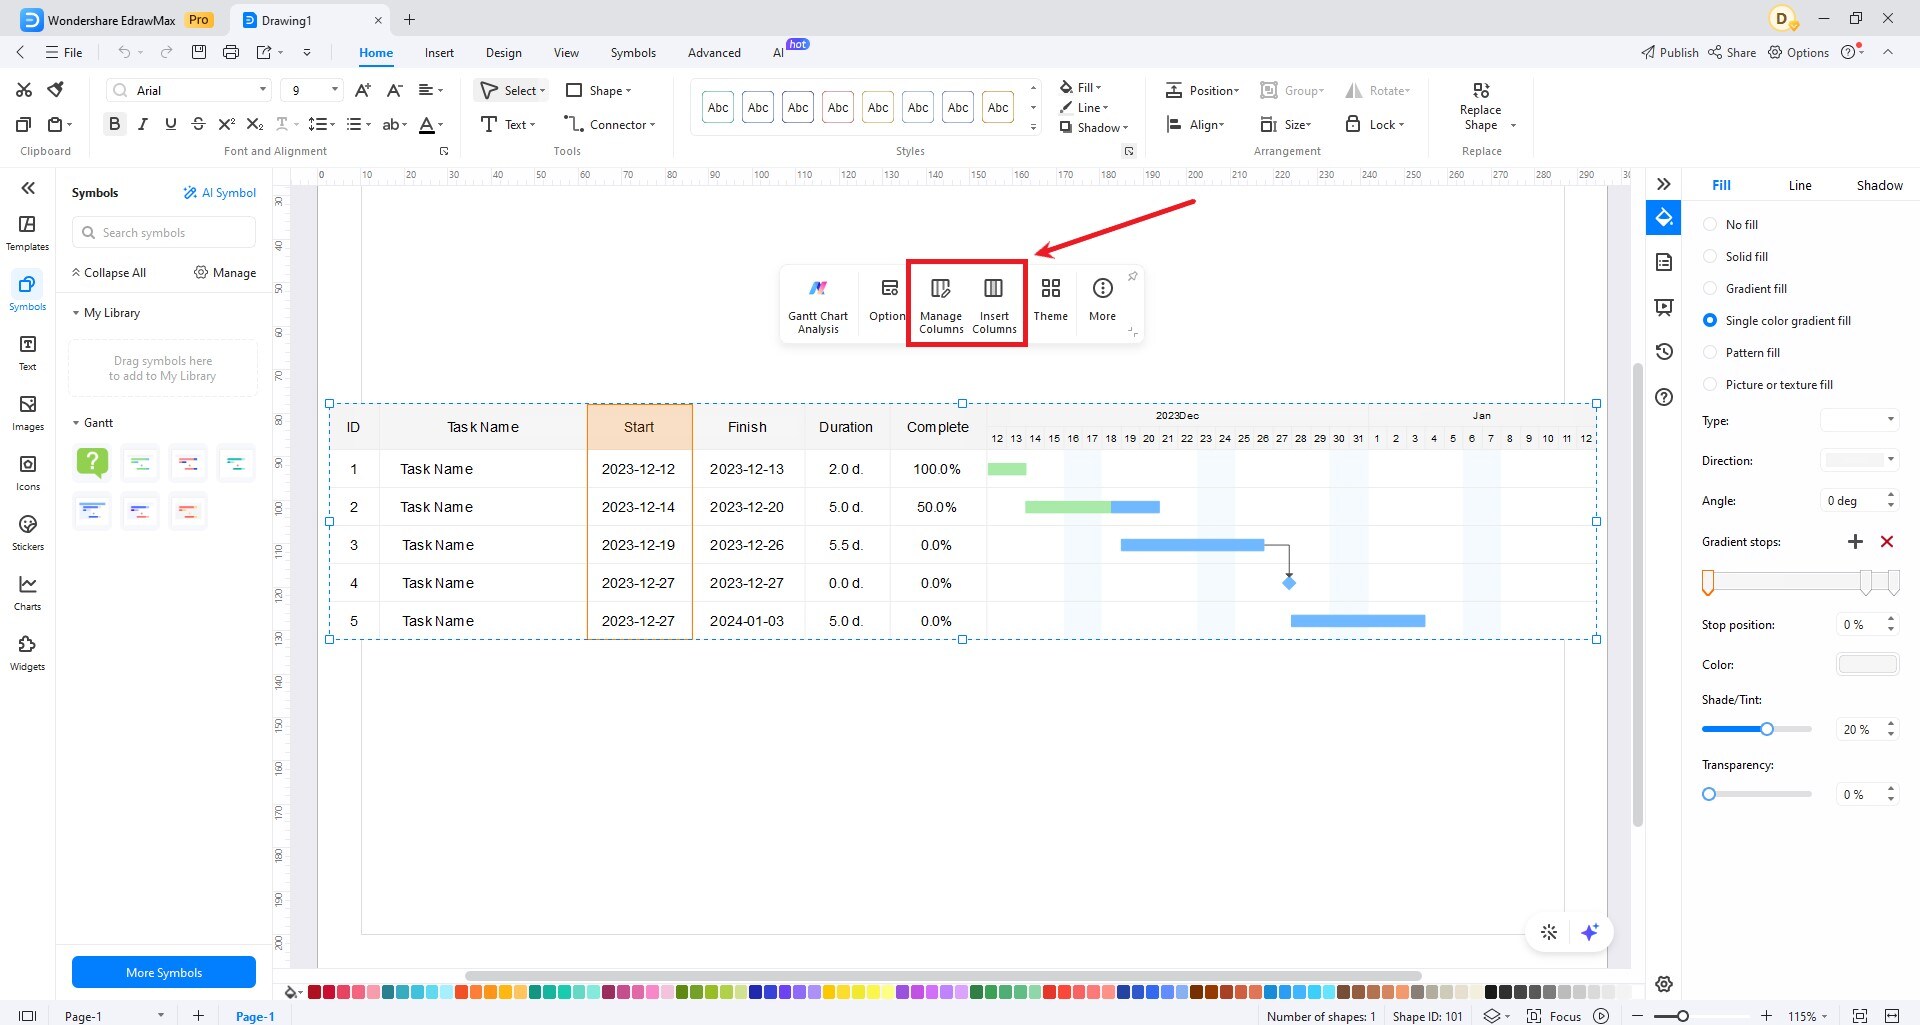
If you want to manage and add new columns to the Gantt Chart, select an existing column and choose Manage Columns or Insert Columns from the option.