EdrawMax User Guide for Desktop
User Guide for Desktop
-
Get Started with EdrawMax
-
User Interface
-
Basic Operations
-
Advanced Operations
-
Shape Operations
-
Drawing Tools
-
Formatting and Styling
-
Text Operations
-
Symbol and Library
-
Insert/Add Objects
-
Page Settings
-
Presentation Mode
-
AI Features
- How to Make a Diagram with Edraw AI
- AI Slides
- AI Infographics Generator
- AI Copywriting
- AI Stickers
- AI Symbols
- AI Analysis
- AI Drawing
- AI OCR
- EdrawMax Quotation Tool
- AI Diagram Generator
- AI Framework Generator
- EdrawMax AI Copilot
- AI Chatbot
- AI Flowchart
- AI Mind Map
- AI Timeline
- AI Table
- AI List
- AI SWOT Analysis, PEST Analysis, and Lean Canvas
- AI User Profile
-
How to Make a Flowchart
-
How to make an Org Chart
-
How to make a Gantt Chart
-
How to Make a Mind Map
-
More examples
For Desktop
For Mobile
Steps to Make a Floor Plan
Designing a floor plan isn't complicated with the right tools and features. Creating one from scratch requires following several steps and instructions. In this guide, we'll walk you through step-by-step instructions on how to create a floor plan in EdrawMax, enabling you to design with confidence and precision.
Step ❶ Create an Account and Open a Blank Canvas
- Download EdrawMax desktop version and sign up with your email address (can also use online version)
- After logging in, click on the New button in the top left corner
- Select a floor plan template to open a blank canvas
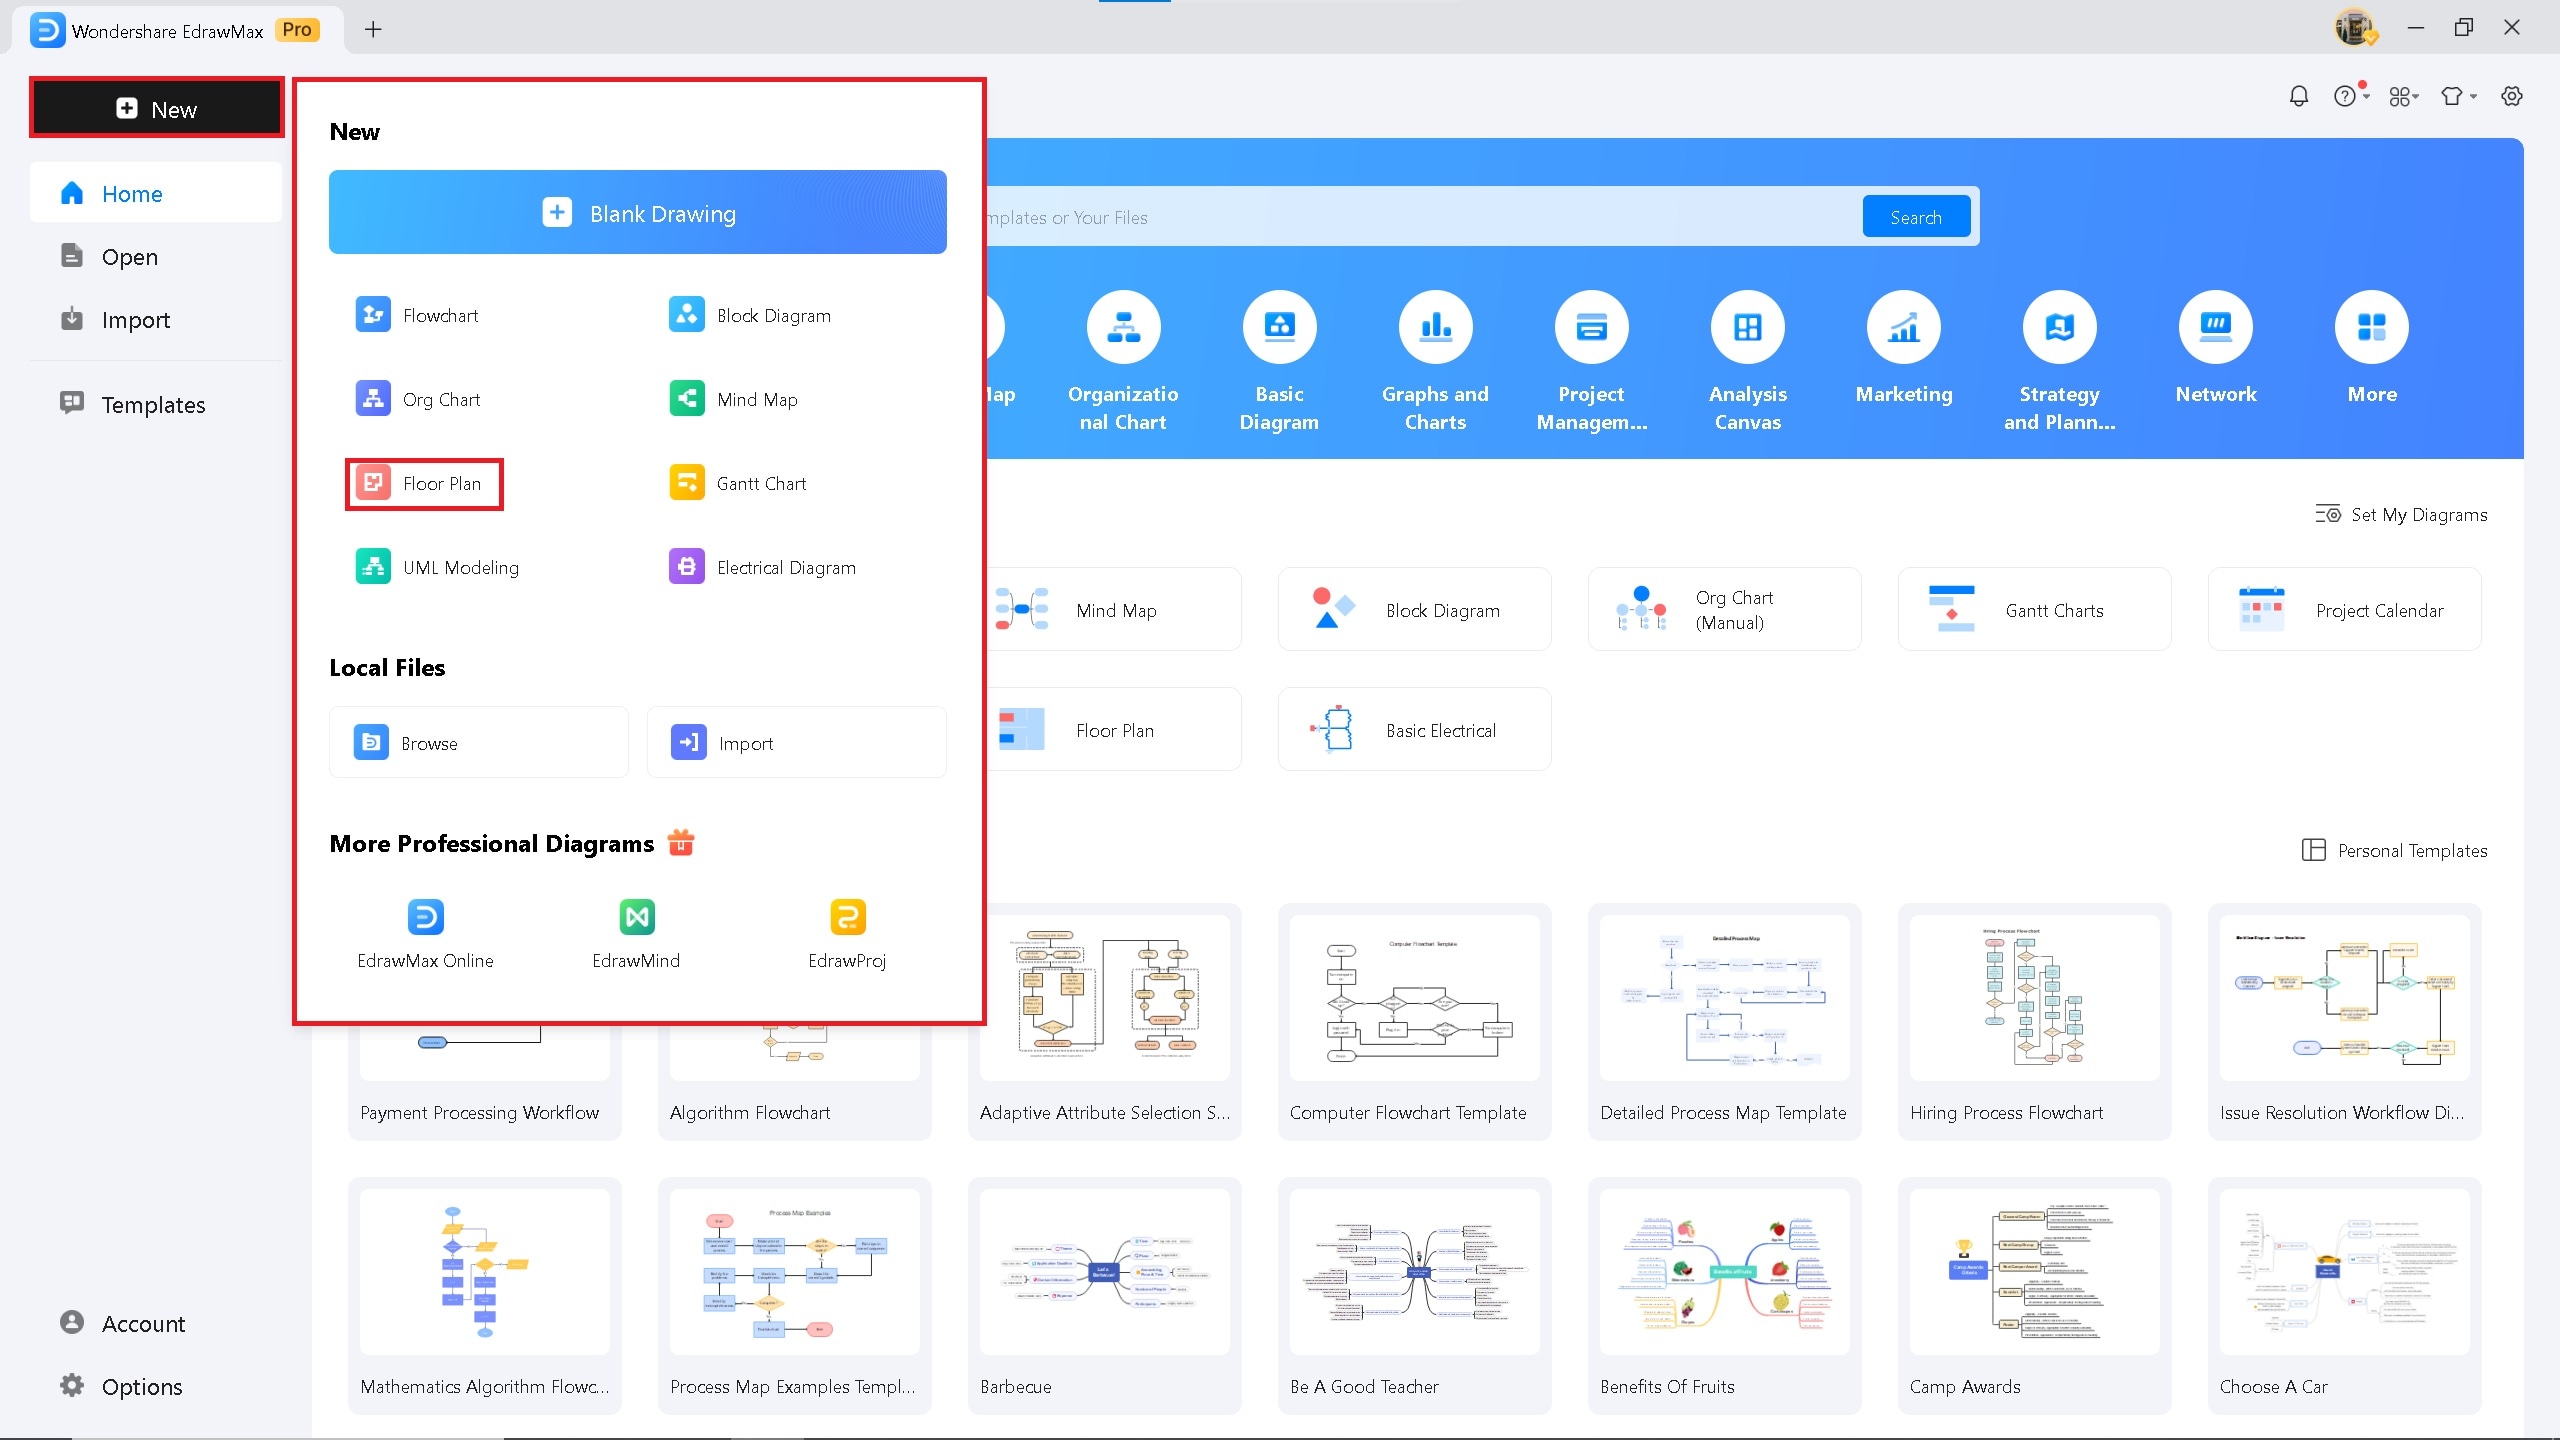
New button on EdrawMax
Step ❷ Start by Drawing Exterior Walls
- On the left panel, click on "Wall, Shell, and Structure" symbol library
- Select the first wall option and drag it into the canvas
- Expand from the corner and right-click > Fit To Drawing
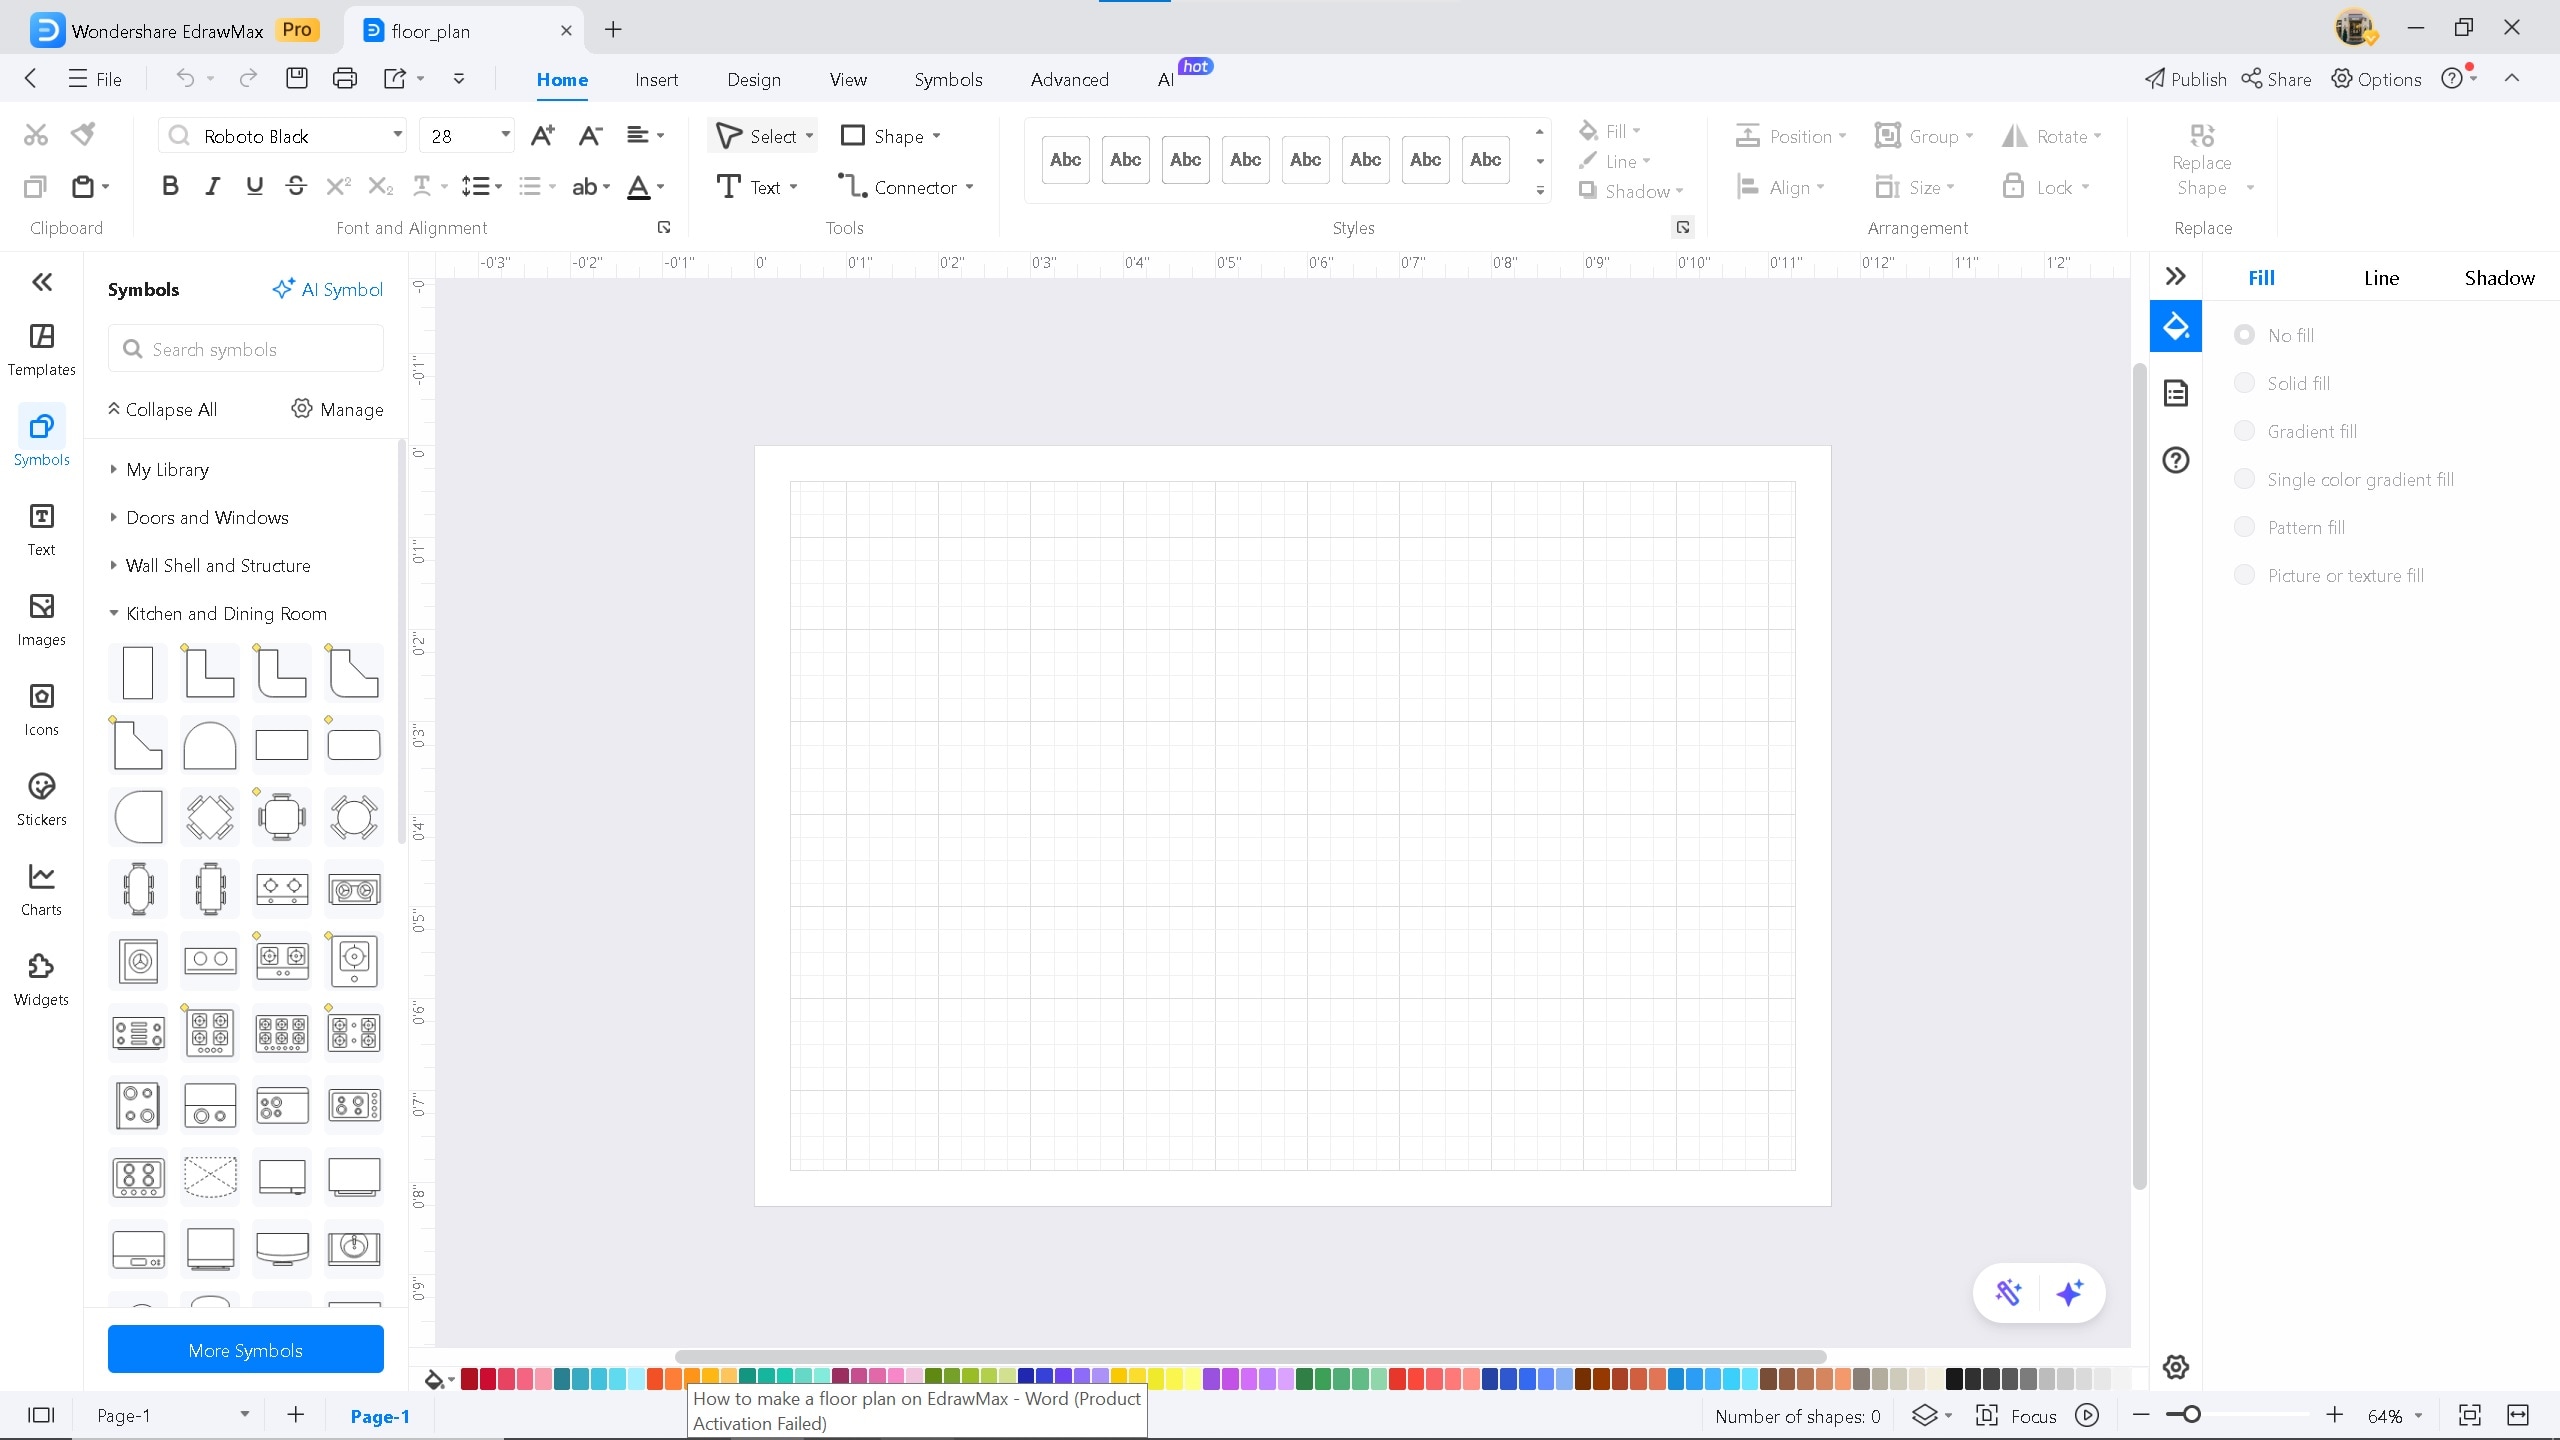
Blank canvas on EdrawMax
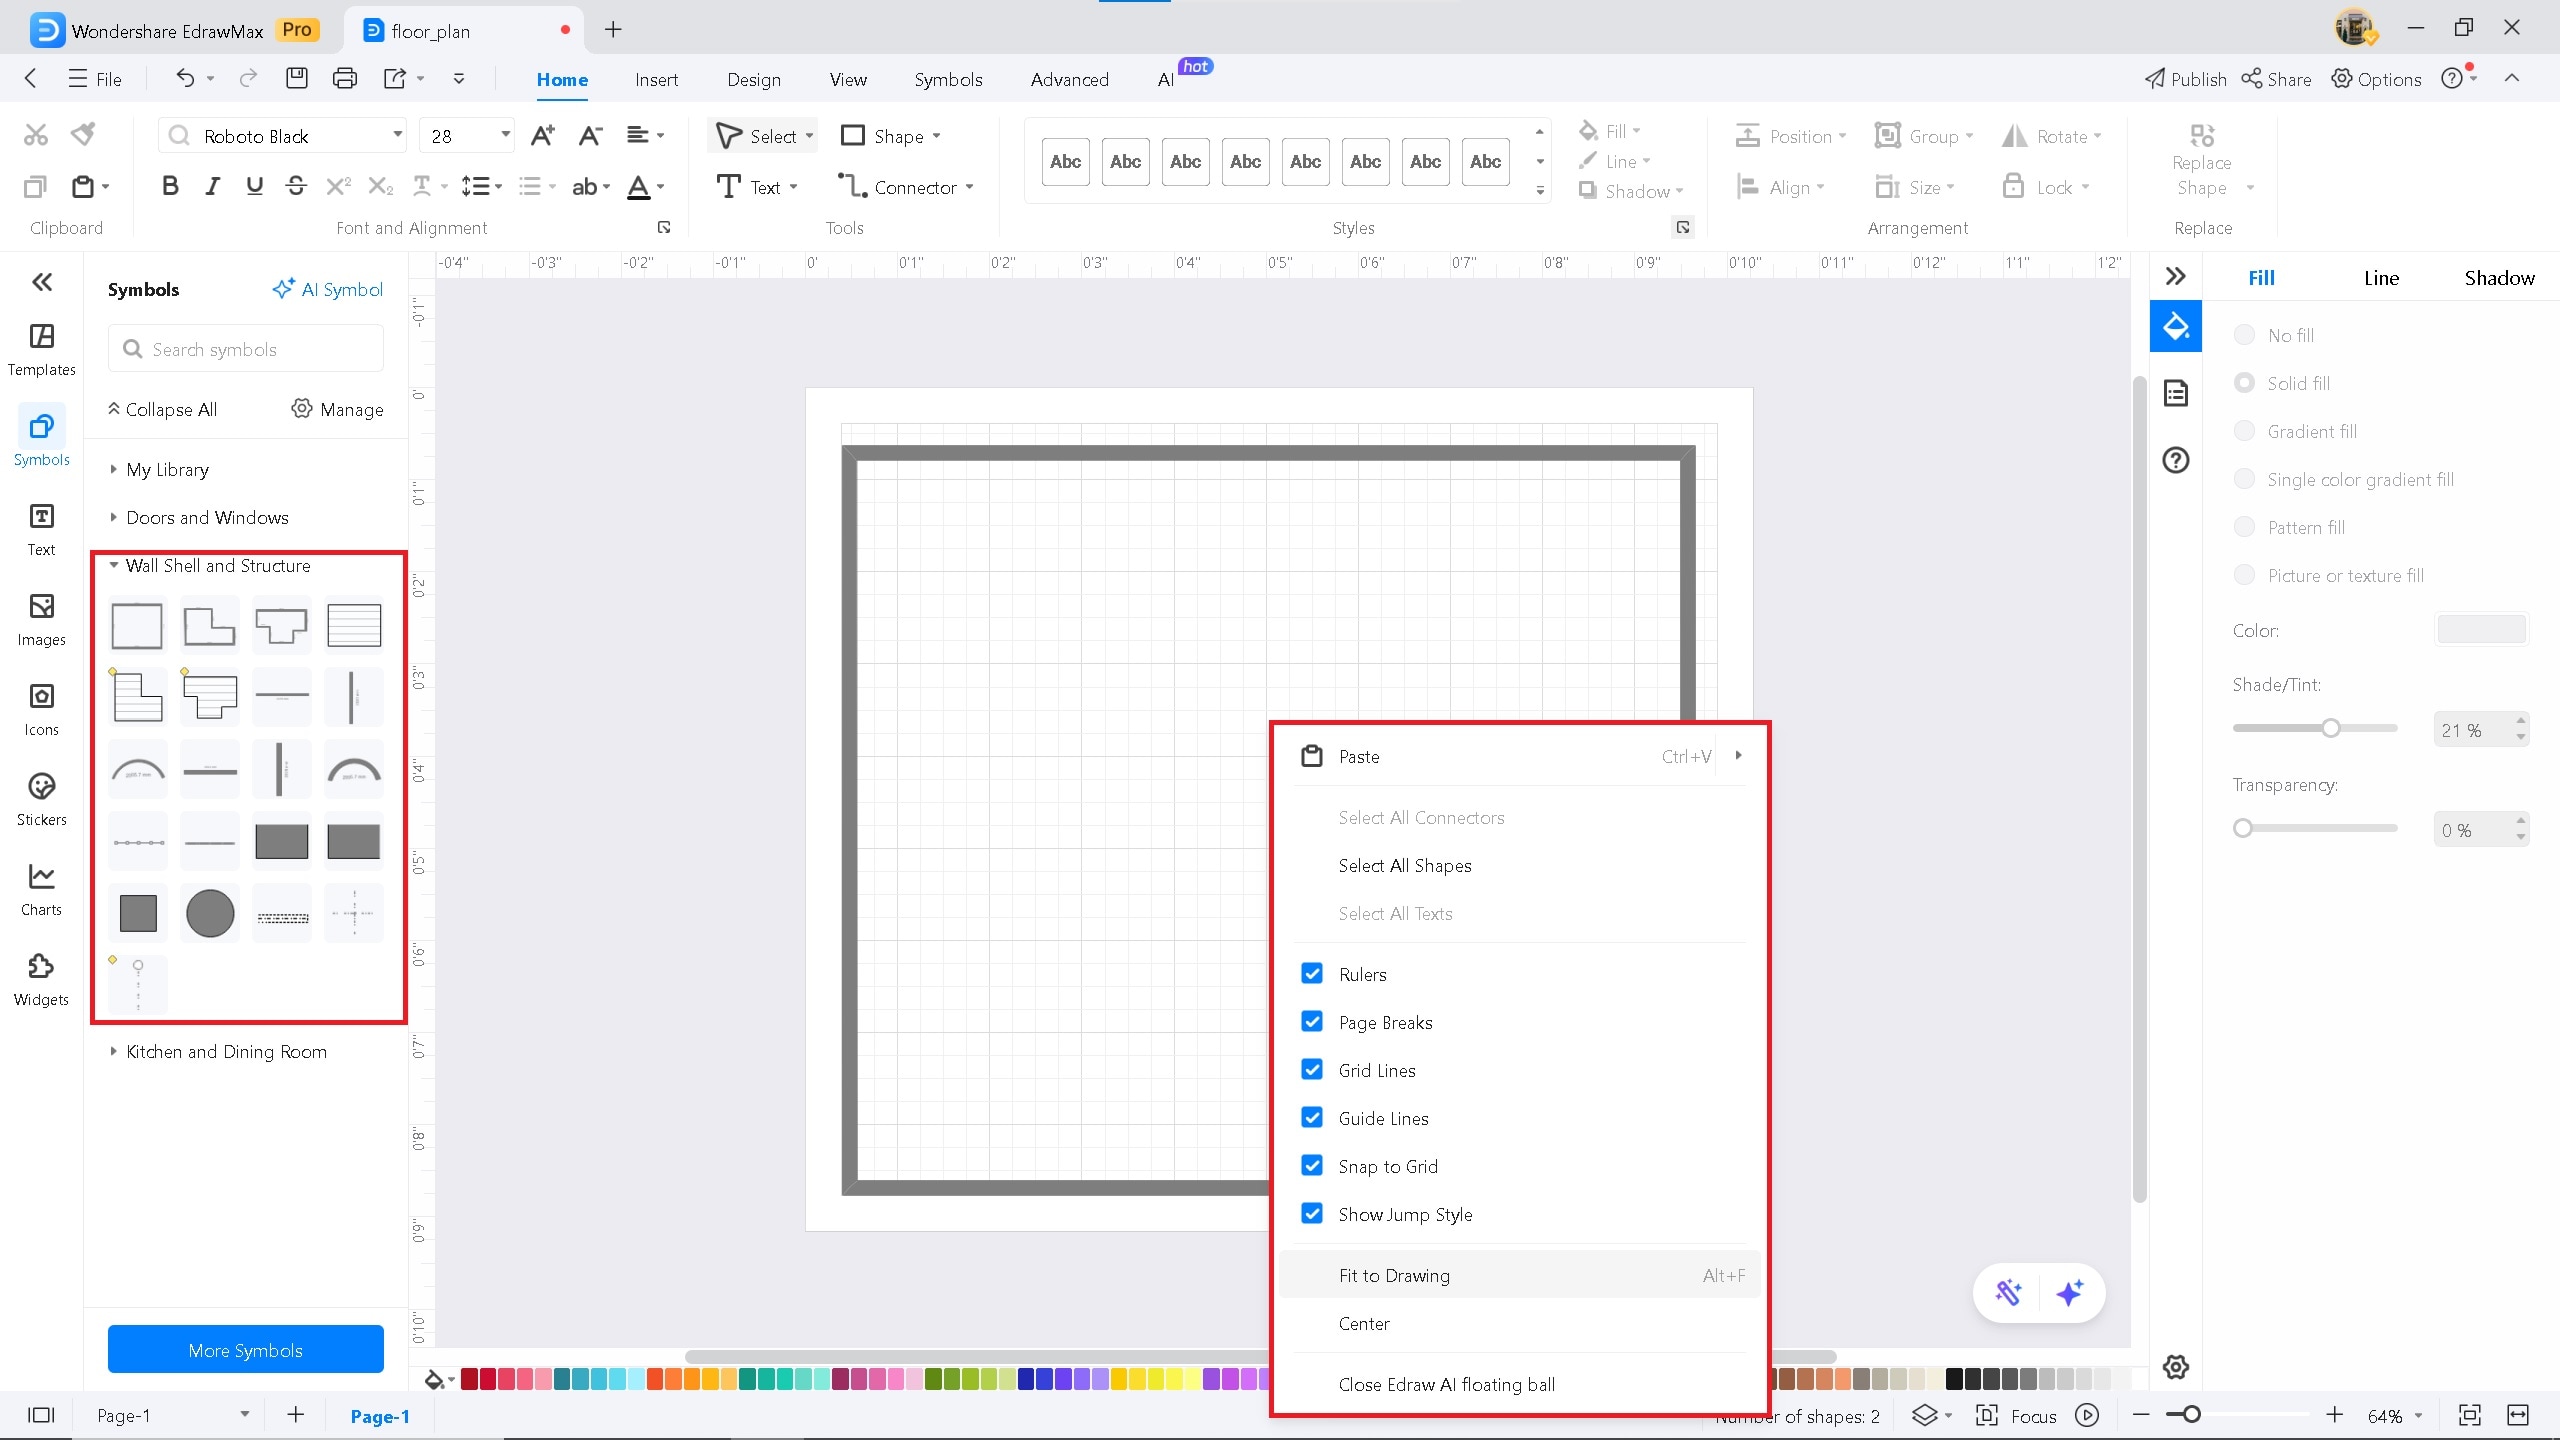
Adding exterior walls
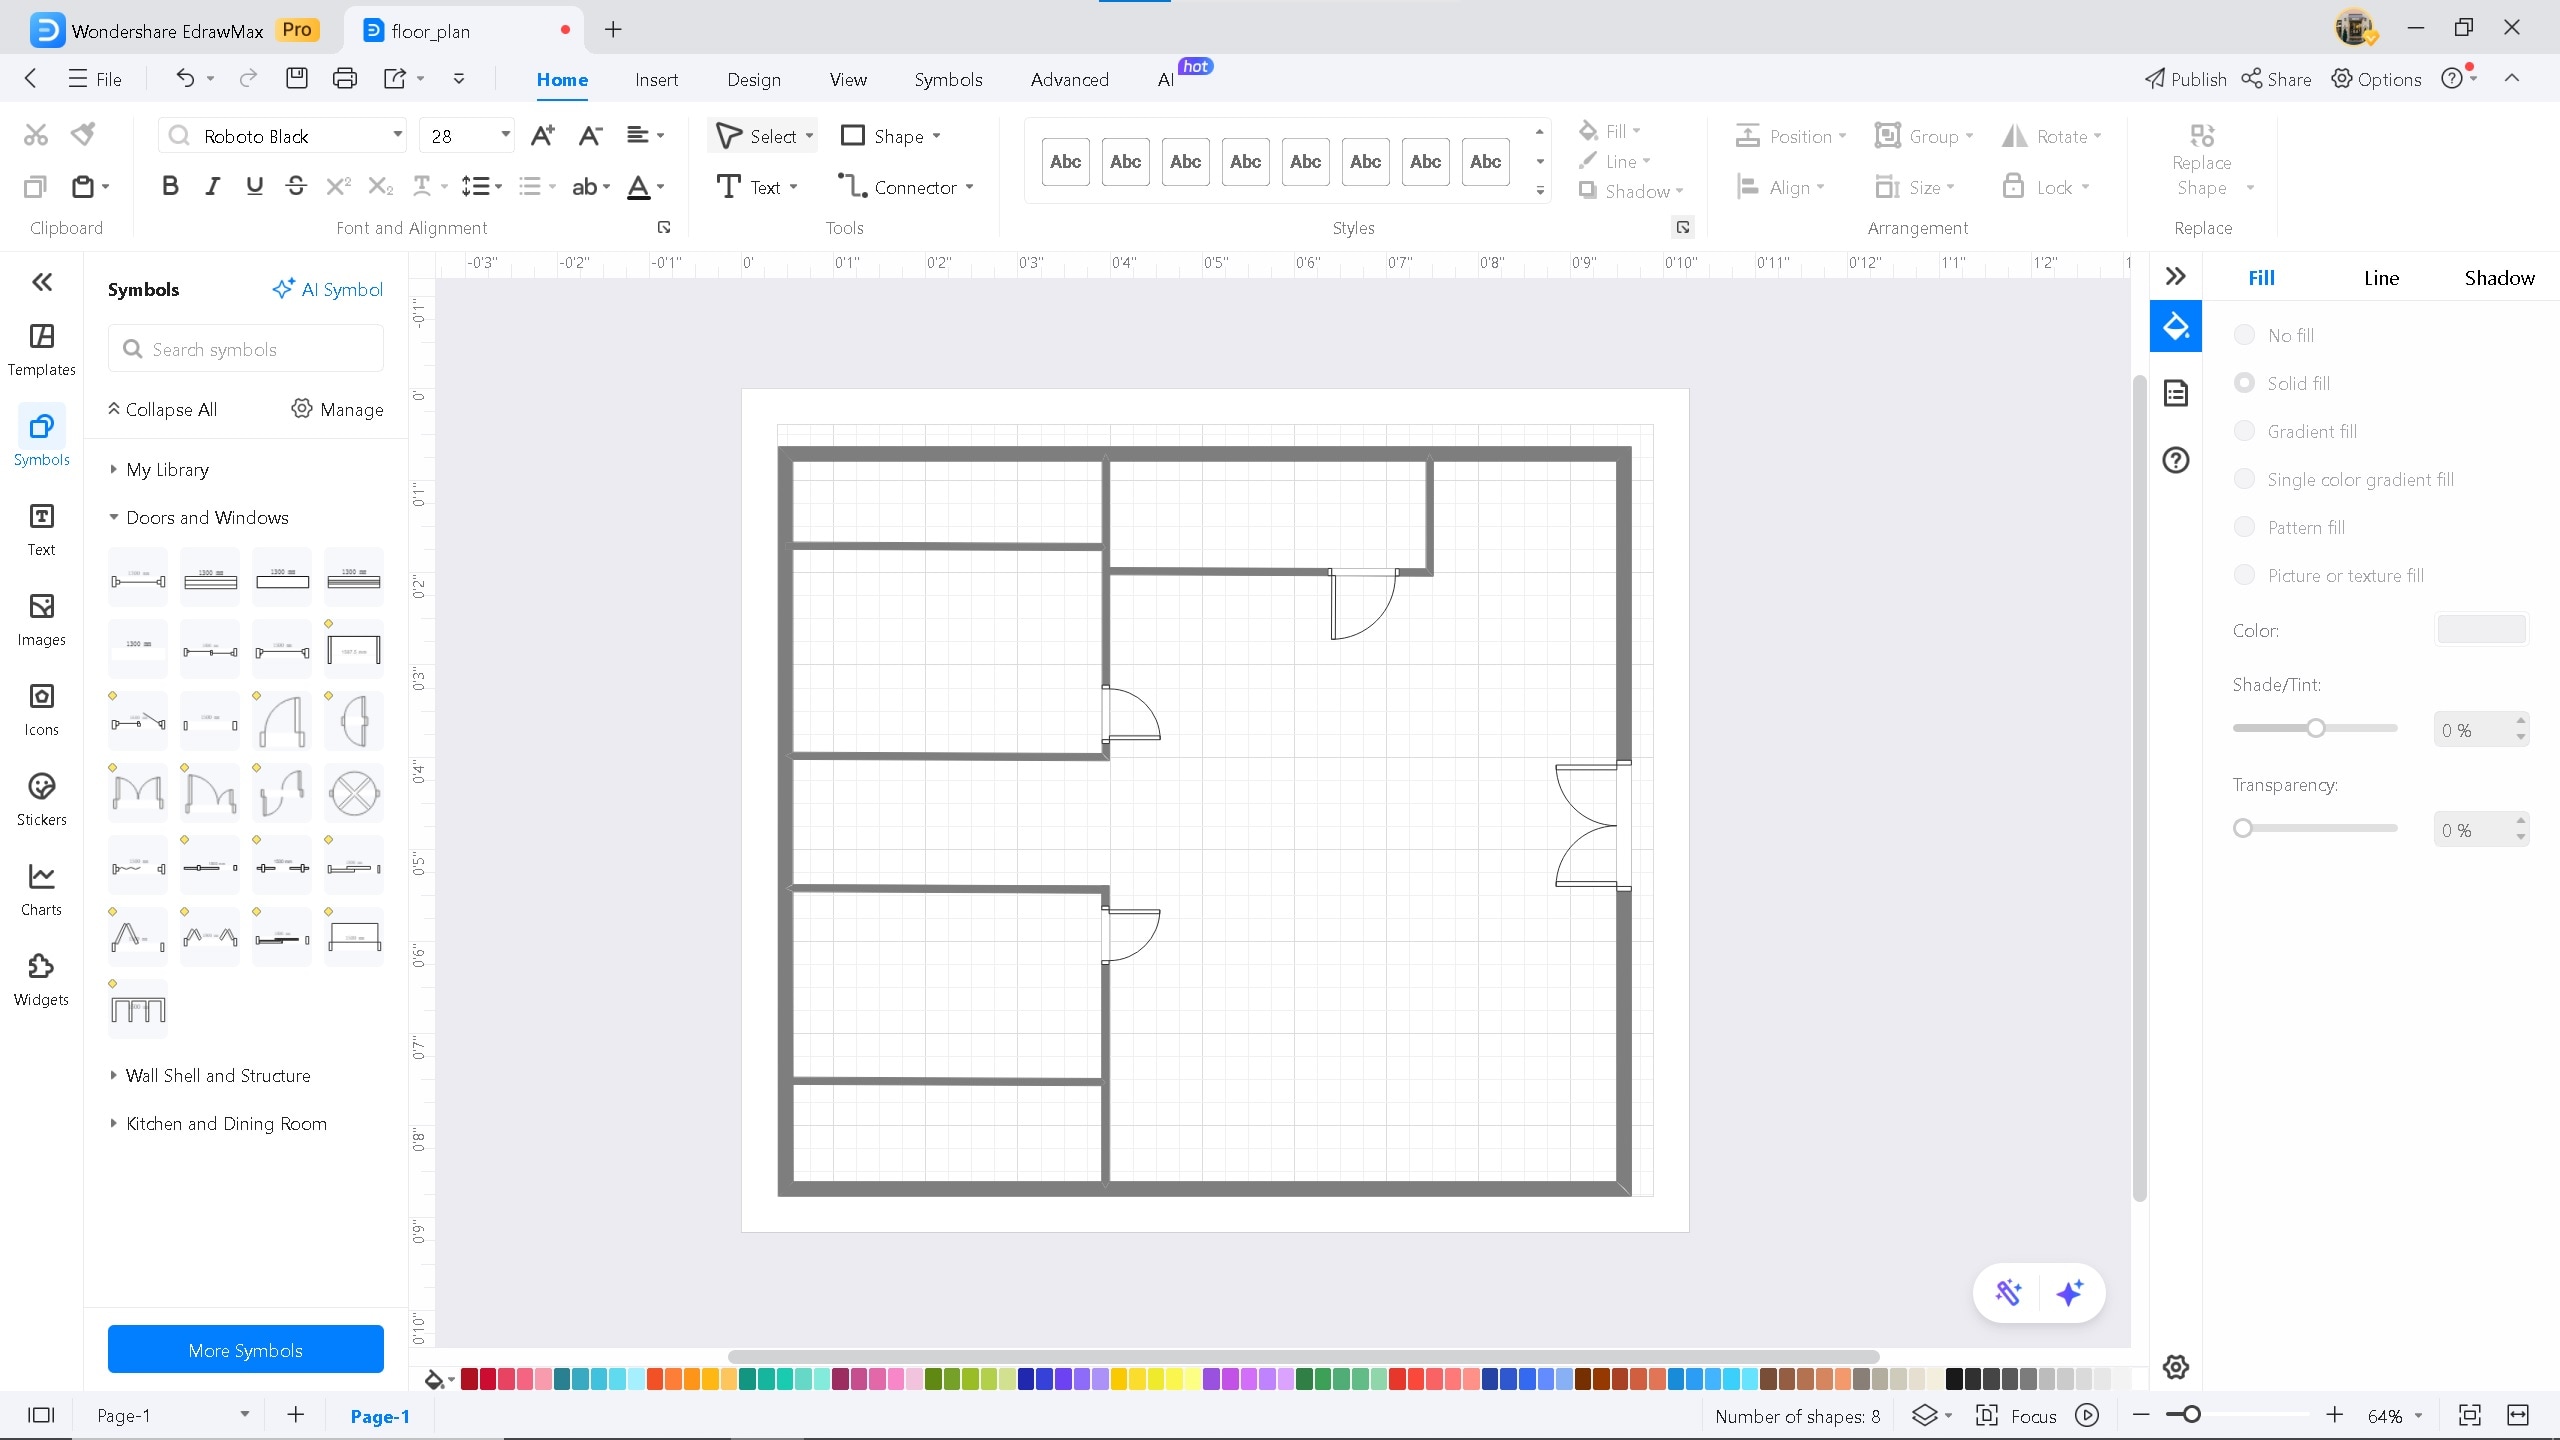
Step ❸ Add Rooms & Other Interior Walls
- From the same library, select horizontal/vertical walls for interior walls
- Example layout: two bedrooms with bathrooms, open kitchen, living room, dining area
Pro tip:
Design bedrooms at the end of the floor plan for better privacy.
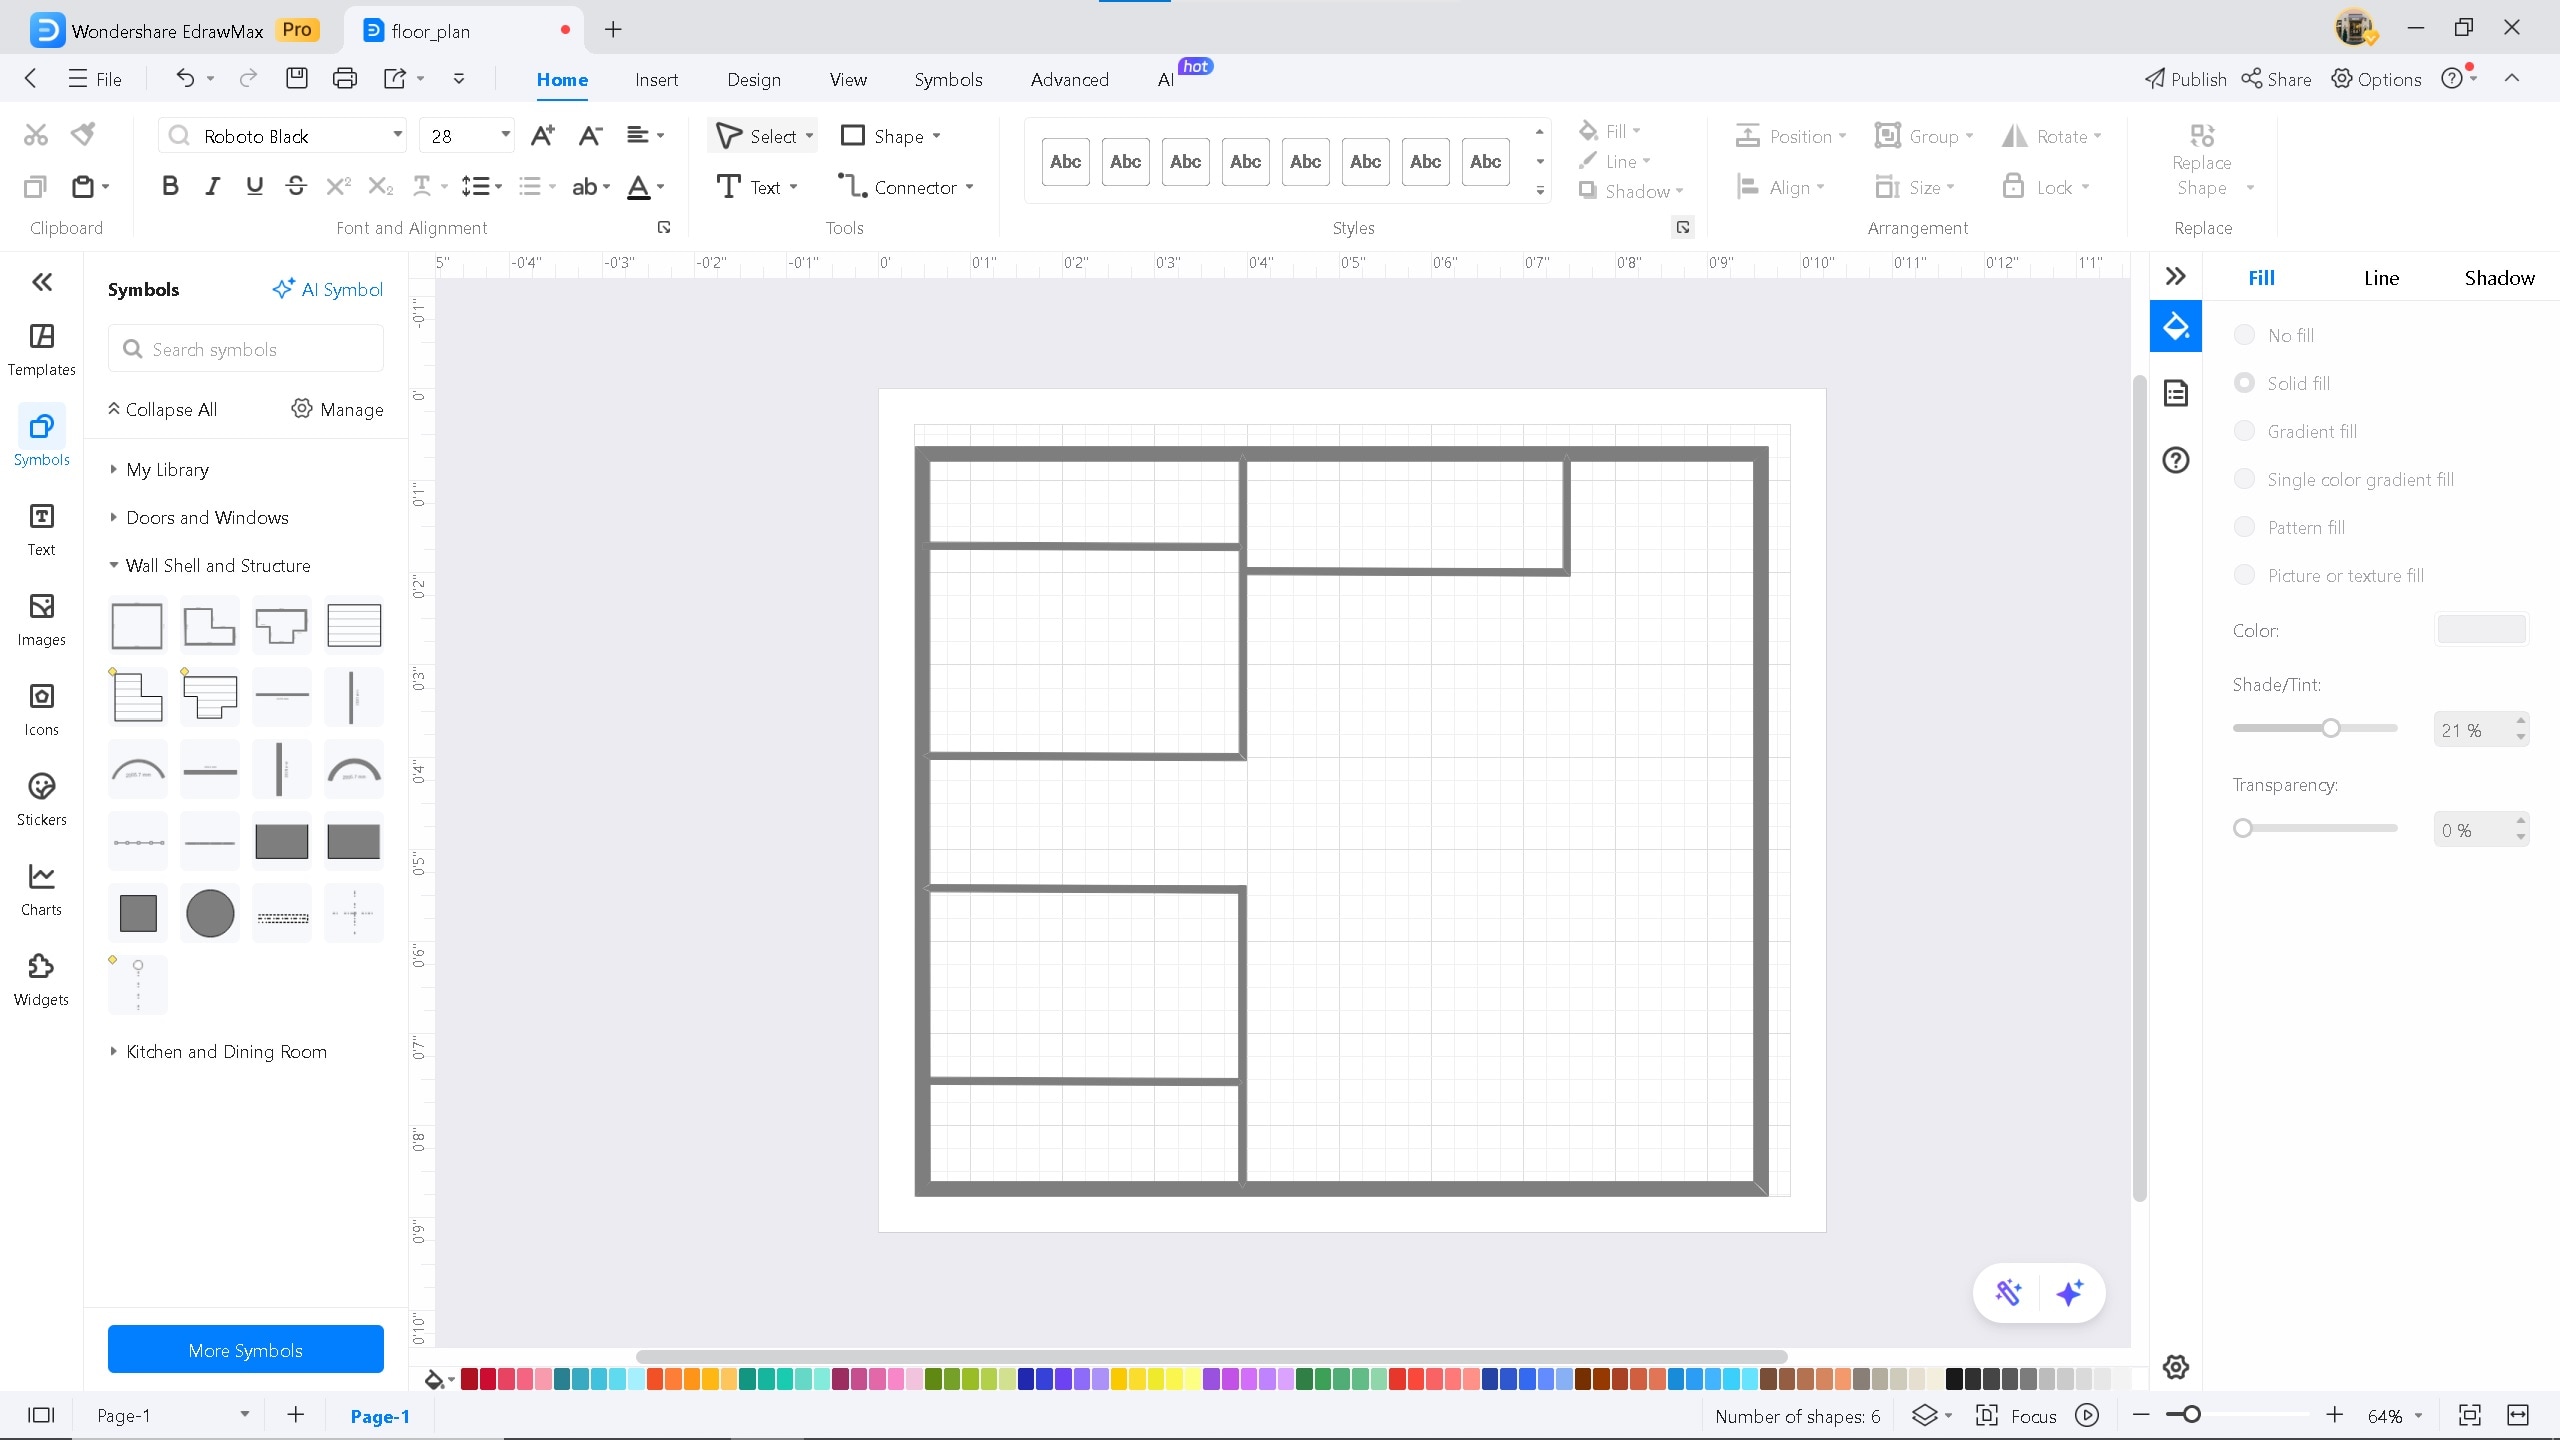
Adding interior walls
Step ❹ Add Doors and Windows
- Click on the Door and Windows symbol library
- Use single doors for rooms and double doors for entry points
- Add windows to exterior walls for ventilation
Door options
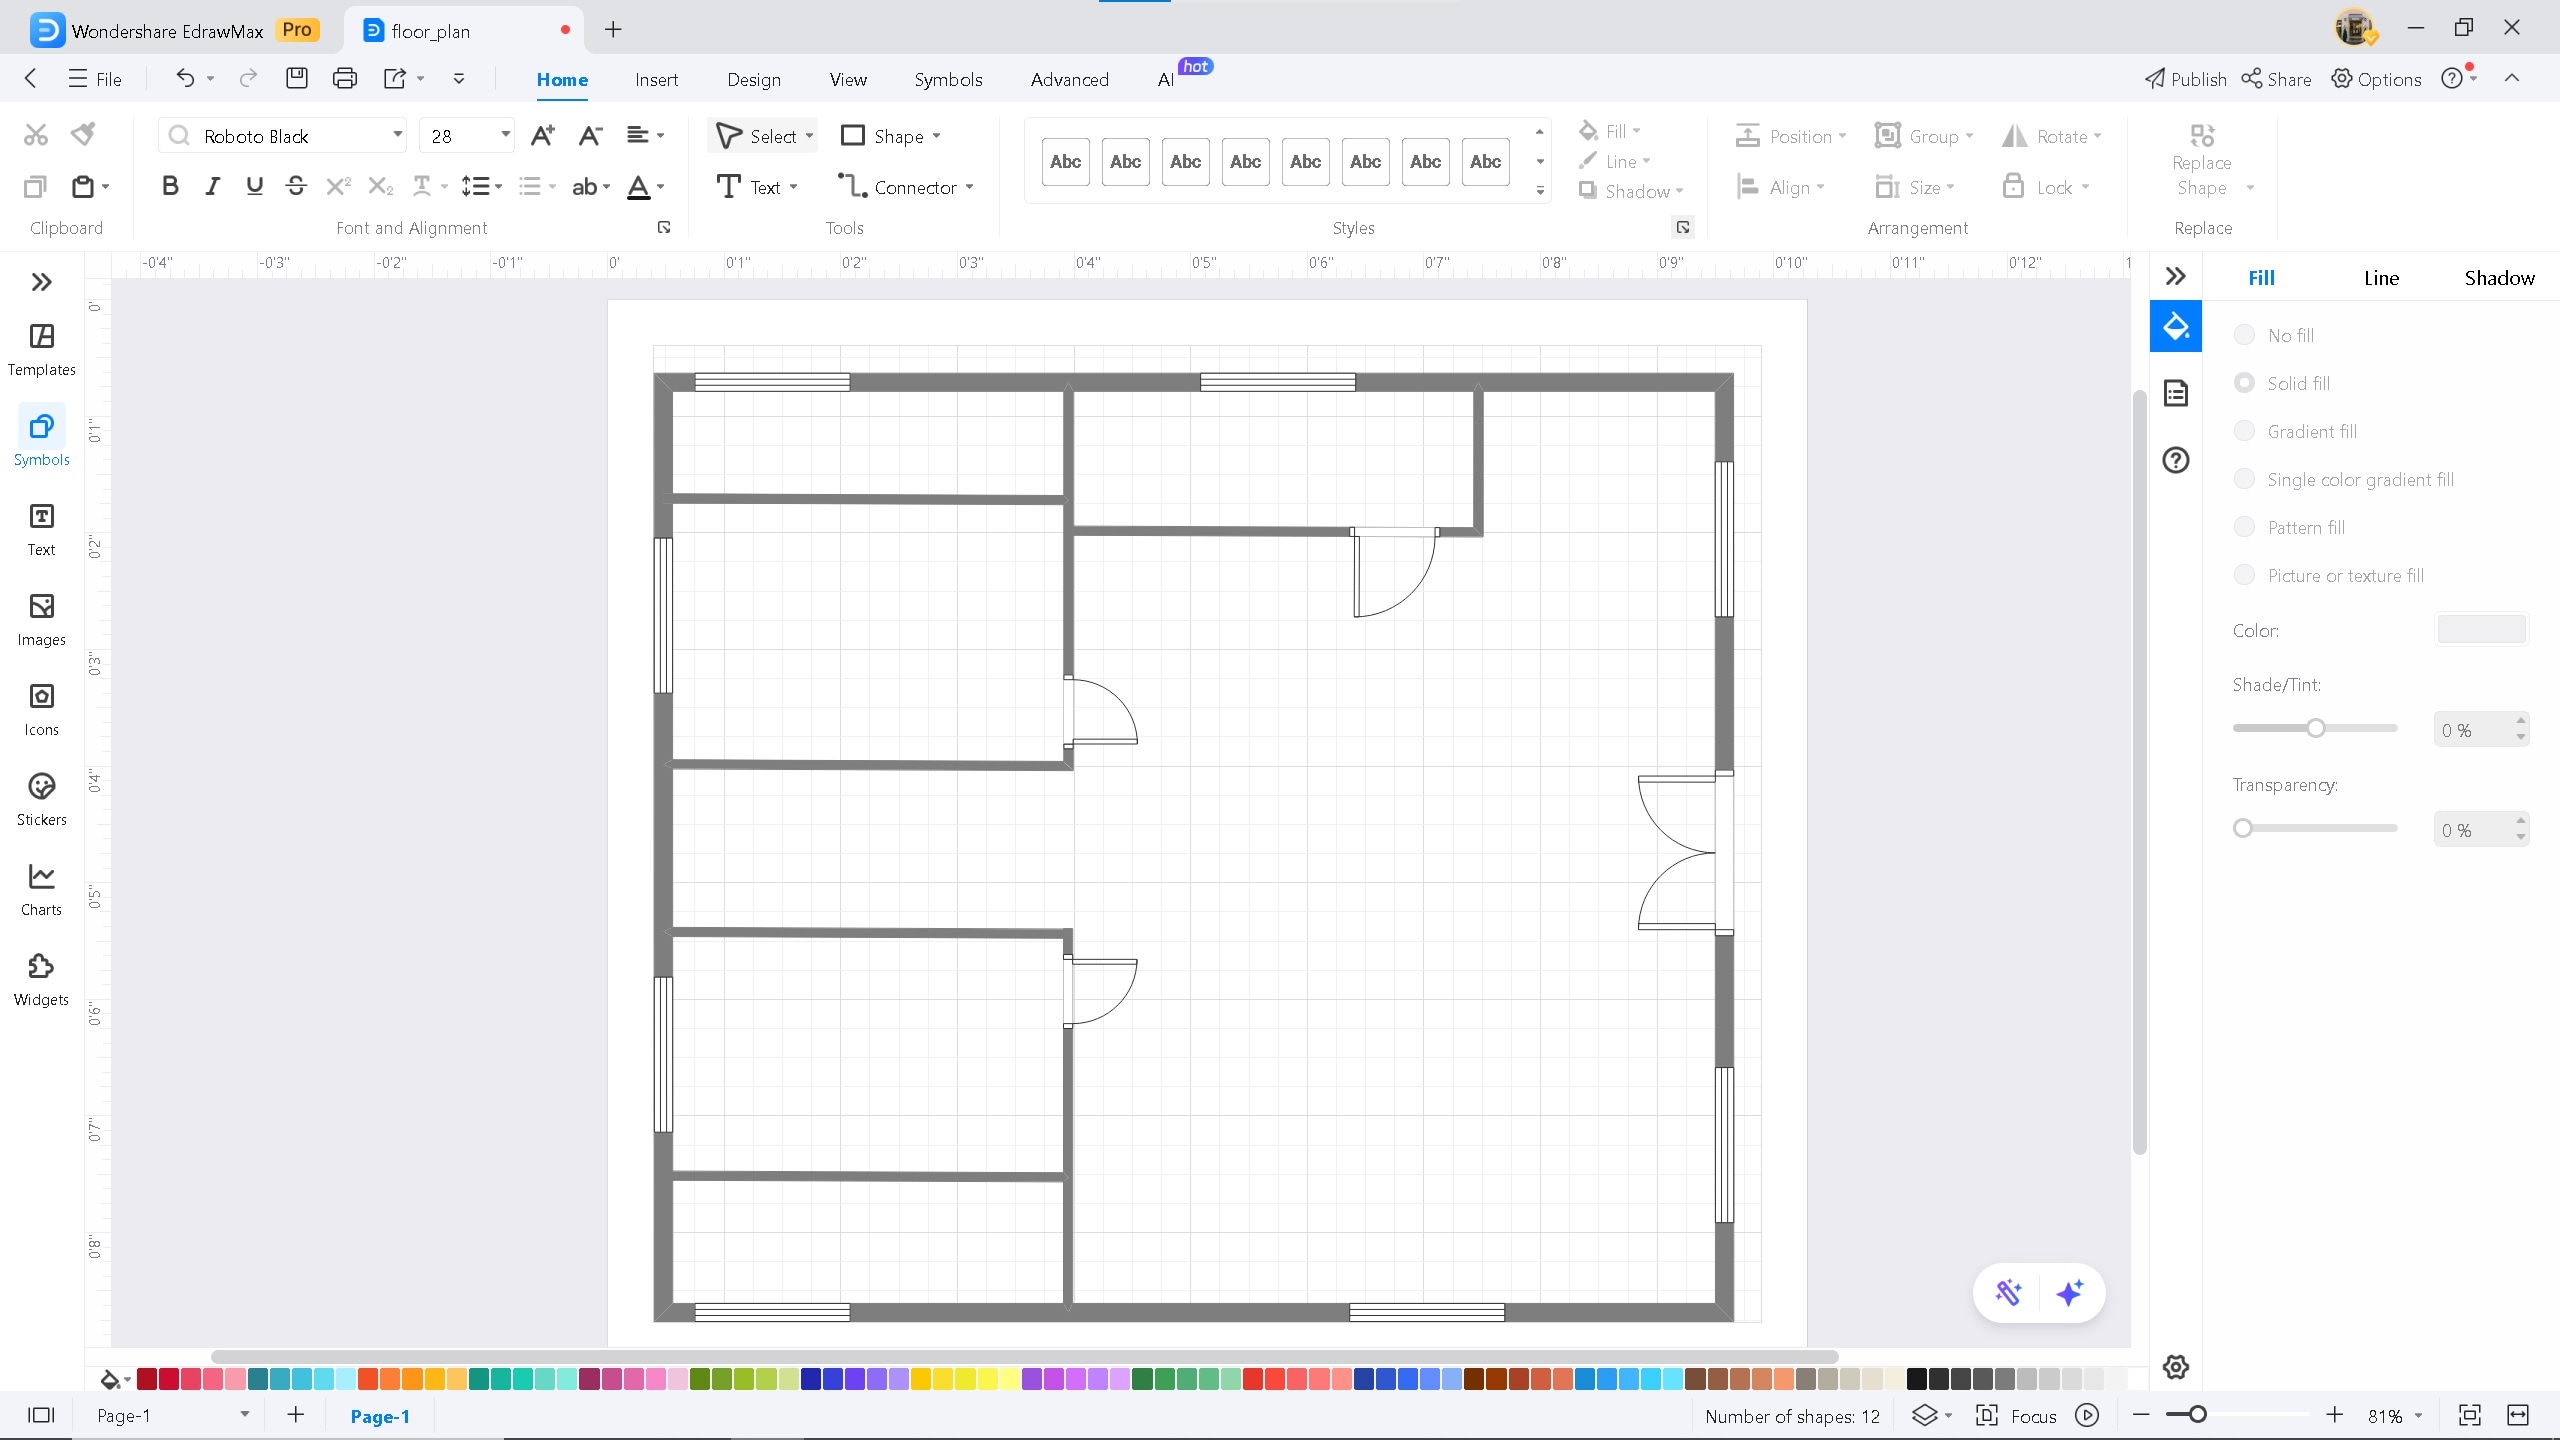
Window placement
Step ❺ Add Furniture and Other Symbols
- Click More Symbols > Floor Plan to enable additional symbols
- Select relevant categories (bathroom, bedroom, kitchen, furniture etc.)
- Drag and drop symbols according to your design
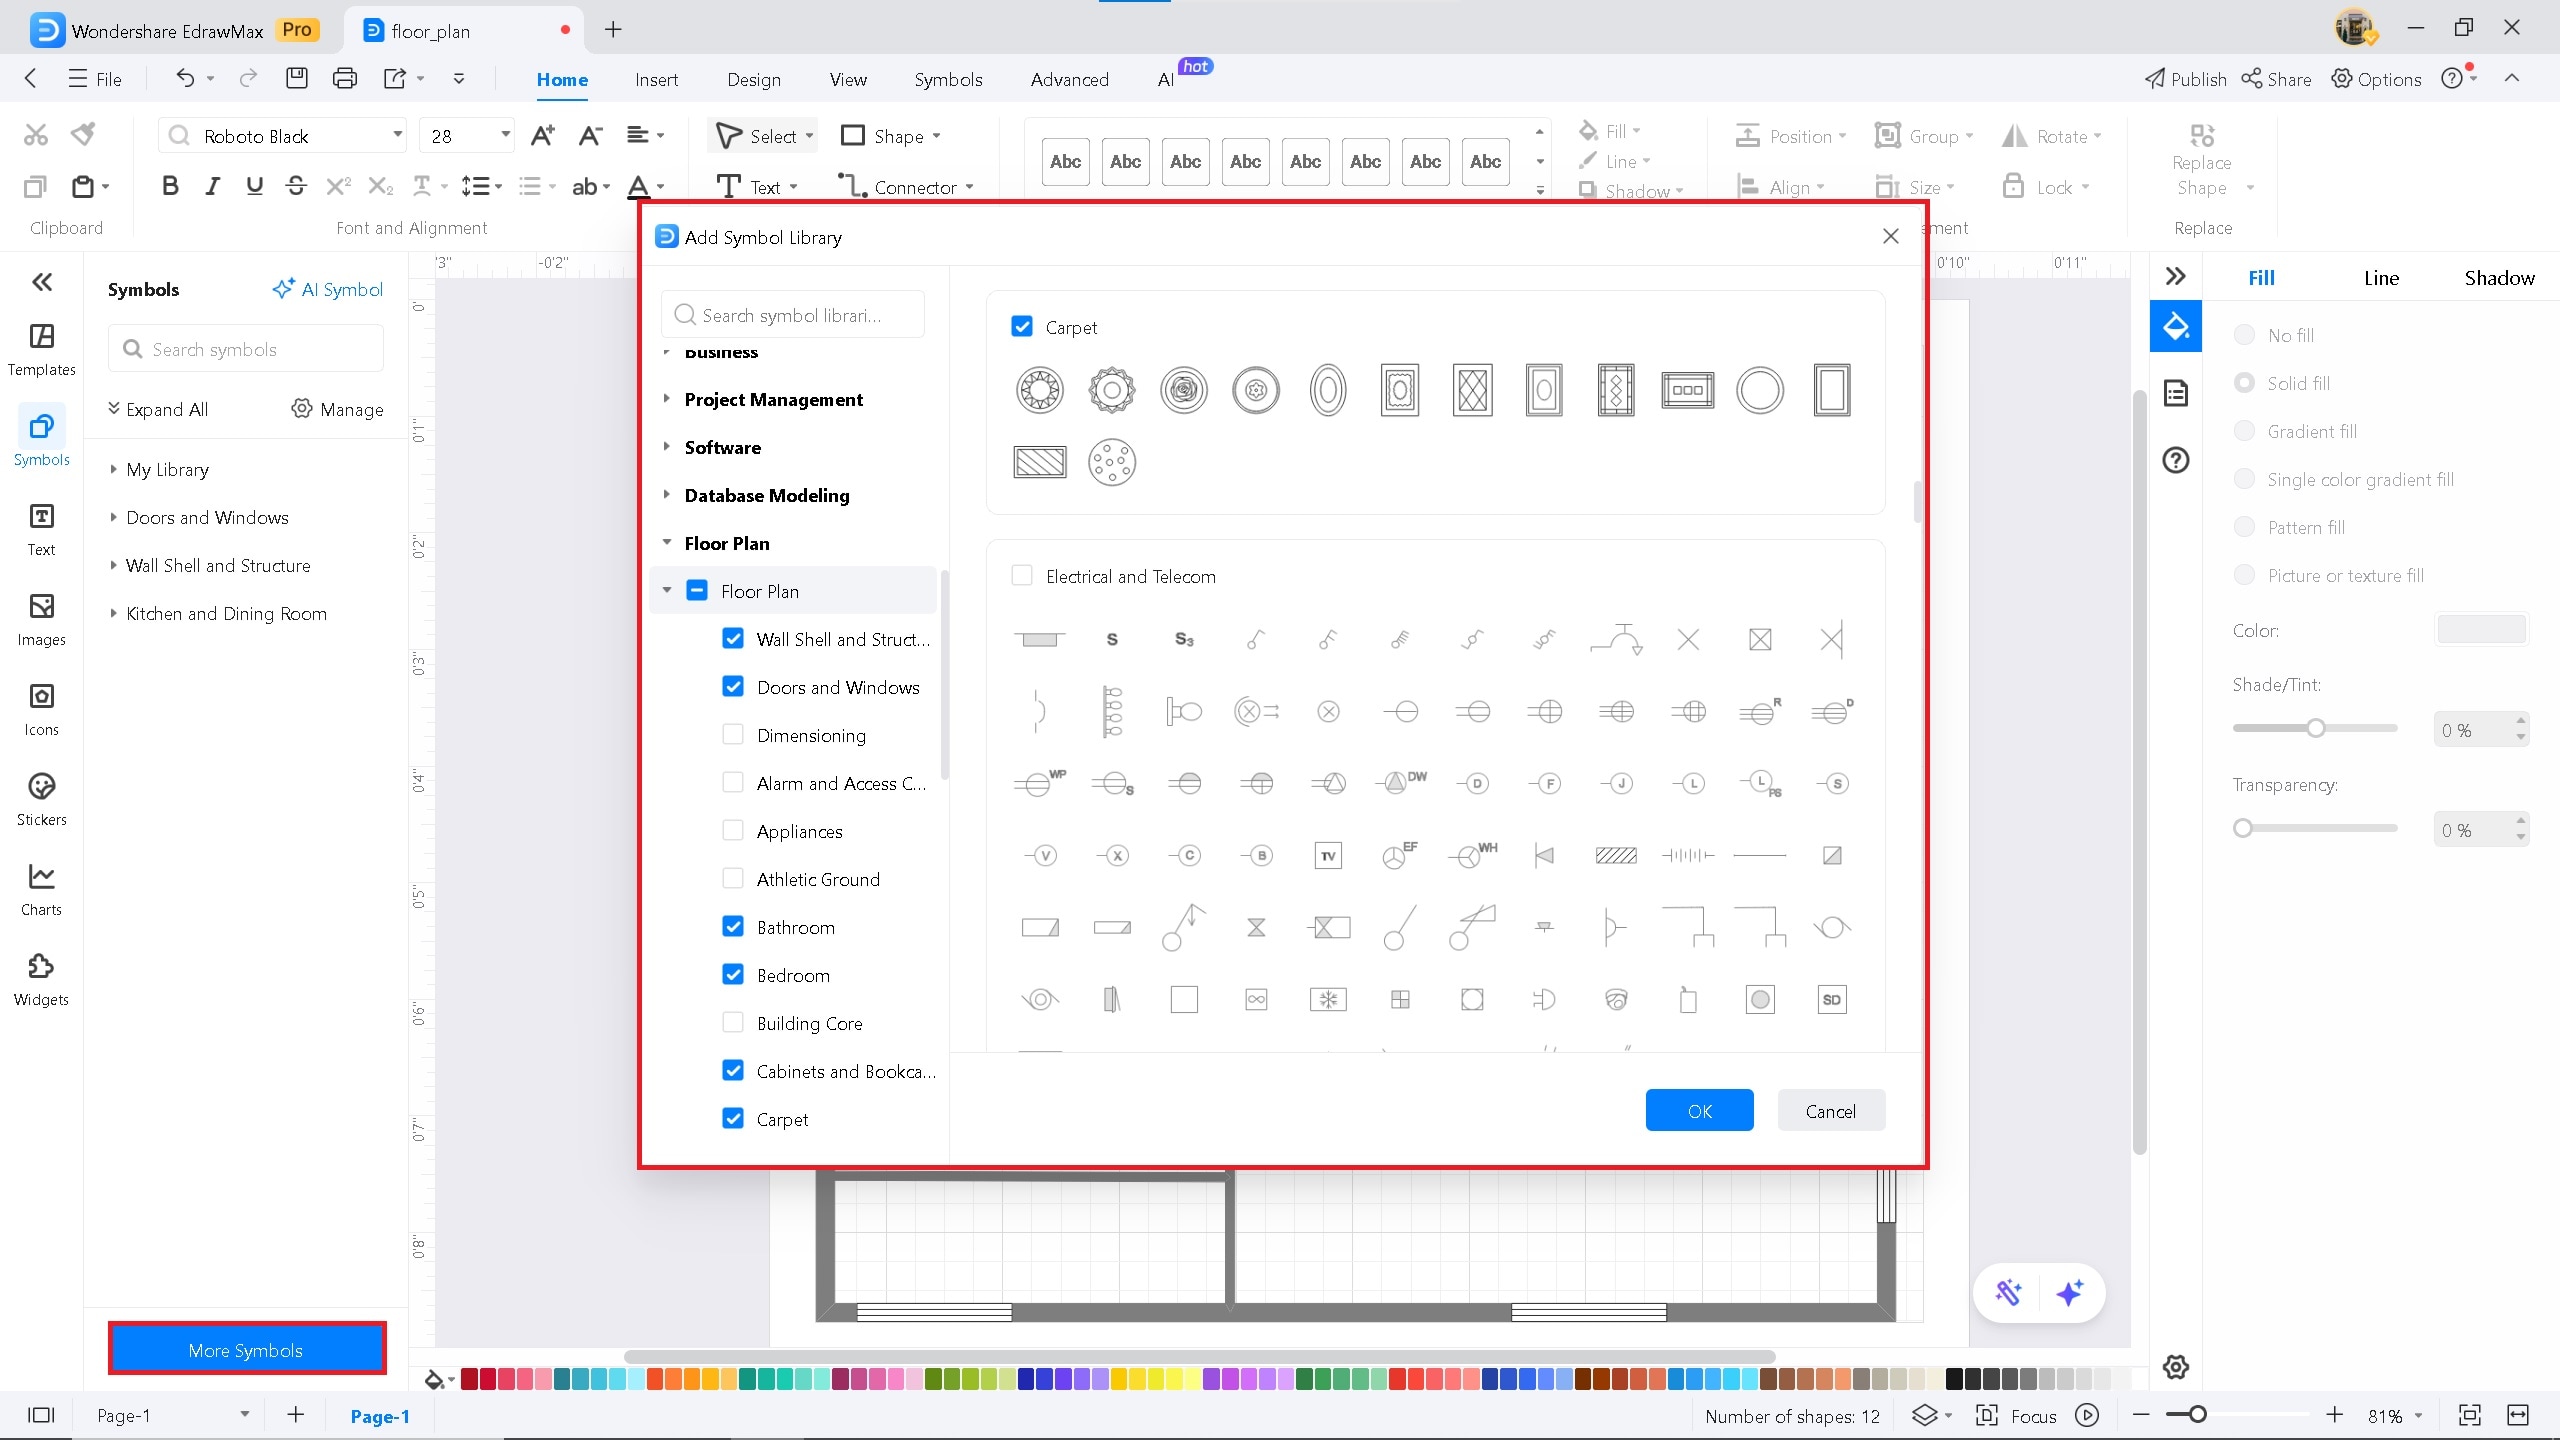
Symbol library
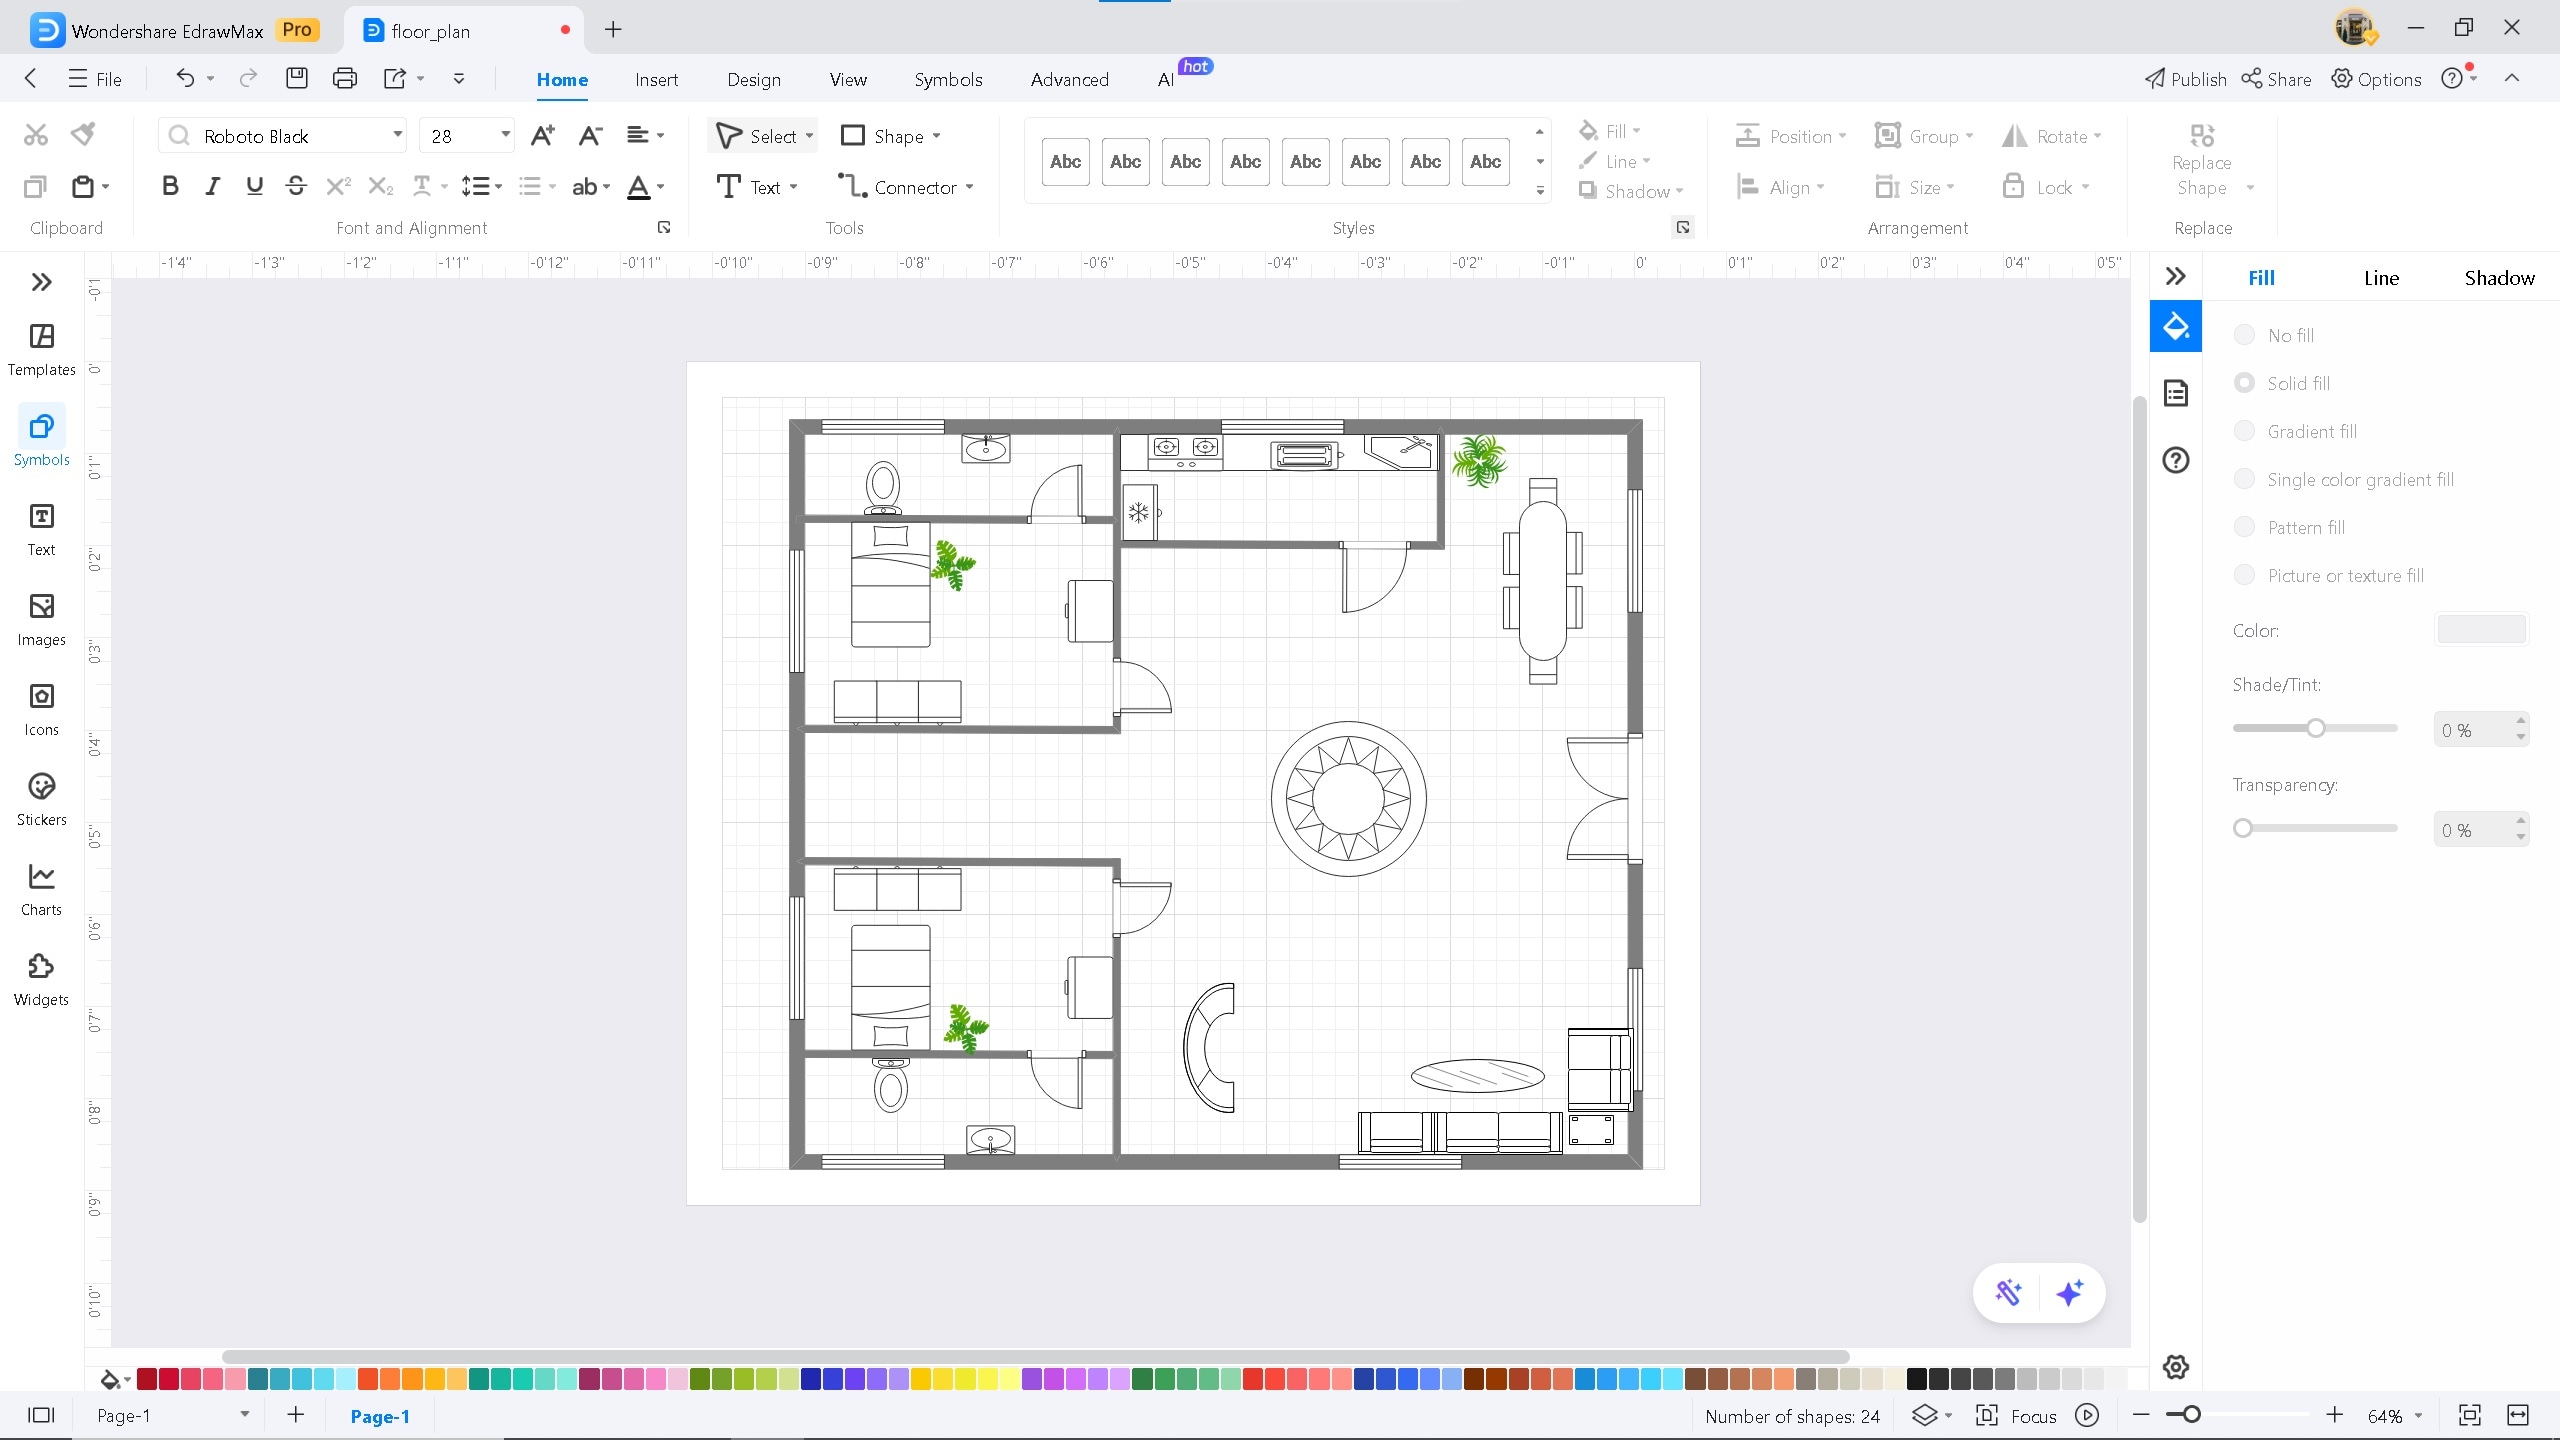
Adding furniture
Step ❻ Add Labels For The Rooms
- Click the Text icon on the toolbar
- Add descriptive labels for each room/area
- Helps architects and designers understand the layout

Room labeling
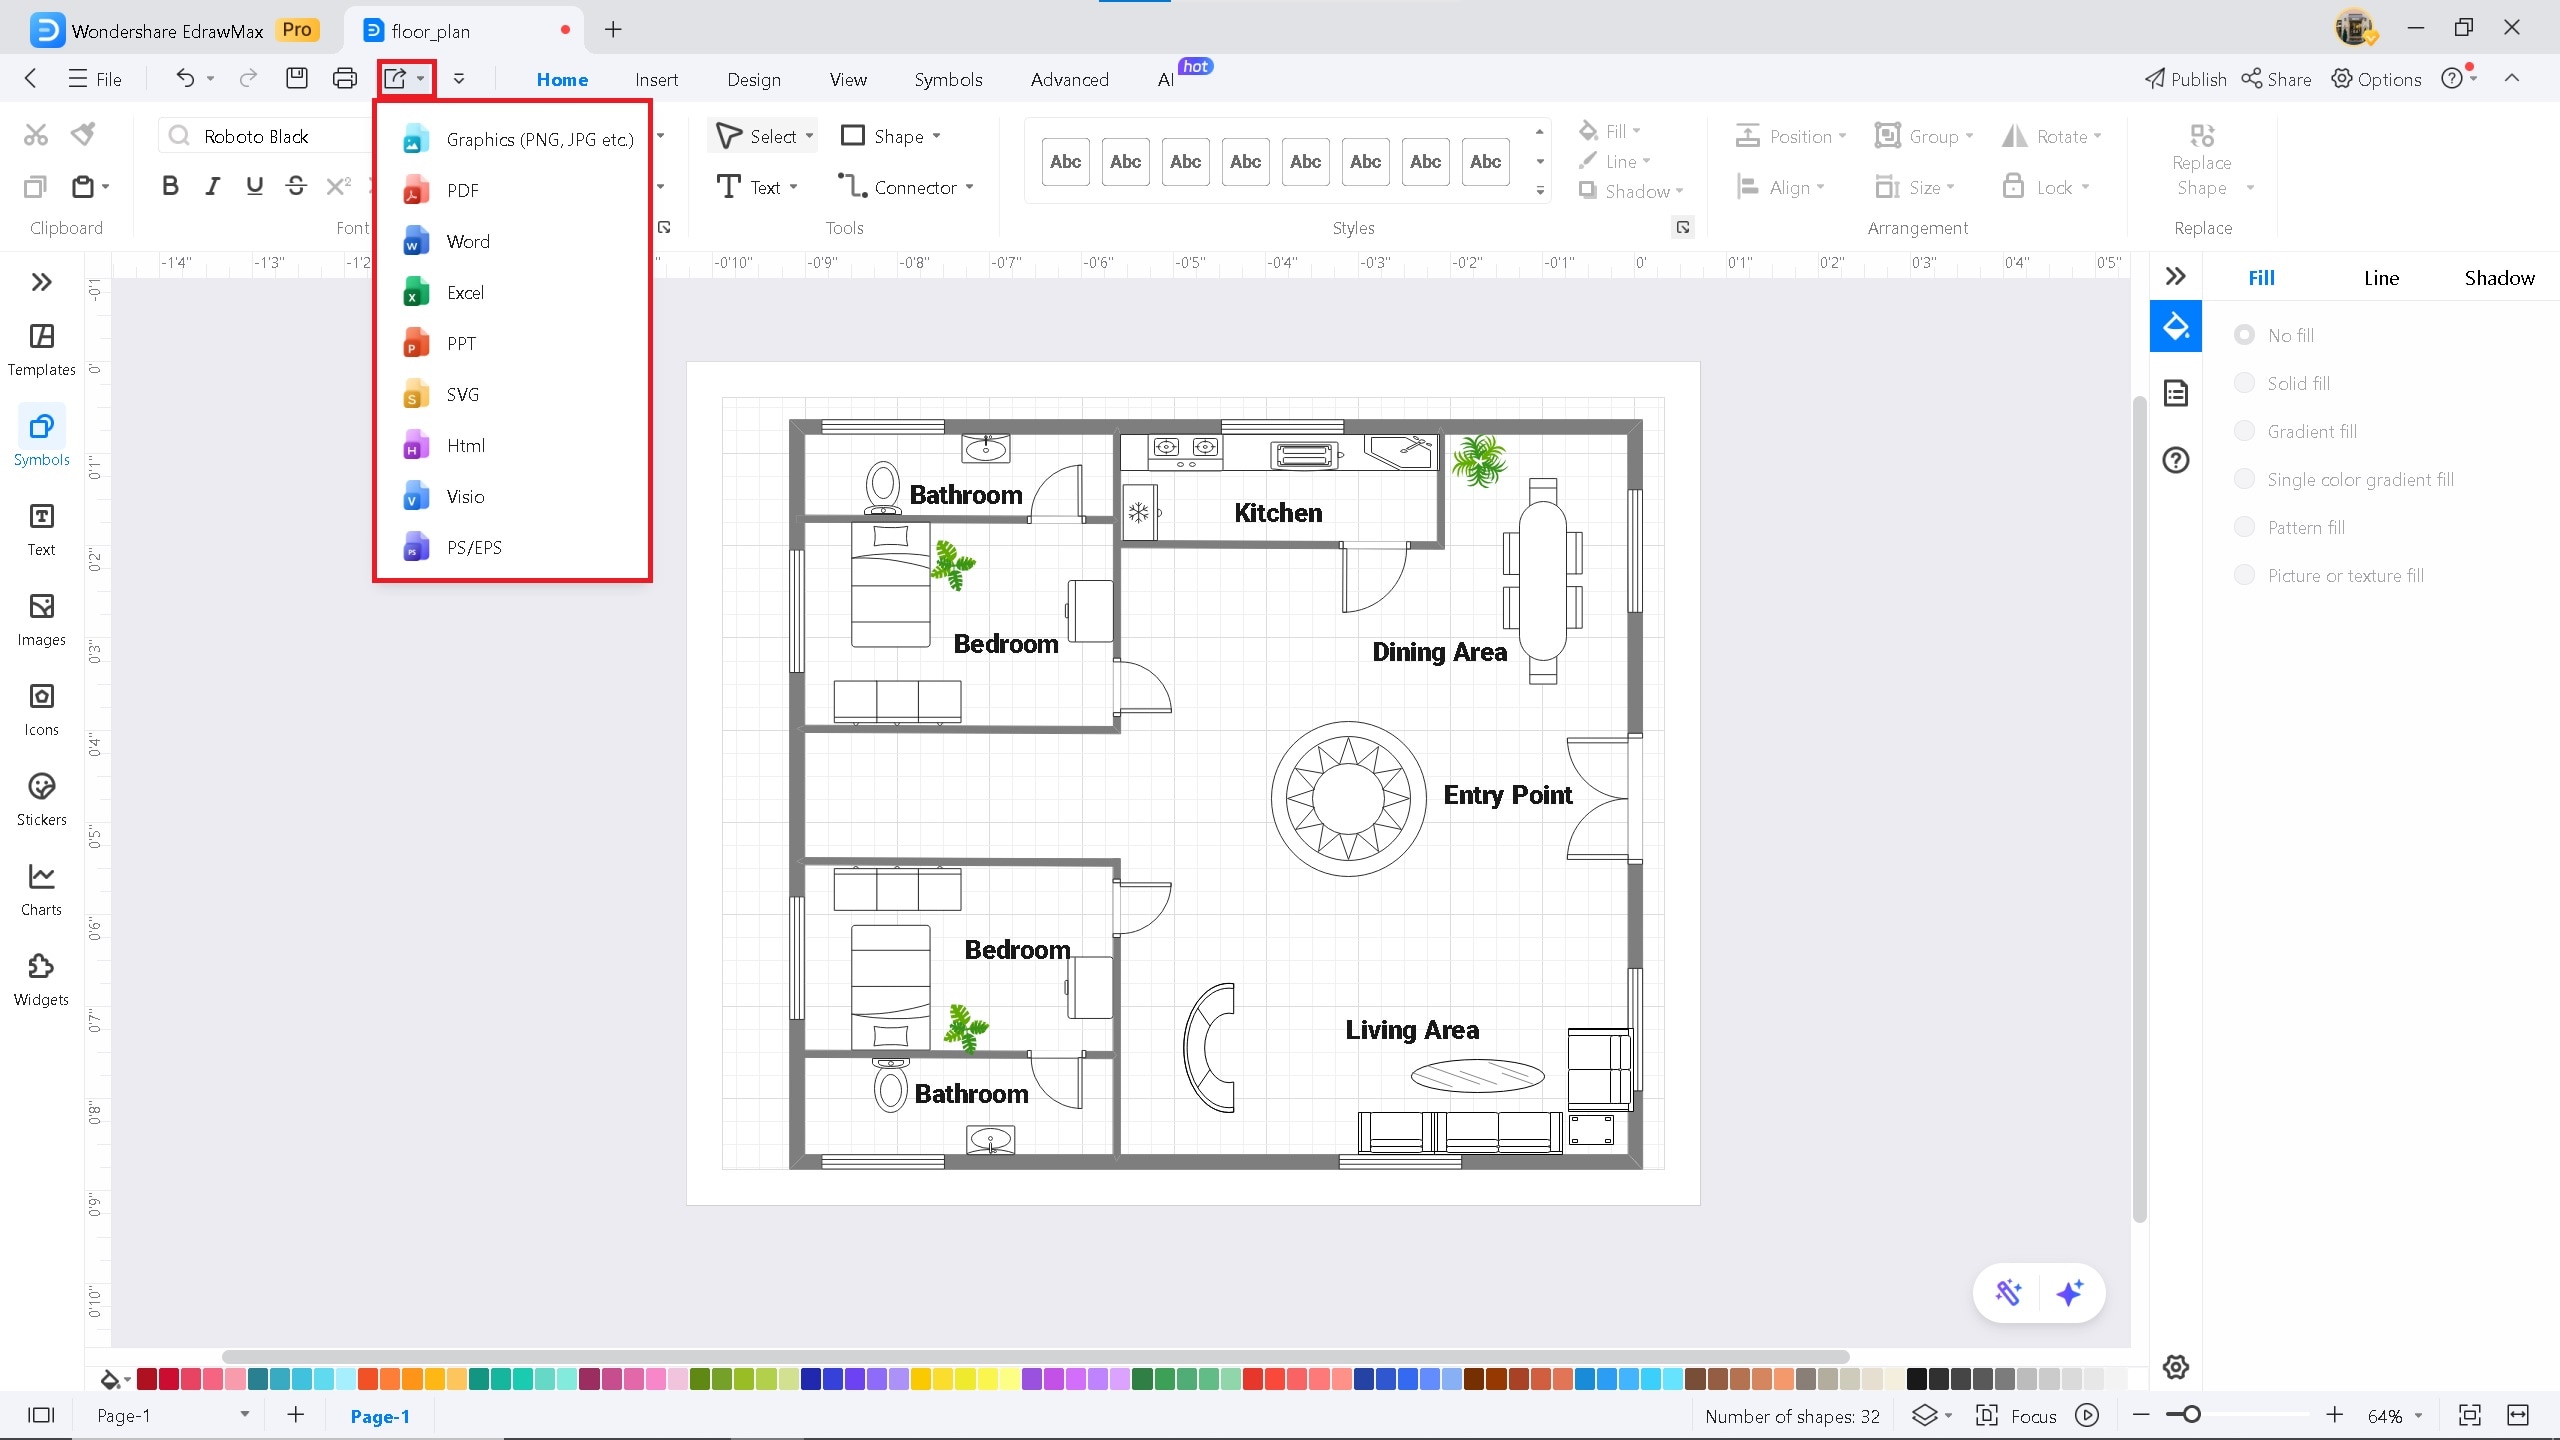
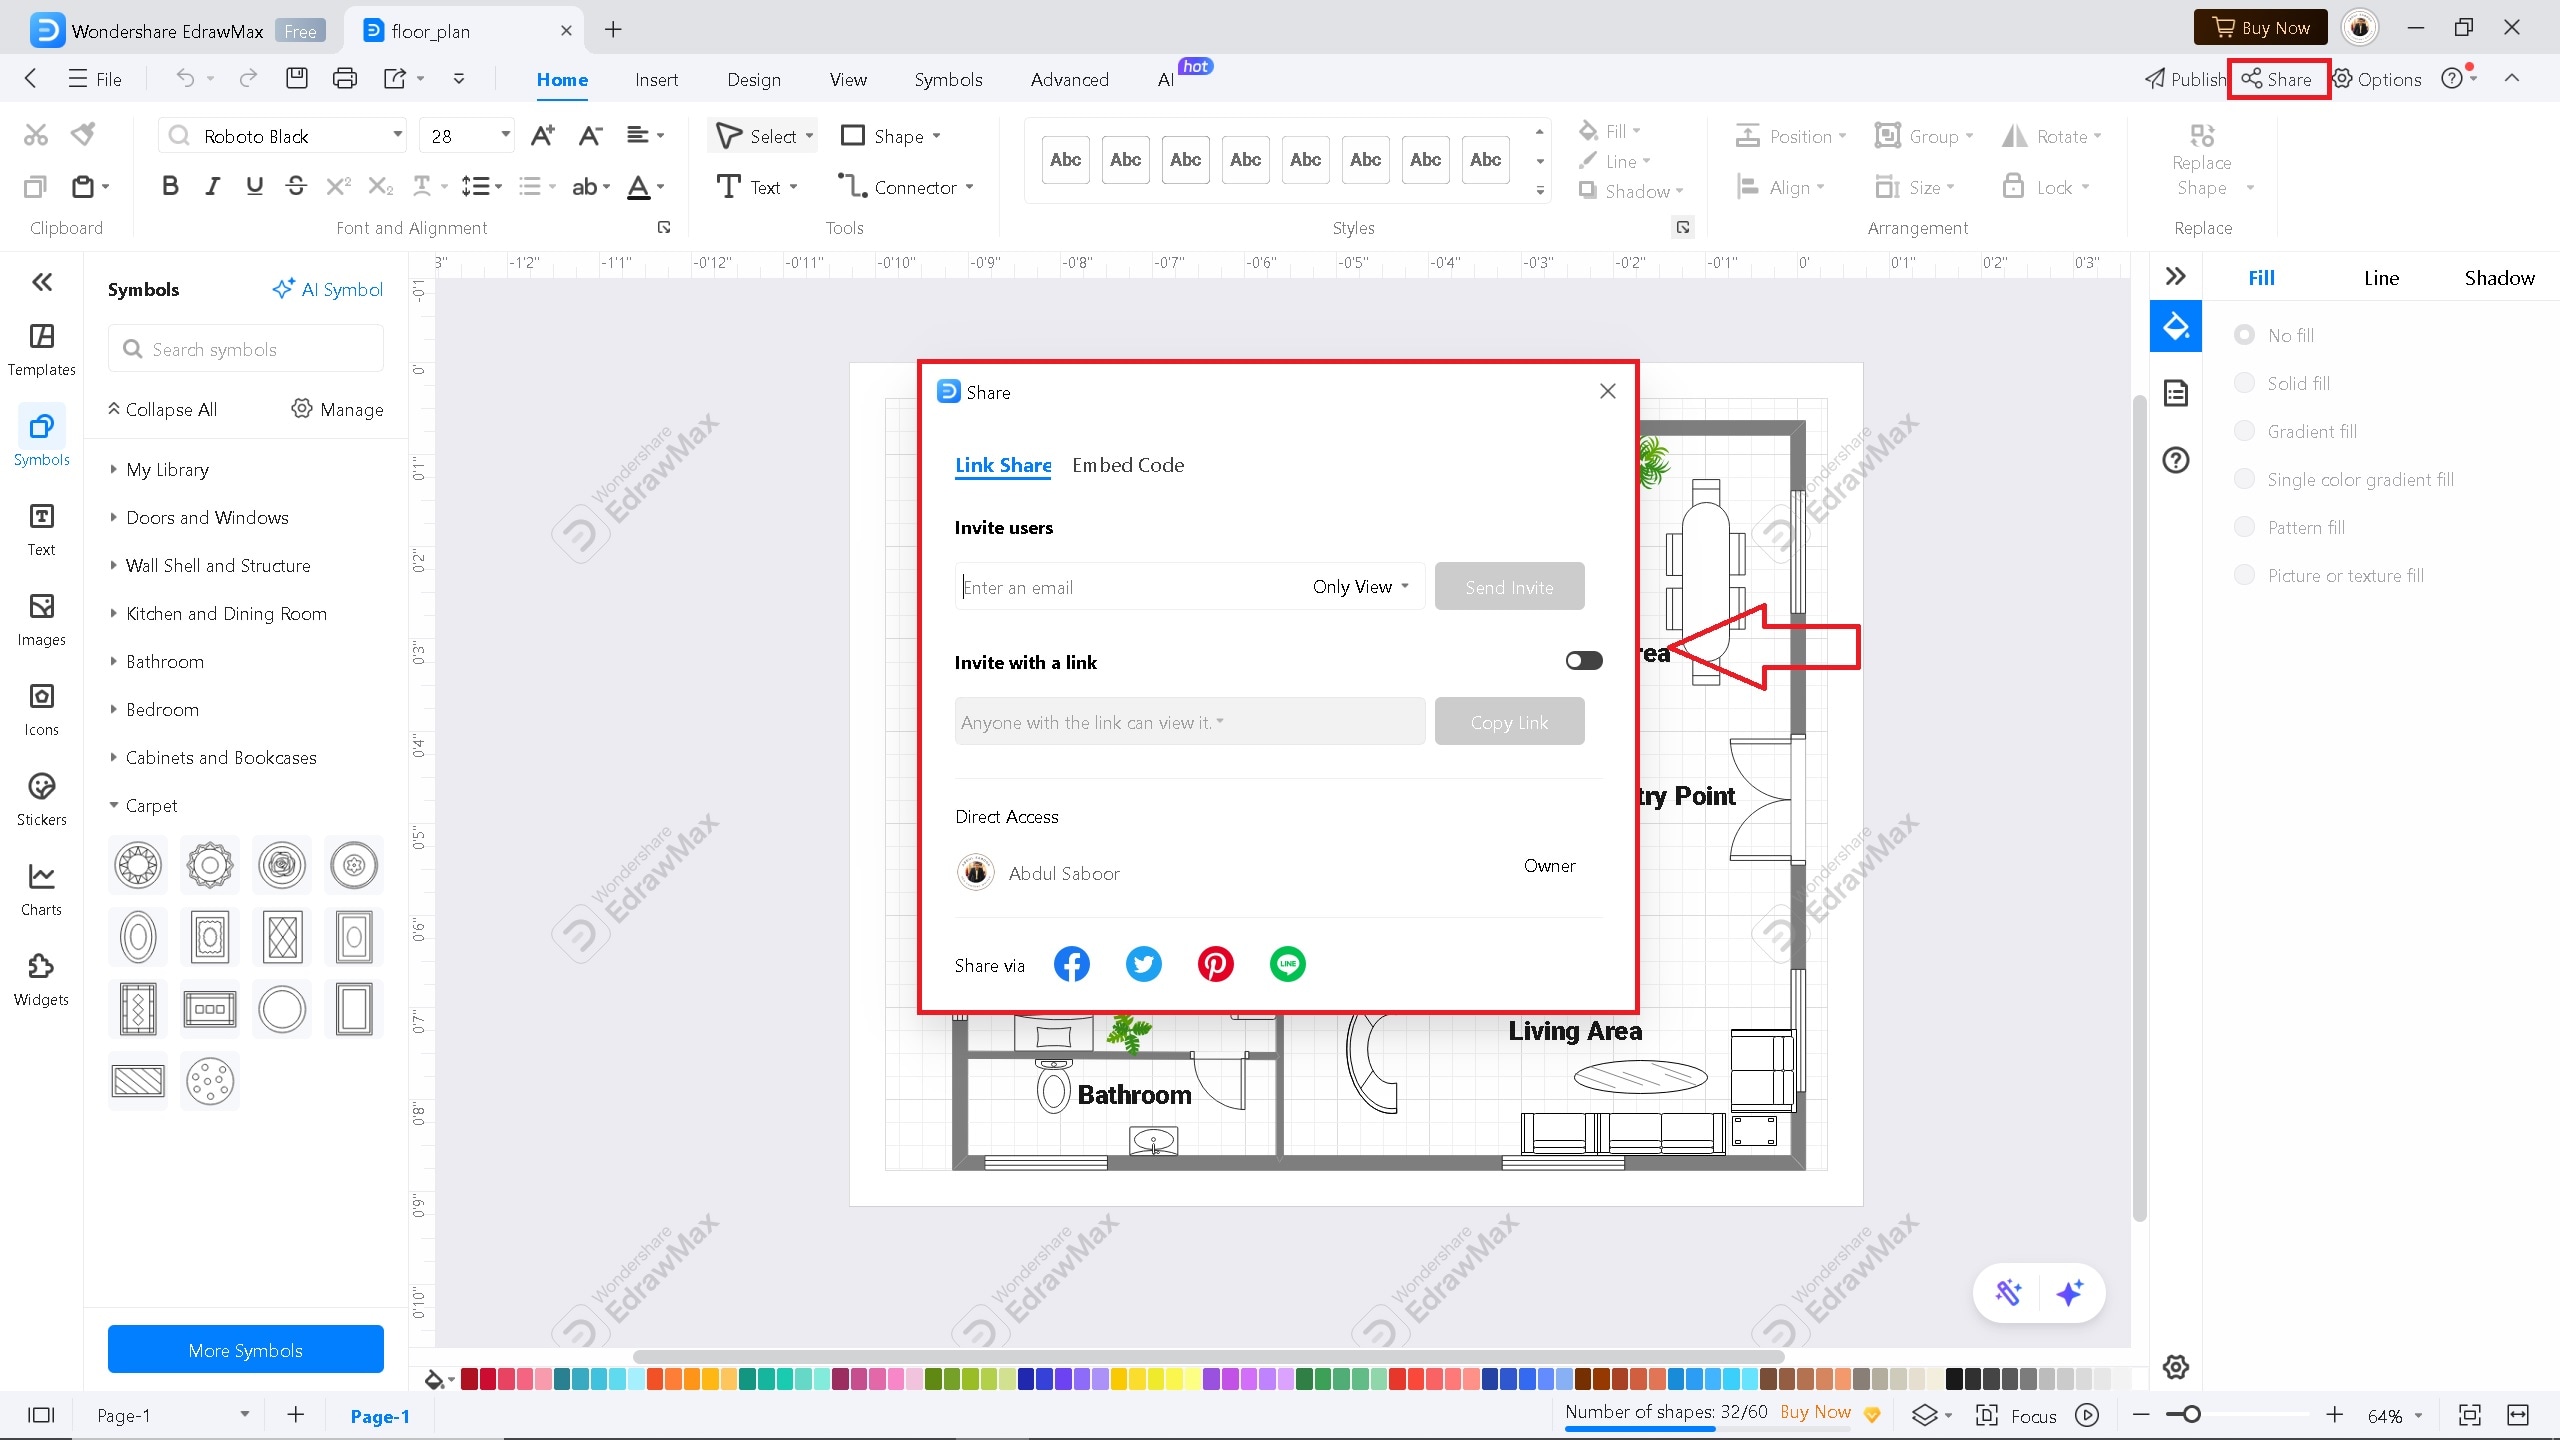
Step ❼ Export & Share
- Click Export to save in multiple formats (PDF, EDDX, Visio, PNG etc.)
- Use Share button to collaborate with team members
- Invite via email or shareable link
Export options
Sharing options