EdrawMax User Guide for Desktop
-
Get Started with EdrawMax
-
User Interface
-
Basic Operations
-
Advanced Operations
-
Shape Operations
-
Drawing Tools
-
Formatting and Styling
-
Text Operations
-
Symbol and Library
-
Insert/Add Objects
-
Page Settings
-
Presentation Mode
-
AI Features
- How to Make a Diagram with Edraw AI
- AI Slides
- AI Infographics Generator
- AI Copywriting
- AI Stickers
- AI Symbols
- AI Analysis
- AI Drawing
- AI OCR
- EdrawMax Quotation Tool
- AI Diagram Generator
- AI Framework Generator
- EdrawMax AI Copilot
- AI Chatbot
- AI Flowchart
- AI Mind Map
- AI Timeline
- AI Table
- AI List
- AI SWOT Analysis, PEST Analysis, and Lean Canvas
- AI User Profile
-
How to Make a Flowchart
-
How to make an Org Chart
-
How to make a Gantt Chart
-
How to Make a Mind Map
-
More examples
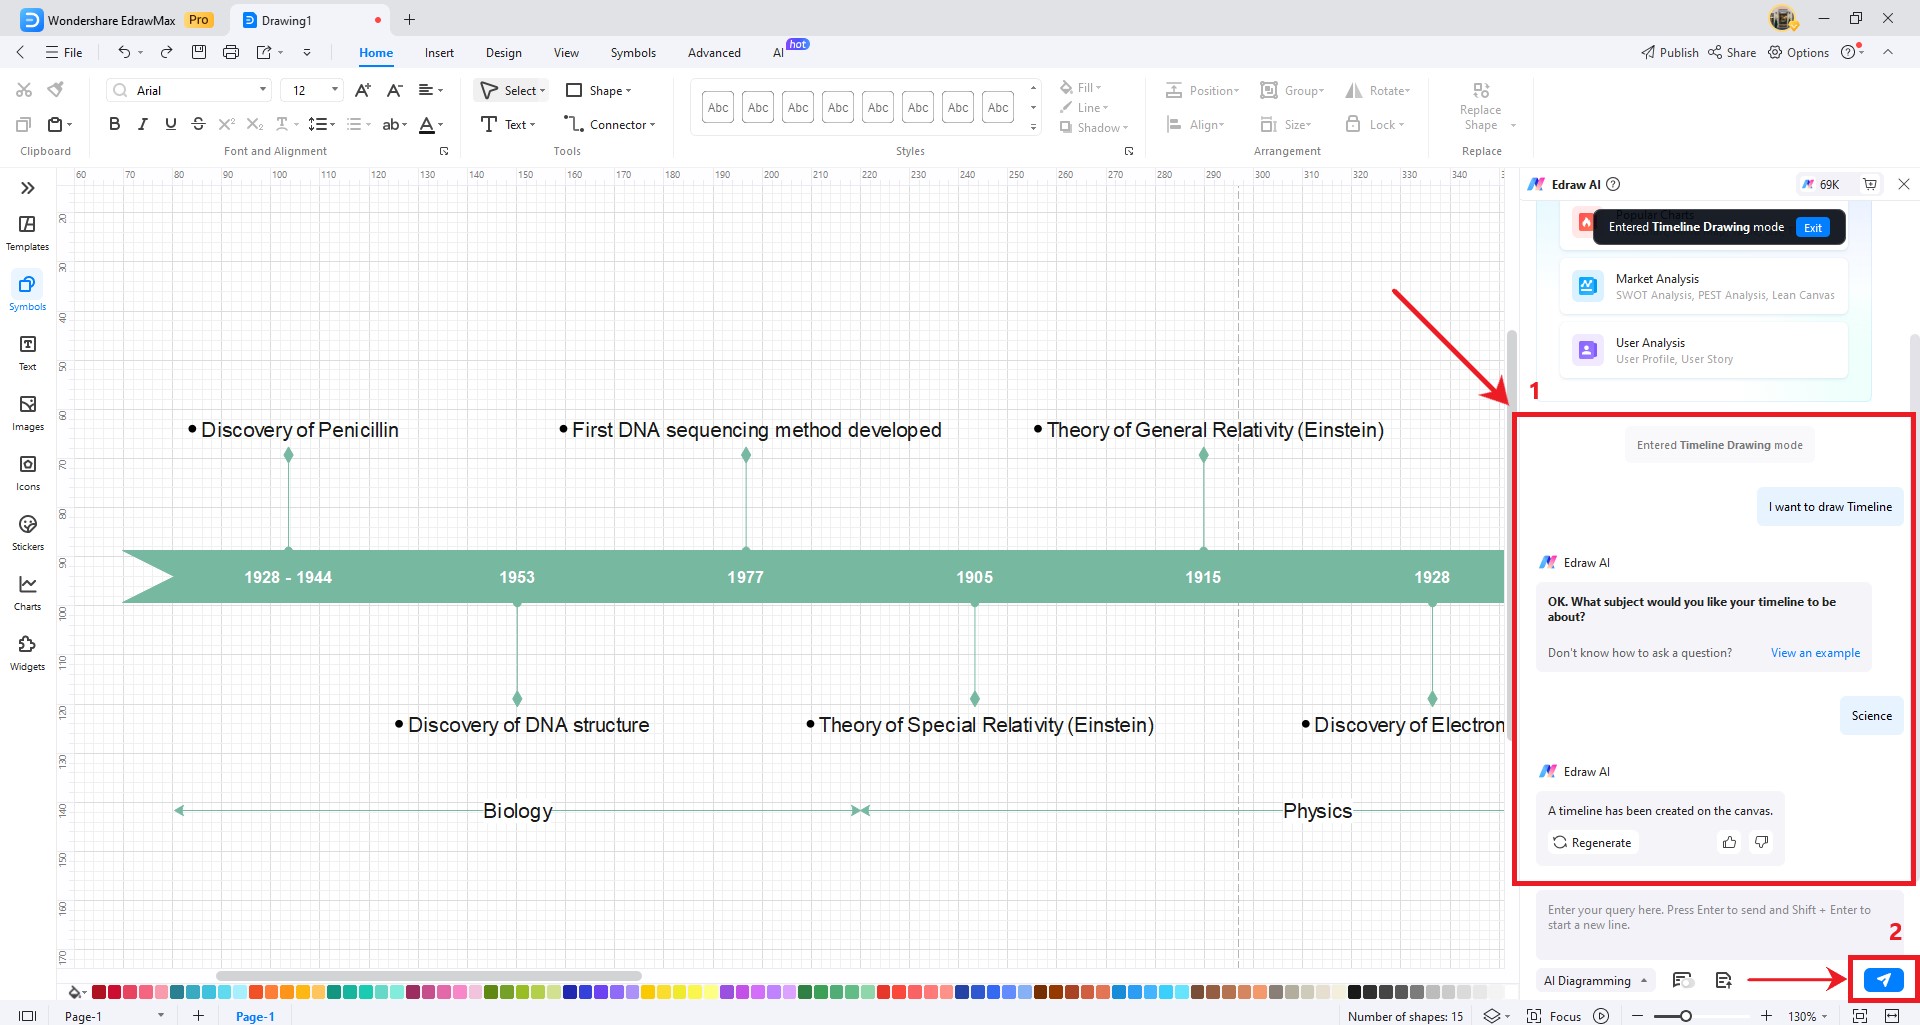
AI Timeline
In this guide, you can explore how to use Edraw AI timeline feature to create and customize timelines.
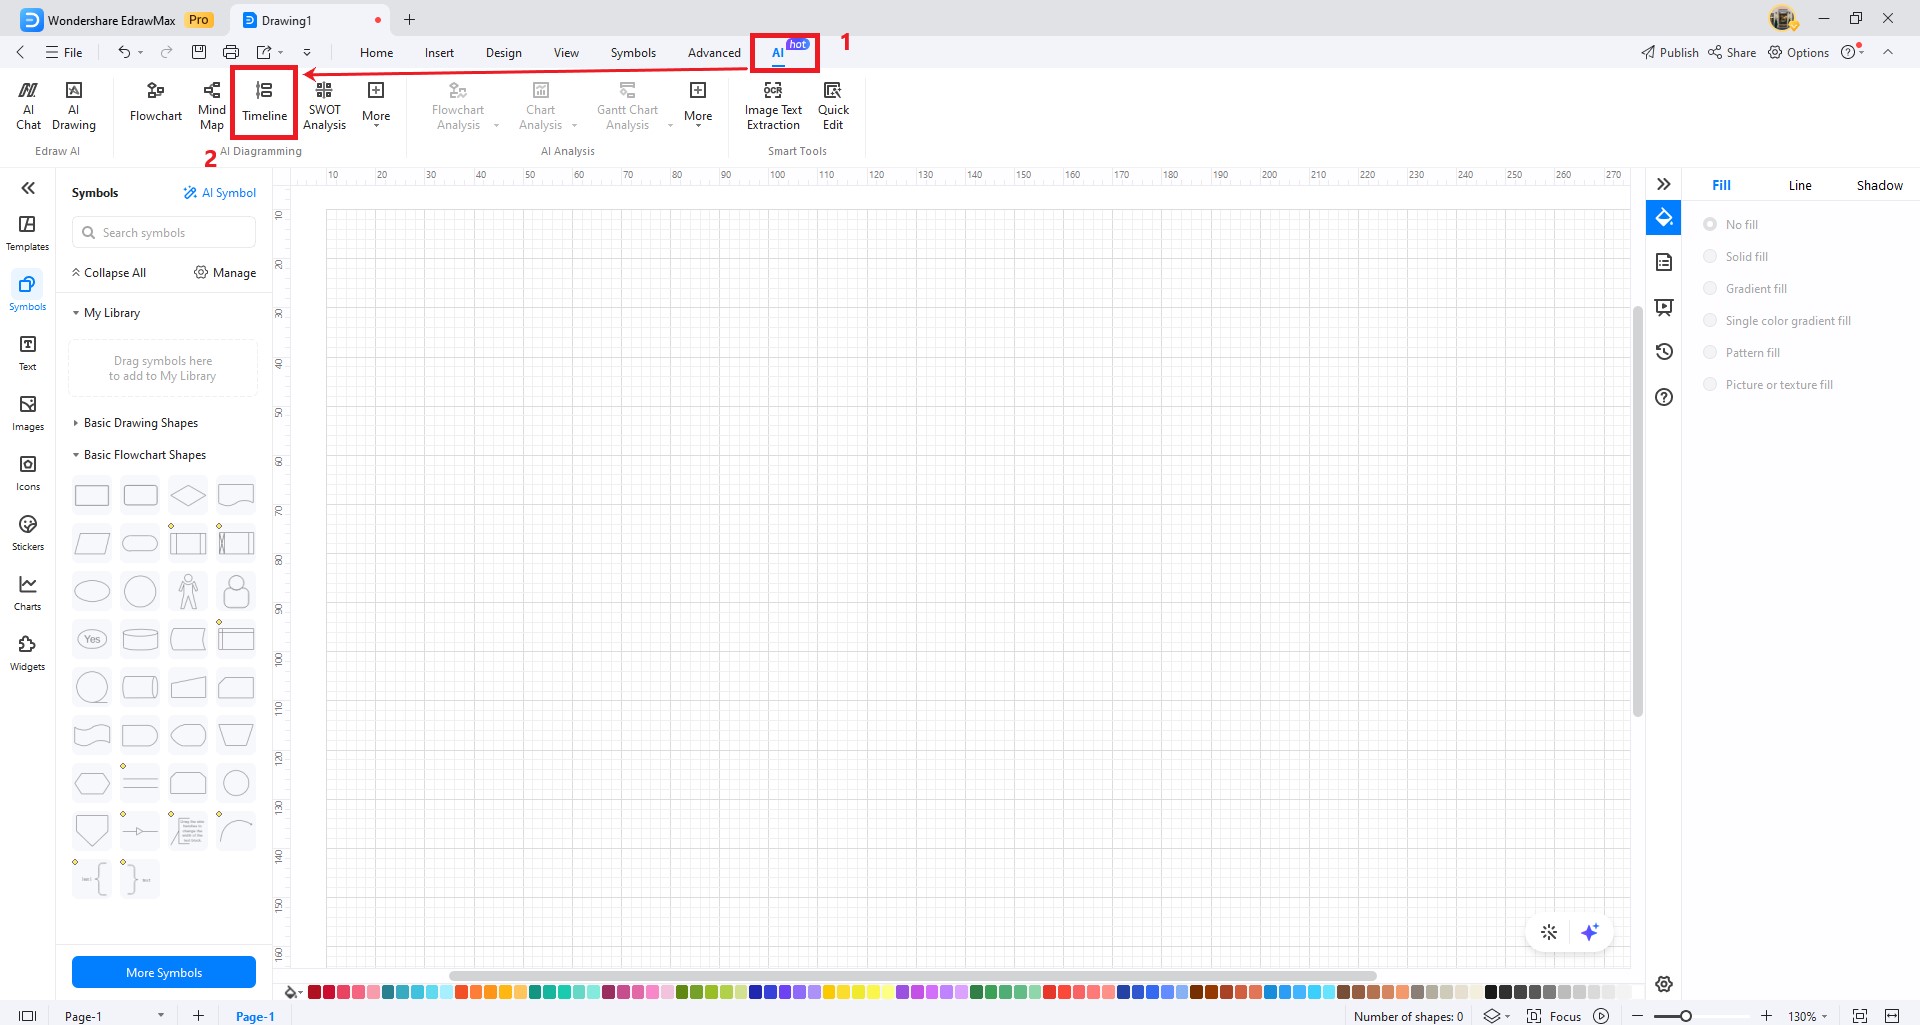
Step 1: Open EdrawMax, choose a diagram type, click Create New to make a new diagram.
Step 1a: Go to AI>Timeline on the top navigation bar to access the function.
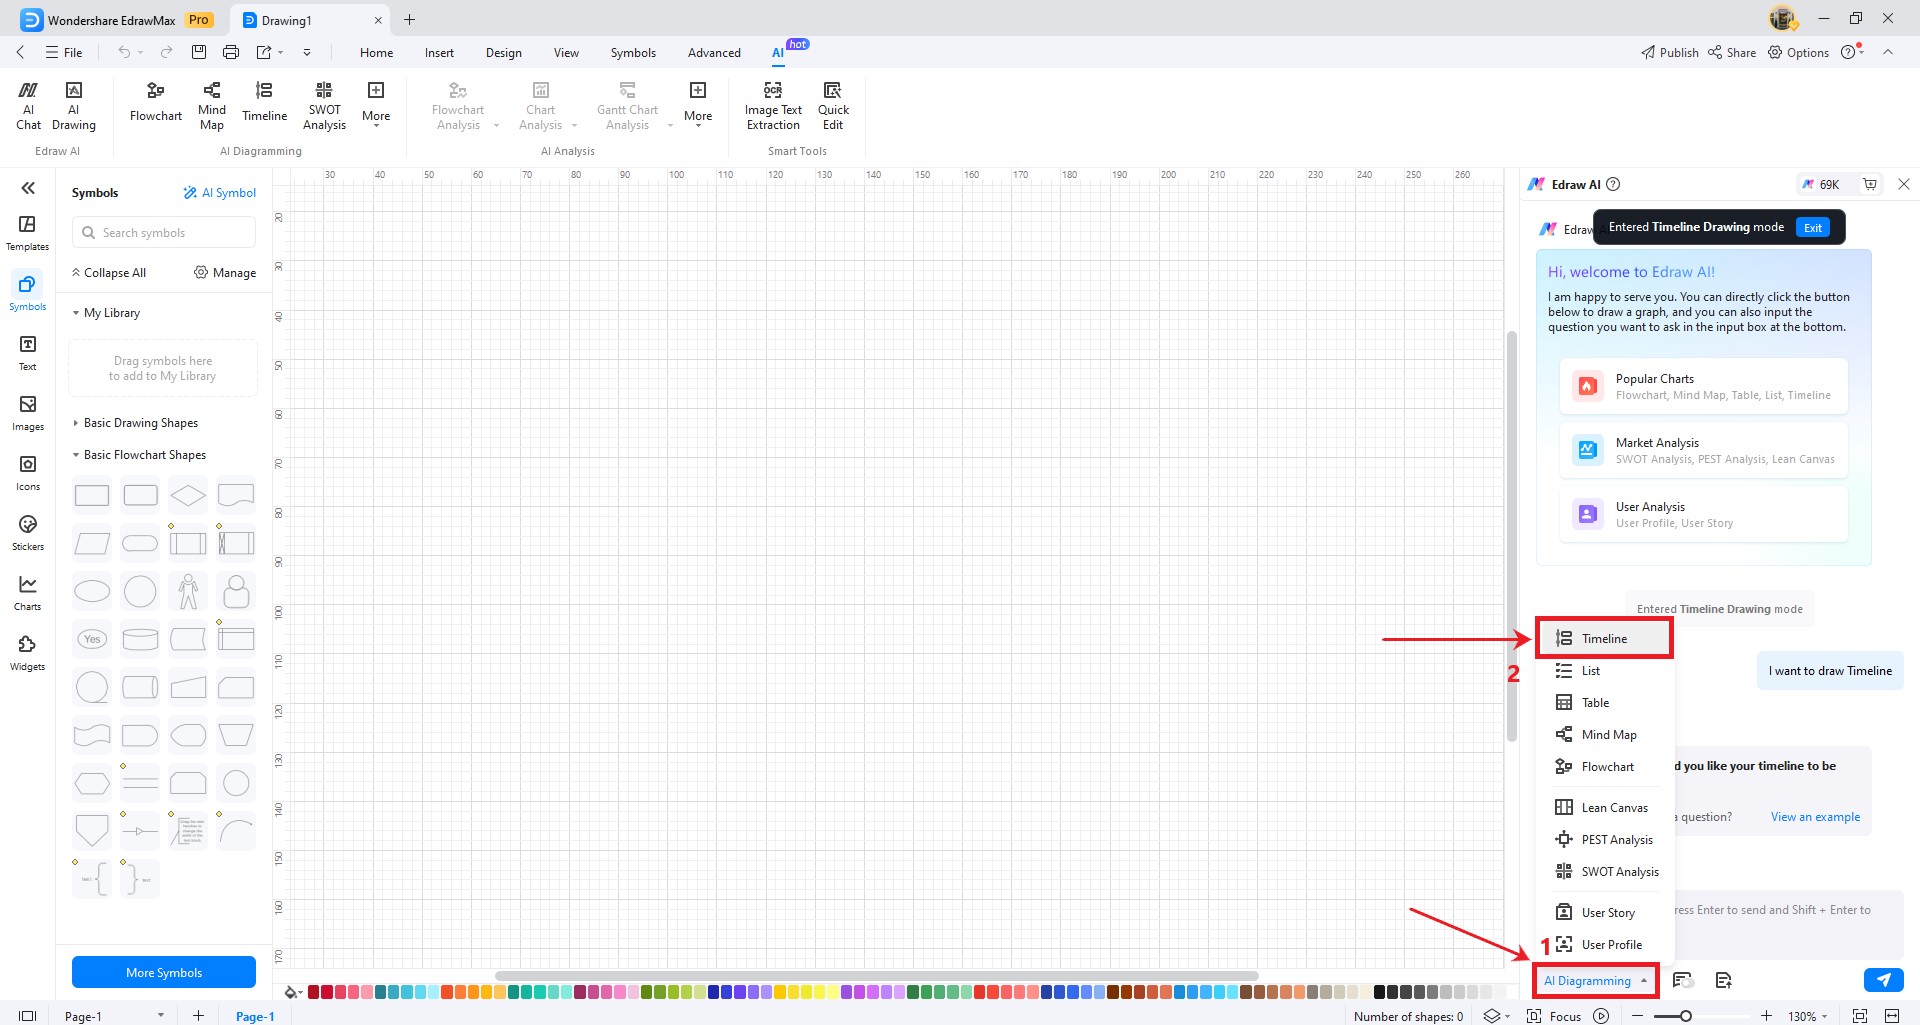
Step 1b: Wake up the Edraw AI Chatbot in the upper right corner, then click on the AI Diagramming menu at the bottom left corner and select Timeline.
Step 2: Use the AI Timeline function for one-click diagram creation. Input a prompt in the dialogue box, and then click Send to await the AI-generated output.
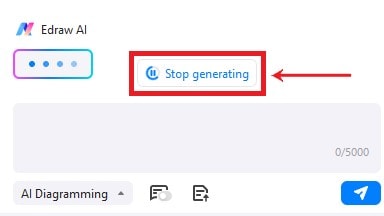
Note: During AI generation, if you wish to change the subject, you can click Stop generating to pause the timeline's generation.
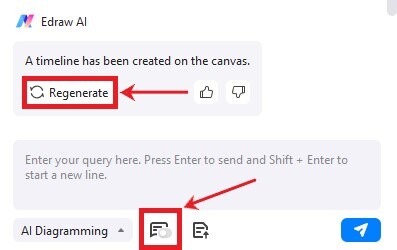
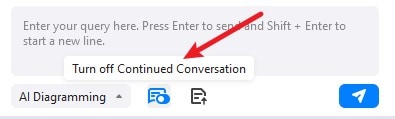
Step3: If you are not satisfied with the generated result, you can also click Regenerate or use the Continuous Dialogue option to continuously fine-tune the generated outcome.